


EPSON Stylus Photo 750
Revision B
Adjustment
Adjustment by Adjustment Program
83
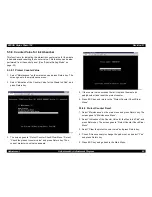
5.3.3 Head Voltage ID Adjustment
Since the elements used in the print head differs, it becomes necessary
to set the head voltage in appropriate condition so that the amount of
discharged ink becomes even. The setting value is determined
according to the test result of head characteristics on the production
process.
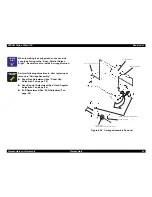
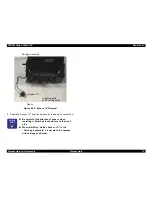
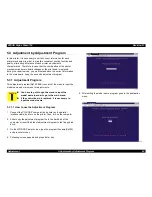
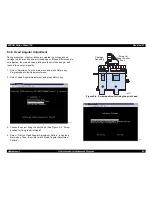
1. Select “Adjustment” on the main menu and press Return key.
Program goes to the adjustment menu.
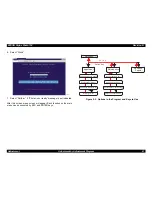
2. Select “Head Actuator Voltage ID Input” and press Return key.
Following screen appears.
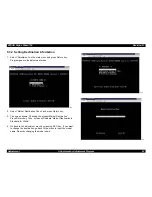
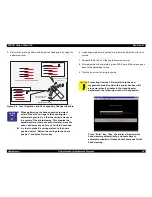
3. Select “Change Data”, then the screen to input the Head ID
appears.
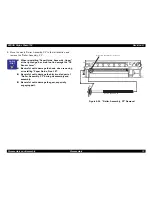
4. Input the Head ID (8 digits).
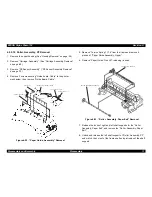
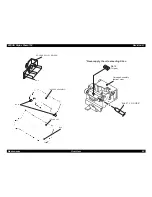
You can find VH voltage ID on the following position:
„
Print Head:
On the side face of the print head.
„
Printer mechanism: On the label of the packing box of the printer
mechanism.
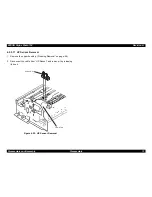
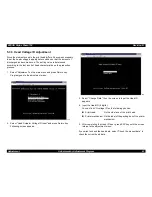
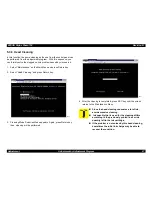
5. After completing the Head ID input, press ESC key until the screen
returns to the adjustment menu.
If you wish to check the head data, select “Check the present data” to
check the current head data.
a d j 8
A u t o
P r o m p t - S P 7 5 0
A u t o
P r o m p t - S P 7 5 0
a d j 9
Summary of Contents for Stylus Photo 750
Page 1: ...EPSON Stylus Photo750 Color Inkjet Printer SEIJ98005 6 59 0 18 6 59 0 18 6 59 0 18 6 59 0 18 ...
Page 8: ... 3 7 5 4 PRODUCTDESCRIPTION ...
Page 32: ... 3 7 5 5 OPERATINGPRINCIPLES ...
Page 43: ... 3 7 5 6 TROUBLESHOOTING ...
Page 55: ... 3 7 5 7 DISASSEMBLYANDASSEMBLY ...
Page 81: ... 3 7 5 8 ADJUSTMENT ...
Page 95: ... 3 7 5 9 MAINTENANCE ...
Page 101: ... 3 7 5 APPENDIX ...
Page 111: ......
Page 112: ......
Page 113: ......
Page 114: ......


