background image

Plugging In and Connecting the 
Printer

Your printer connects to your computer via the parallel or USB interface. 
Macintosh computers can only be connected via the USB interface. 
Depending upon your geographic location, you may need to obtain the 
appropriate cable. See “Options and Consumable Products” in the 

Daily Use


guide for details.

Note:

In order to connect your PC via the USB interface, your computer must be a 
Windows Me, 98 or Windows 2000 pre-installed model that comes with a USB port 
or Windows Me upgraded from a Windows 98 pre-installed model.

Using a parallel interface for Windows users

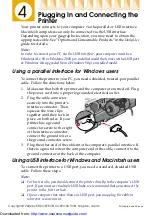
To connect the printer to your PC, you need a shielded, twisted-pair parallel 
cable. Follow the directions below.

1.

Make sure that both the printer and the computer are turned off. Plug 
the power cord into a properly grounded electrical outlet.

2.

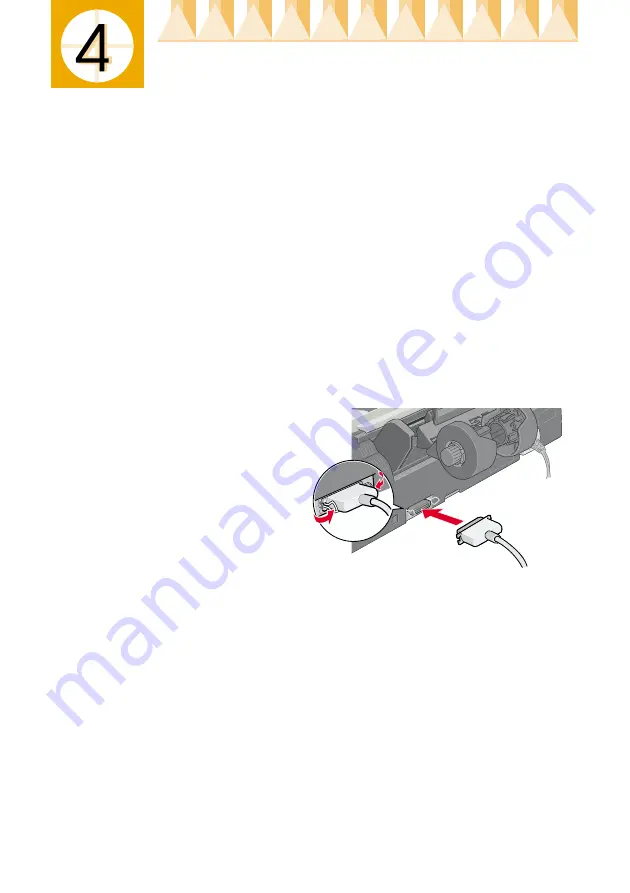
Plug the cable connector 
securely into the printer's 
interface connector. Then, 
squeeze the wire clips 
together until they lock in 
place on both sides. If your 
printer has a ground 
connector screw to the right 
of the interface connector, 
connect the ground wire to 
the ground connector screw.

3.

Plug the other end of the cable into the computer's parallel interface. If 
there is a ground wire at the computer end of the cable, connect it to the 
ground connector at the back of the computer.

Using a USB interface for Windows and Macintosh users

To connect the printer to a USB port, you need a standard, shielded USB 
cable. Follow these steps.

Note:

For best results, you should connect the printer directly to the computer’s USB 
port. If you must use multiple USB hubs, we recommend that you connect the 
printer to the first tier hub.

If your computer has more than one USB port, you may plug the cable in 
wherever is convenient.

Printed in xxxx 02.xx-xx

Copyright© 2002 by SEIKO EPSON CORPORATION, Nagano, Japan.

Downloaded from: 

http://www.usersmanualguide.com/

Summary of Contents for Stylus PHOTO 1290

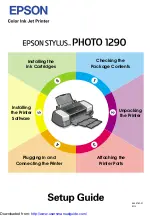
Page 1: ...artridges Checking the Package Contents Installing the Printer Software Plugging In and Connecting the Printer Attaching the Printer Parts Unpacking the Printer 4032767 01 EUL Downloaded from http www usersmanualguide com ...

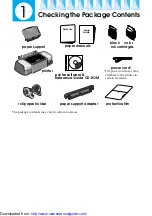
Page 2: ...nter software Reference Guide CD ROM The package contents may vary in certain locations black color ink cartridges power cord Thepowercordmaycome attached to the printer in certain locations paper support adapter roll paper holder protective film Downloaded from http www usersmanualguide com ...

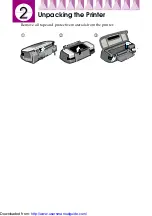
Page 3: ...Unpacking the Printer Remove all tape and protective materials from the printer Downloaded from http www usersmanualguide com ...

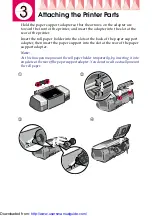
Page 4: ...rt the roll paper holder into the slots at the back of the paper support adapter then insert the paper support into the slot at the rear of the paper support adapter Note At this time you may mount the roll paper holder temporarily by inserting it into any slots at the rear of the paper support adapter You do not need to actually mount the roll paper Downloaded from http www usersmanualguide com ...

Page 5: ...lug the cable connector securely into the printer s interface connector Then squeeze the wire clips together until they lock in place on both sides If your printer has a ground connector screw to the right of the interface connector connect the ground wire to the ground connector screw 3 Plug the other end of the cable into the computer s parallel interface If there is a ground wire at the compute...

Page 6: ...unded electrical outlet 2 Plug the appropriate end of the cable into the USB port on the back of the printer The end that fits the printer has a different shape from the end that fits the computer 3 Connect the other end of the cable to the computer s USB port Downloaded from http www usersmanualguide com ...

Page 7: ...or also guides you through the ink cartridge replacement process Online guides The online Reference Guide helps you learn more about your printer If you wish to make a floppy disk version of the printer software on your CD ROM you can use the driver disk creation utility included on the CD Refer to the appropriate section For Windows Follow the instructions in this section to install the printer s...

Page 8: ...ting The Problem Solver can be accessed through the EPSON folder Status Monitor 3 or the printer software For details see the Troubleshooting section of your Daily Use guide 5 Follow the on screen instructions to turn on your printer For Windows Me and 98 users the printer port configuration starts automatically For printers connected via the USB cable the USB device driver installation starts aut...

Page 9: ... double click the Installer icon Note It is possible to install the Reference Guide on your hard drive from the printer software CD ROM To install the guide click Install Reference Guide and follow the on screen instructions When the installation is complete a View Reference Guide icon appears in the EPSON folder Double click the icon to open the guide It is possible to access Technical Support fr...

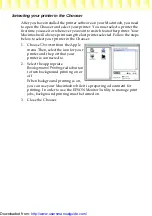
Page 10: ...eps below to select your printer in the Chooser 1 Choose Chooser from the Apple menu Then select the icon for your printer and the port that your printer is connected to 2 Select the appropriate Background Printing radio button to turn background printing on or off When background printing is on you can use your Macintosh while it is preparing a document for printing In order to use the EPSON Moni...

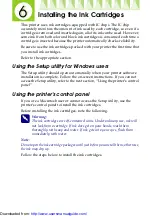
Page 11: ...inter software installation is complete Follow the on screen instructions If you cannot access the Setup utility refer to the next section Using the printer s control panel Using the printer s control panel If you are a Macintosh user or cannot access the Setup utility use the printer s control panel to install the ink cartridges Before installing the ink cartridges note the following w Warning Th...

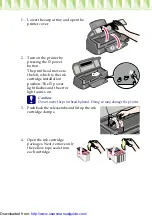
Page 12: ...dge installation position The P power light flashes and the error light comes on c Caution Do not move the print head by hand Doing so may damage the printer 3 Push back the release tabs and lift up the ink cartridge clamps 4 Open the ink cartridge packages Next remove only the yellow tape seals from each cartridge Downloaded from http www usersmanualguide com ...

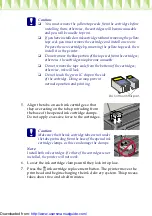
Page 13: ...he side of the cartridge Doing so may prevent normal operation and printing 5 Align the tabs on each ink cartridge so that they are resting on the tabs protruding from the base of the opened ink cartridge clamps Do not apply excessive force to the cartridges c Caution Make sure that the ink cartridge tabs are not under the tabs protruding from the base of the opened ink cartridge clamps as this ca...

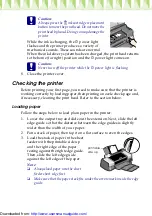
Page 14: ... paper then printing a nozzle check page and if necessary cleaning the print head Refer to the section below Loading paper Follow the steps below to load plain paper in the printer 1 Lower the output tray and slide out the extension Next slide the left edge guide so that the distance between the edge guides is slightly wider than the width of your paper 2 Fan a stack of paper then tap it on a flat...

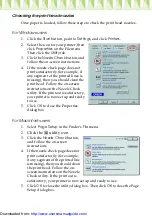
Page 15: ...ns on the Nozzle Check utility If the printout is satisfactory your printer is now set up and ready to use 5 Click OK to close the Properties dialog box For Macintosh users 1 Select Page Setup in the Finder s File menu 2 Click the utility icon 3 Click the Nozzle Check button and follow the on screen instructions 4 If the nozzle check page does not print satisfactorily for example if any segment of...

Page 16: ...le the P power light is flashing Doing so may damage the printer If print quality hasn t improved after repeating the nozzle checking and cleaning procedures four or five times contact your dealer Downloaded from http www usersmanualguide com ...

Page 17: ... tv dvd and othes Manual users user manuals user guide manual owners manual instruction manual manual owner manual owner s manual guide manual operation operating manual user s manual operating instructions manual operators manual operator manual product documentation manual user maintenance brochure user reference pdf manual Downloaded from http www usersmanualguide com ...

Reviews: