EPSON Stylus Color 400 Service Manual
Rev. A
1-5
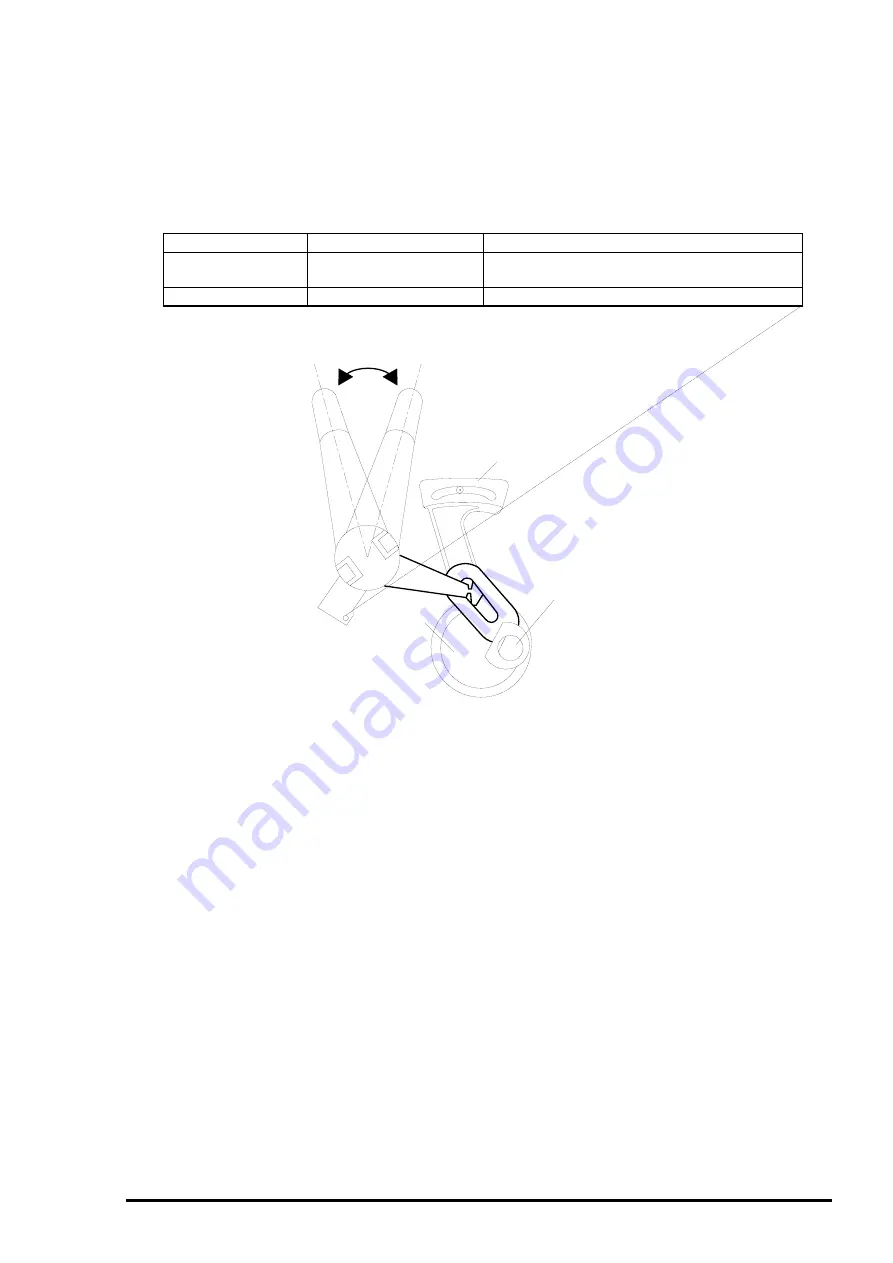
1.2.3 Adjust Lever Settings (PG adjust lever)
The adjust lever located on the right side(blue) under the printer cover needs to be set to the proper
position according to the paper you print. (Refer to the table below). Also, if there is any dirt caused by
friction on the wavy or wrinkled paper, this can be prevented by changing the lever position to rear
position (marked with “+”) in spite of paper types.
Paper
Lever position
PG adjustment value
Normal paper,
Coated paper
Front
0 mm (1.1mm between head and platen)
Envelopes
Rear
0.9 mm (2.0mm between head and platen)
Table 1-3.Adjust Lever Settings
Front (Mark "0")
Rear (Mark "
+")
CR Guide Shaft
Bush
Level adjustment lever
Figure 1-2. Adjust Lever Settings
Summary of Contents for Stylus Color 400
Page 5: ...REVISION SHEET Revision Issued Data Contents Rev A February18 1997 First issue ...
Page 126: ...Chapter 6 Maintenance Rev A 6 5 No 1 No 2 10mm 2mm 2mm No 3 No 11 GEAR 34 ...
Page 138: ...EPSON Stylus Color400 Service Manual Rev A A 9 Figure A 3 C206 PSB Board Component Layout ...
Page 139: ...Appendix Rev A A 10 Figure A 4 C206 PSE Board Component Layout ...
Page 140: ...EPSON Stylus Color400 Service Manual Rev A A 11 Figure A 5 C206 PNL Component Layout ...
Page 141: ...Appendix Rev A A 12 A 5 Exploded Diagrams Figure A 6 Stylus Color 400 Exploded Diagram 1 ...
Page 143: ...Appendix Rev A A 14 Figure A 8 Stylus Color 400 Exploded Diagram 3 ...
Page 145: ...EPSON SEIKO EPSON CORPORATION ...


