

EPSON Stylus COLOR 300
5/98
EPSON Stylus COLOR 300
- 9
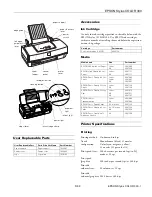
Testing the Printer
You can run a printer self test to check the operation of the
printer. If you encounter a printing problem, running a self
test can help you determine whether the problem comes from
the printer itself or some other source.
❏
If the test results are satisfactory, the problem probably lies
in the printer software settings, application settings,
interface cable, or computer.
❏
If the test page doesn’t print correctly (for example, if a part
of the printed lines is missing), you may have a problem
with your printer. The problem may be a clogged ink
nozzle, misaligned print head, or bad ink cartridge. See
“Cleaning the Print Head,” “Aligning the Print Head,” or
“Replacing the Ink Cartridge Before the Ink Runs Out,” in
this update.
Follow these steps to test the printer:
1. Make sure both the printer and computer are turned off.
2. Disconnect the interface cable (and ground connector, if
necessary) from the back of the printer.
3. Make sure that paper is loaded in the sheet feeder.
Caution:
Use paper that is at least 7.17 inches (182 mm) wide
so ink doesn’t spray onto the platen.
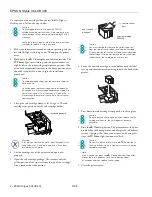
4. Hold down the
E
Load/Eject
button and turn on the
printer; then release the button. This prints the nozzle
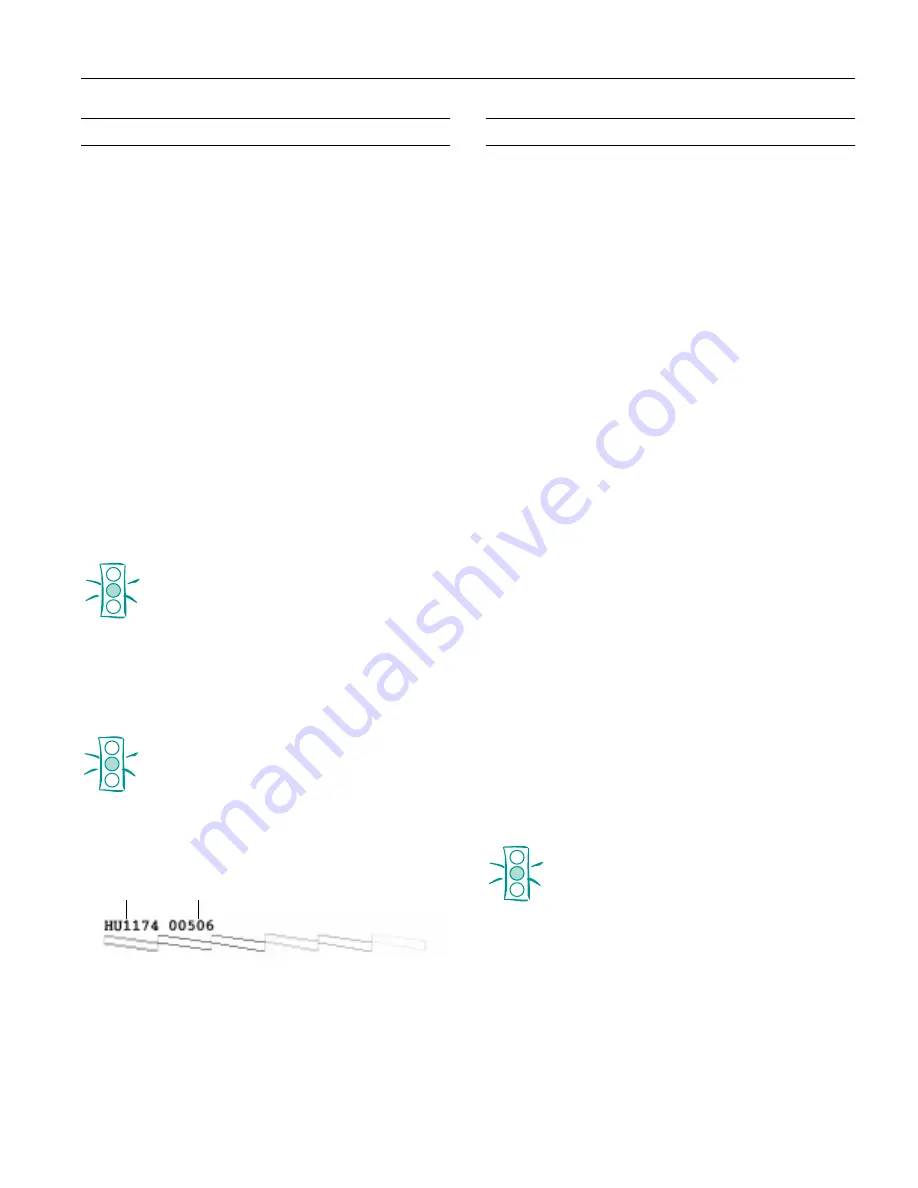
check, including the printer’s ROM version, the ink
counter code, and a nozzle check pattern. The test is printed
in color.
Caution:
Do not turn off the printer while it is printing the nozzle
check.
Note:
If the page doesn’t print, turn off the printer. Then repeat this
step, holding down the
E
Load/Eject button a bit longer.
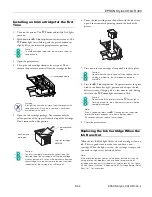
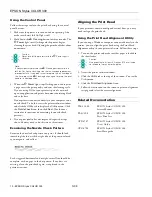
The nozzle check pattern is shown below:
5. To end the self test, turn off the printer after it finishes
printing one page.
Note:
You can run a character test by following the steps above and
holding the
R
Cleaning button instead of the
E
Load/Eject
button. The printer prints a page of letters and numbers.
Cleaning the Print Head
If your printed image is unexpectedly light or faint, or dots are
missing from the image, you may need to clean the print head.
This unclogs the nozzles so they can deliver ink properly.
Cleaning the print head uses ink, so clean it only if print
quality declines. You can use either of the following:
❏
The Head Cleaning utility in your printer software (when
the printer is connected directly to the computer)
❏
The printer’s control panel buttons (when using DOS,
when your printer is part of a network, or when you don’t
want to use the Head Cleaning utility)
Note:
To save ink, use the Nozzle Check utility in your printer software to
run a nozzle check and confirm that the print head needs to be
cleaned. To run a nozzle check, access the printer software window
and click the Utility tab to display the Utility menu. Click the Nozzle
Check icon, then click Next. (See the next section for instructions on
examining the nozzle check pattern.)
When the
V
Ink Out light is flashing or on, you cannot clean the
print head; first replace the ink cartridge as described earlier in this
update.
Using the Head Cleaning Utility
Follow these steps to run the Head Cleaning utility from a
Windows computer connected directly to the printer:
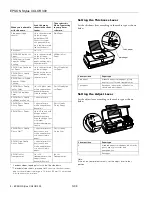
1. Make sure the printer is turned on and not printing. Also
make sure the
V
Ink Out
light is off.
2. Access the printer software window.
3. Click the
Utility
tab at the top of the window. You see the
Utility menu.
4. Click the
Head Cleaning
icon.
5. Follow the instructions on the screen to clean the print
head. Cleaning the print head takes about one minute,
during which the
P
Power
light flashes.
Caution:
Never turn off the printer while the
P
Power light is
flashing.
6. When the
P
Power
light stops flashing, you need to run a
nozzle check to test the print quality and reset the cleaning
cycle. Make sure paper is loaded in the printer and click
Print nozzle check pattern
. Then click
Next
.
7. See the next section for instructions on examining the
nozzle check pattern.
8. If your print quality has not improved, repeat the steps
above. You may need to do this two or three times.
ROM version
ink counter code


