14
Setting Up the Printer and Print Server
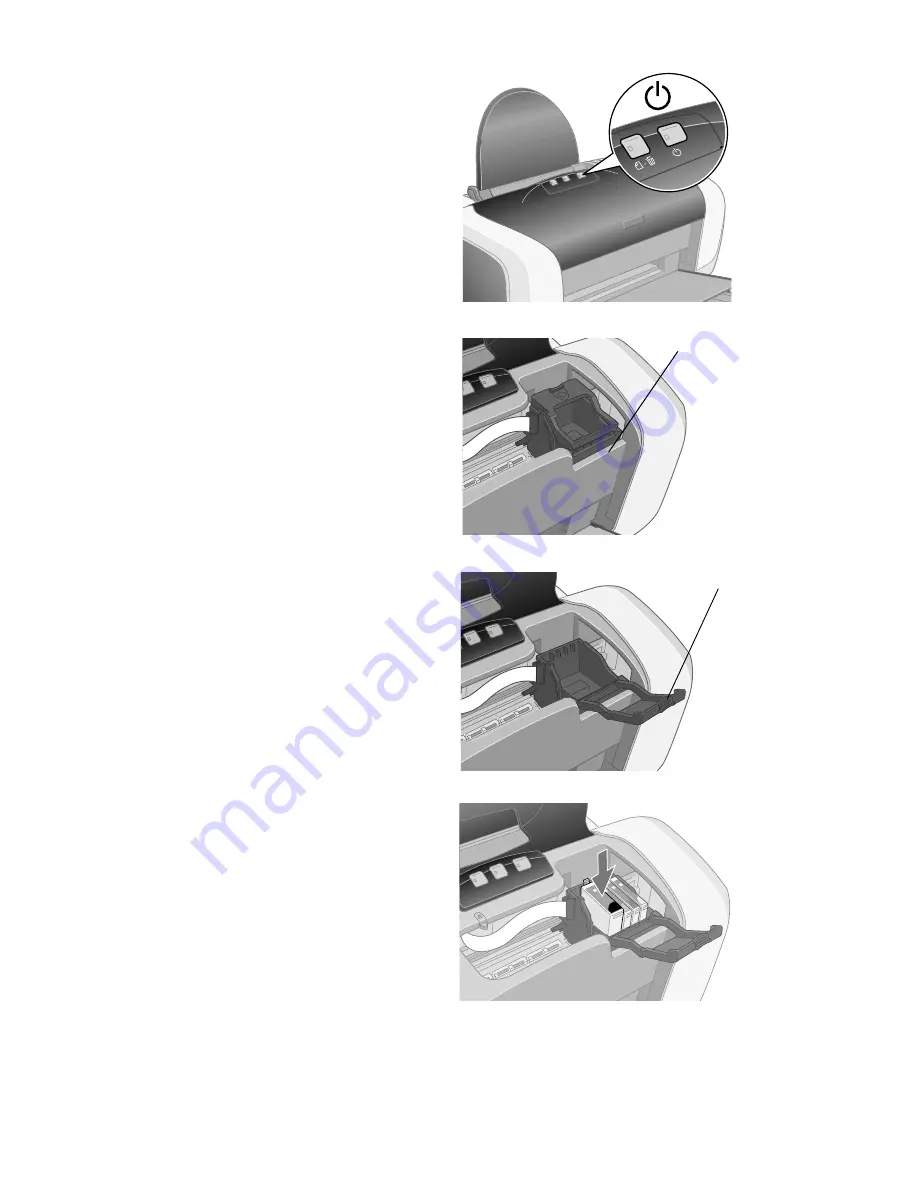
4. Press the
P
power button until the
green power light comes on.
Caution:
Always use the
P
power button to
turn the printer on and off. Never use
an external switch, such as a power
strip switch or wall switch.
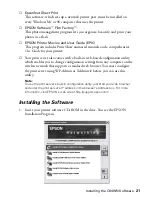
5. Wait for the cartridge holder to
move to the ink replacement
position.
6. Open the cartridge cover.
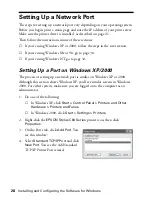
7. Lower each ink cartridge into its
holder. (The holders are color-
coded.)
Note:
Install all four ink cartridges, and
leave them installed for all types of
printing, or the printer won’t work.
8. Gently push each cartridge down
until it clicks into place.
Tip:
Press the “bull’s-eye” on the cartridge label to make sure the cartridge is all the
way down.
Ink replacement
position
Cartridge
cover
Summary of Contents for Stylus C84WN
Page 1: ...EPSON Stylus C84WN Setup and Installation ...
Page 10: ...10 Introduction ...
Page 60: ...60 Configuration Settings ...


