123
Note:
If necessary, you can adjust the image tilt using the
Quick Corner
setting, then fine-tune your
adjustments using the
Point Correction
setting.
Parent topic:
Related references
Projector Feature Settings - Settings Menu
Related tasks
Displaying a Test Pattern
Correcting Image Shape with Quick Corner
Correcting Image Shape with Point Correction
Correcting Image Shape with Point Correction
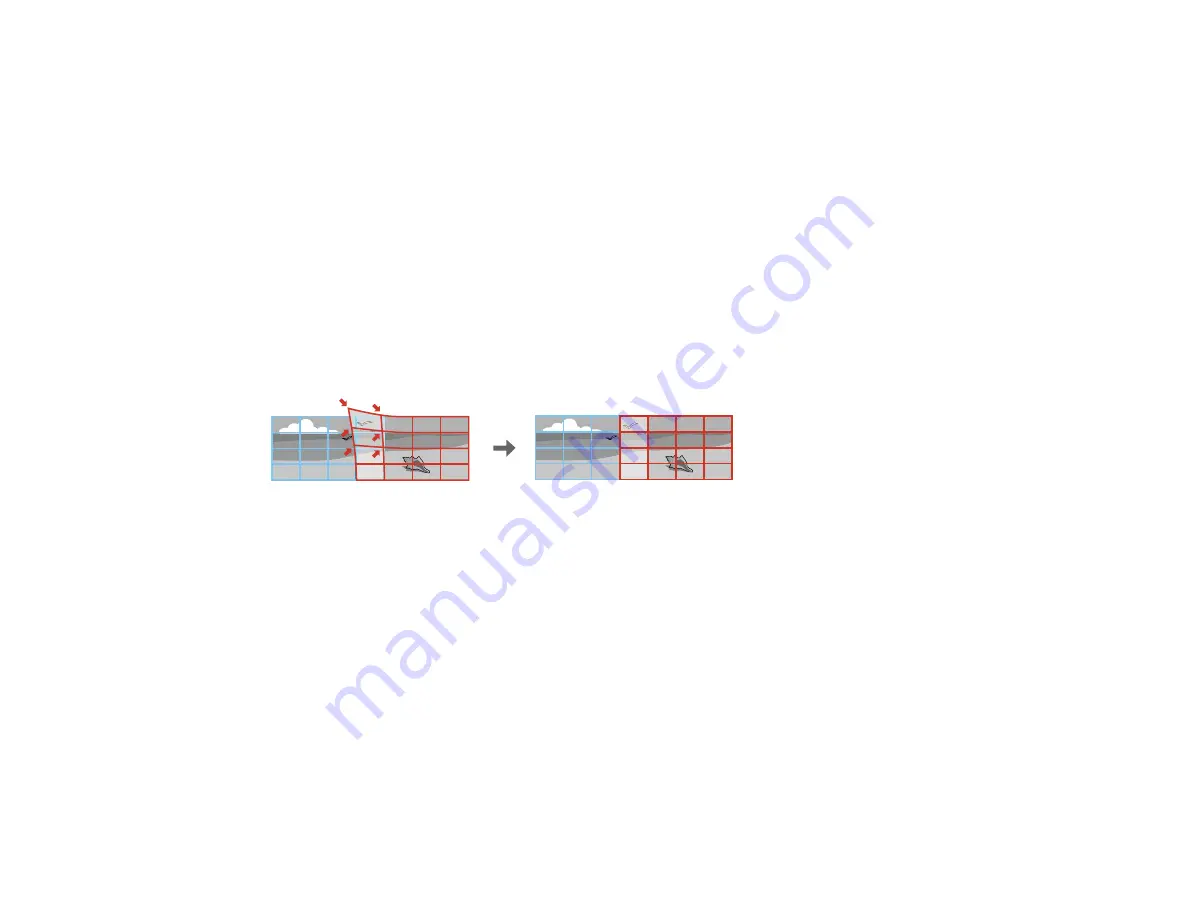
You can use the projector's Point Correction feature to fine-tune the image shape using points on a grid.
This is useful for adjusting overlapping areas in multiple projected images that do not line up correctly.
Note:
You can move the points on the grid between 0.5 to 32 pixels for WUXGA models or 0.5 to 27
pixels for SXGA+ models in any direction. If you see a 4K Enhancement message, select
Yes
to disable
the 4K Enhancement feature.
1.
Turn on the projector and display an image.
Note:
You can display a pattern to aid in adjusting the projected image using the Settings menu.
Note:
You can also display a pattern to aid in adjusting the projected image using the
Test Pattern
button on the remote control.
2.
Press the
Menu
button.
3.
Select the
Settings
menu and press
Enter
.
4.
Select the
Geometry Correction
setting and press
Enter
.
Summary of Contents for Pro L1500UH
Page 1: ...Pro L1500UH L1500UHNL L1505UH L1505UHNL L1715SNL L1750UNL L1755UNL User s Guide ...
Page 2: ......
Page 10: ......
Page 29: ...29 Front Rear Front ceiling ...
Page 285: ...285 Top ...


