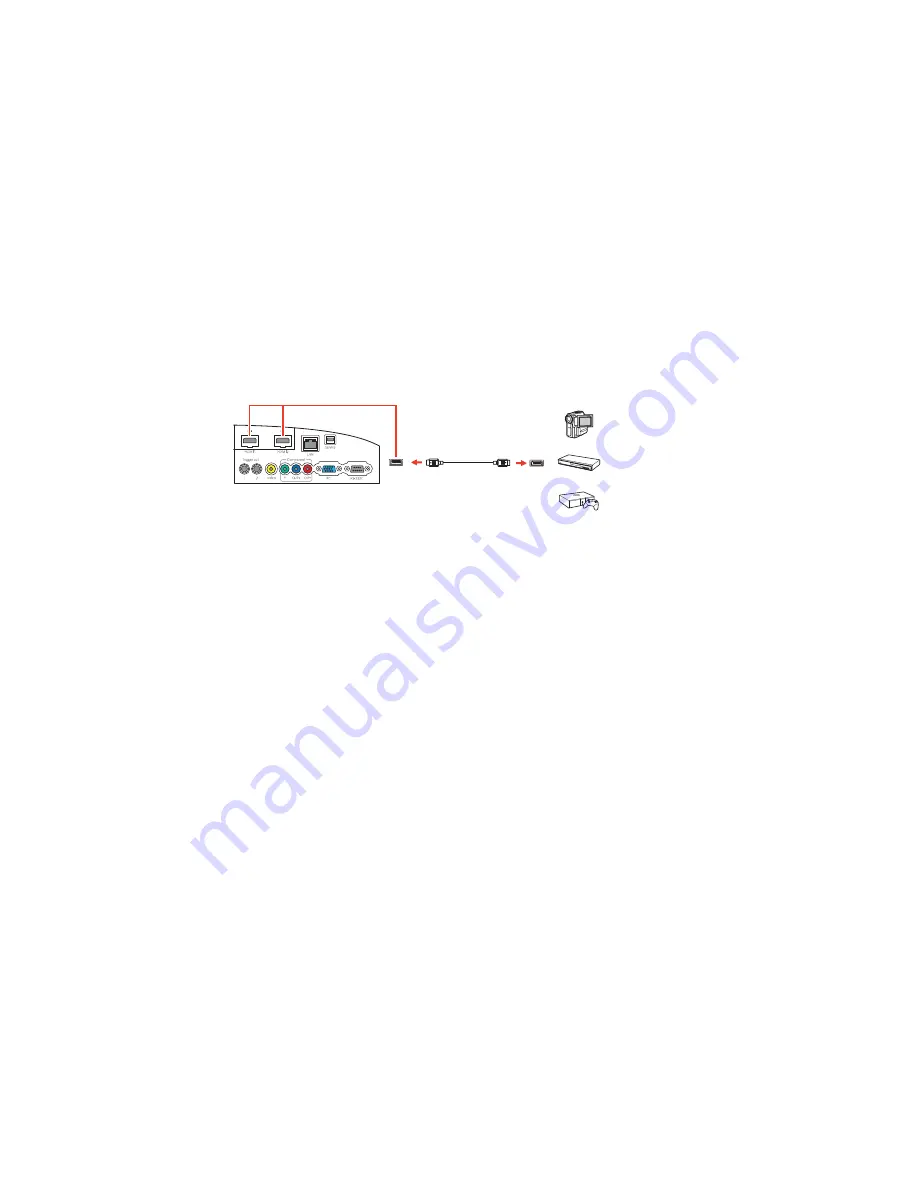
Connecting to an HDMI Video Source
If your video source has an HDMI port, you can connect it to the projector using an optional HDMI cable.
The HDMI connection provides the best image quality.
1.
Connect the HDMI cable to your video source's HDMI output port.
2.
Connect the other end to one of the projector's HDMI ports.
Note:
If you connected a game console, it may take a few seconds for your image to appear when you
switch to the game console's input source. To reduce the potential lag in response time to game
commands, set your game console's output format to a progressive signal of 480p, 720p, or higher. See
your game console documentation for instructions.
You can also select the
Fast
Image Processing setting to reduce lag time.
Note:
When an audio/video source that meets the HDMI CEC standard is connected to the projector's
HDMI port, you can use the projector's remote control to control certain features of the linked device by
pressing the
HDMI Link
button on the remote control and setting
HDMI Link
to
On
.
Parent topic:
Connecting to Video Sources
Related tasks
Attaching and Removing the HDMI Cable Clip
Attaching and Removing the HDMI Cable Clip
You can install the HDMI cable clip that came with your projector to provide additional support to the
HDMI cable.
1.
Plug in the HDMI cable.
30
Summary of Contents for PowerLite Pro Cinema LS10000
Page 1: ...PowerLite Pro Cinema LS9600e LS10000 User s Guide ...
Page 2: ......
Page 8: ......
Page 23: ...Parent topic Projector Part Locations 23 ...
Page 119: ...3 Press and hold the tab on the air filter cover and pull to open the cover 119 ...
Page 123: ...3 Press and hold the tab on the air filter cover and pull to open the cover 123 ...


