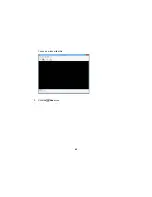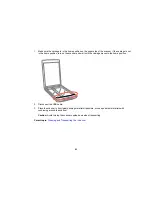
4.
Click
Scan
.
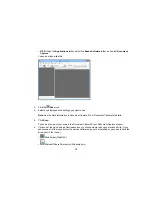
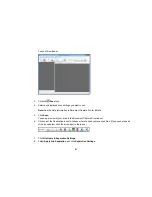
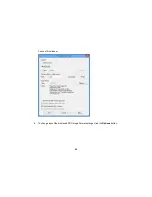
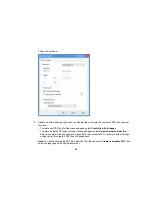
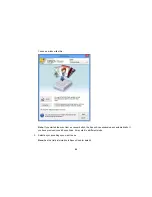
You see a thumbnail of your scan in the Copy Utility window. You may need to click
Close
on the
Epson Scan window to display the thumbnail.
5.
If you would like to scan additional originals and add them to the current captured images, click
Scan
again.
6.
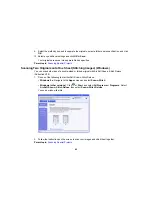
Rotate the images if necessary by selecting the thumbnail and clicking the rotate buttons at the
bottom of the window.
7.
Select the image(s) you want to print and click the
button.
8.
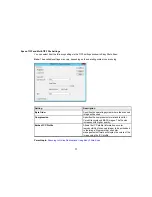
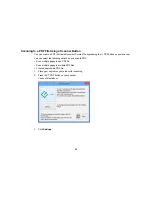
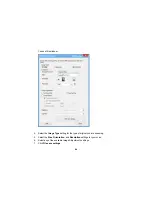
Choose a printer from the drop-down list and select settings. Click
Printer Settings
to select specific
printer settings.
Note:
See the Help information in Copy Utility for details.
9.
Click
to print your selected images.
Parent topic:
Scanning Special Projects
91
Summary of Contents for Perfection V19
Page 1: ...Perfection V19 V39 User s Guide ...
Page 2: ......
Page 9: ...1 Document mat 2 Scanner glass 3 Carriage beneath scanner glass 9 ...
Page 10: ...1 USB port 1 Scanner stand Parent topic Scanner Basics 10 ...
Page 12: ...1 Stand the scanner upright 12 ...
Page 13: ...2 Extend the scanner stand from the back of the scanner until it clicks into place 13 ...
Page 14: ...3 Tilt the scanner until it rests on the scanner stand 14 ...
Page 17: ...1 Open the scanner cover 17 ...
Page 20: ...1 Open the scanner cover 20 ...
Page 35: ...You see this window 35 ...
Page 49: ...You see this window 49 ...
Page 89: ...You see a window like this 2 Click the Scan icon 89 ...
Page 113: ...Copyright Attribution 2015 Epson America Inc 1 15 CPD 42186 Parent topic Copyright Notice 113 ...

