2.
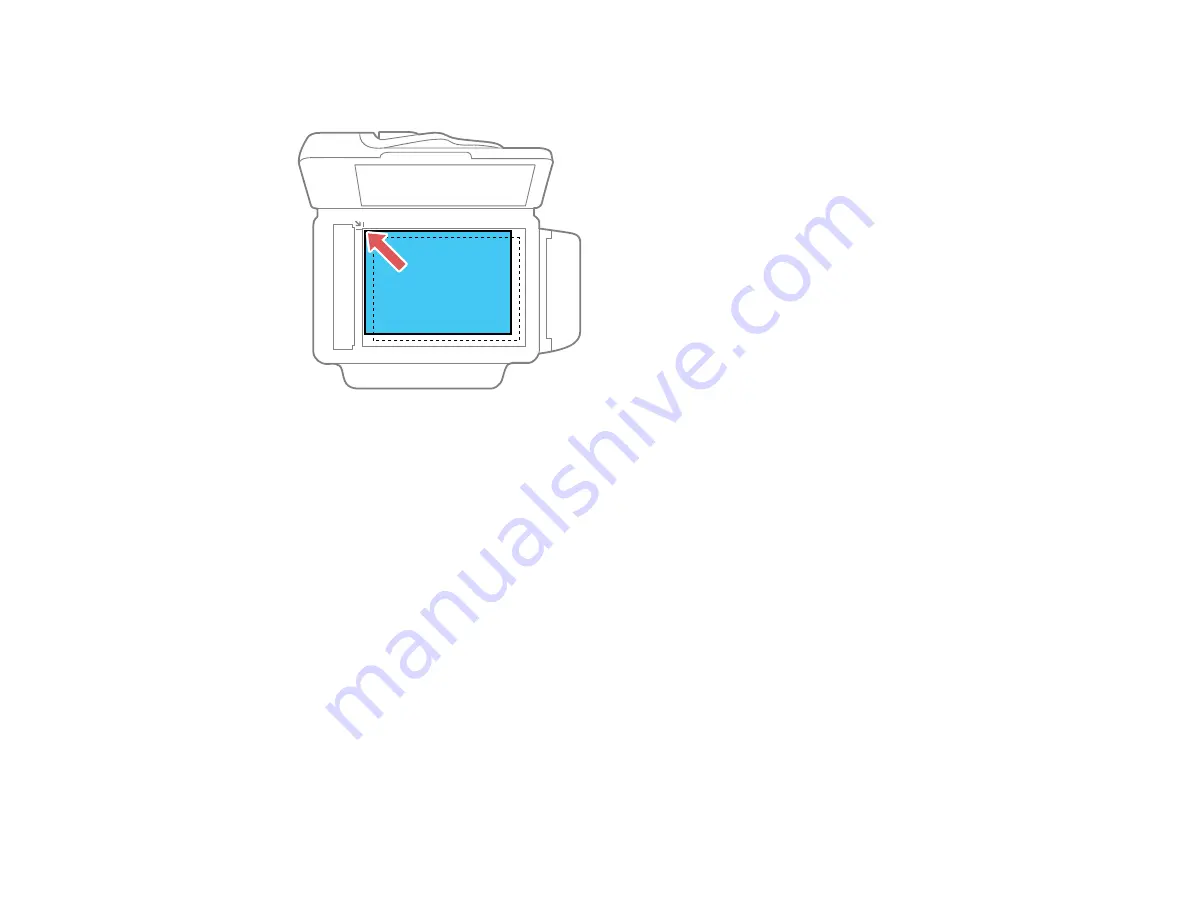
Place your original facedown on the scanner glass with the top facing into the corner. Slide the
original to the edges of the indicated corner.
Note:
You can place multiple originals on the scanner glass. Just make sure they are at least
0.8 inch (20 mm) away from each other.
Note:
The edges of your original may be cropped by 0.06 inch (1.5 mm) from the edge of the
scanner glass. If you are scanning in Full Auto mode or using thumbnail preview in another mode in
Epson Scan, the edges of your original may be cropped by about 0.2 inch (4.5 mm) from the top and
side edges. Manually position your original away from the edges to prevent cropping.
3.
Close the document cover gently to keep your original in place.
Note:
If originals are placed on the scanner glass and loaded in the ADF at the same time, the
originals loaded in the ADF are processed first.
Parent topic:
Placing Originals on the Product
Related topics
58
Summary of Contents for L655
Page 1: ...L655 L656 User s Guide ...
Page 2: ......
Page 12: ......
Page 21: ...1 Print head 2 Output tray 3 Edge guides 4 Paper cassette 21 ...
Page 22: ...1 Document cover 2 Scanner glass 3 Control panel Parent topic Product Parts Locations 22 ...
Page 61: ...Faxing 61 ...
Page 124: ...You see this window 124 ...
Page 171: ...You see this window 4 Select Speed Dial Group Dial List 171 ...
Page 205: ...You see a window like this 5 Click Print 205 ...


