• To resize the scan area, place your cursor over the edge or corner of the marquee, then click and
drag the edges where you want them. (Hold down the
Shift
key as you resize the marquee to
retain the same width/height proportions.)
• To create additional marquees (up to 50, if available), click the
Copy Marquee icon to copy the
existing marquee and paste it on the preview image.
Note:
If you draw multiple marquees, make sure you select the
All
button in the Preview window
before you scan. Otherwise, only the area inside the currently selected marquee will be scanned.
• To delete a marquee, click the marquee, then click the
Delete Marquee icon.
3.
Click inside each scan area and make any necessary settings in the Epson Scan window.
Parent topic:
Available Image Adjustments - Office Mode
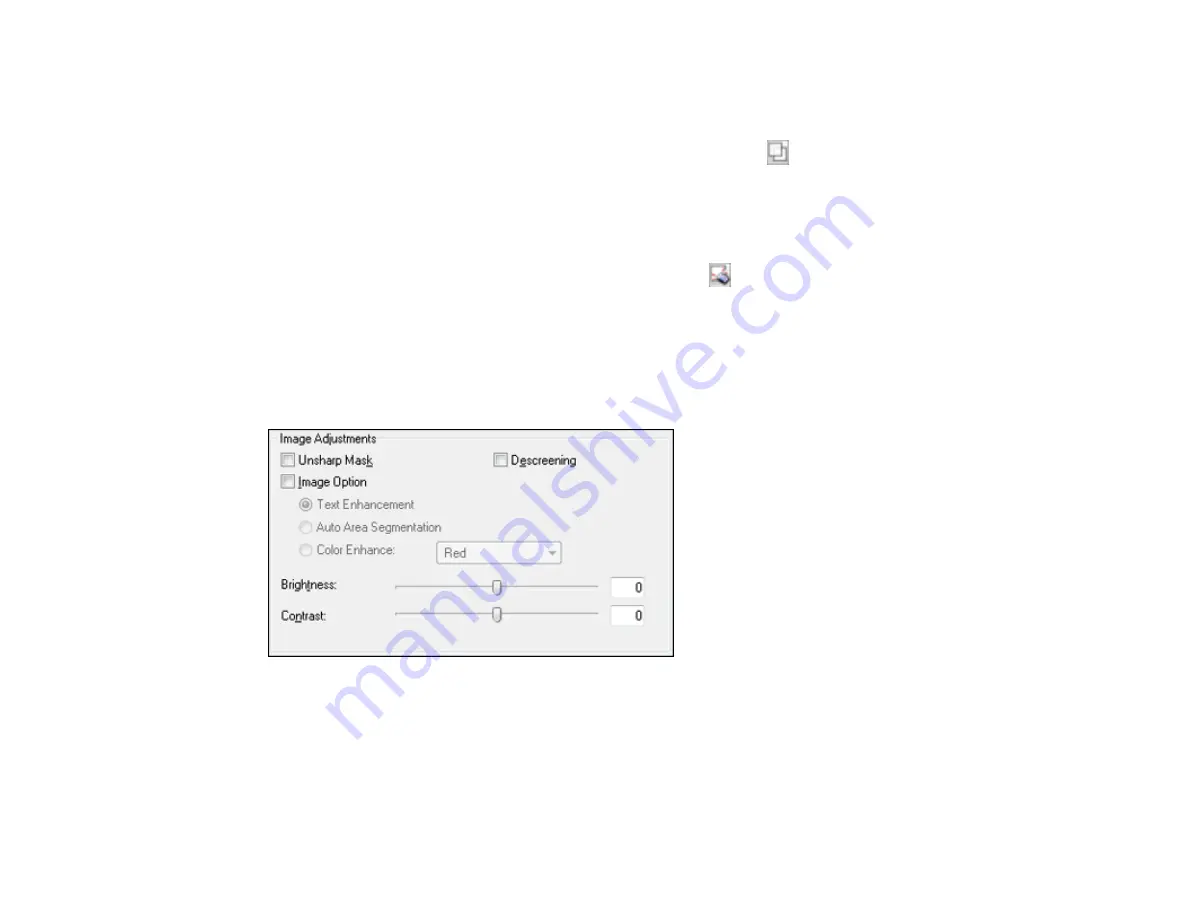
You can select these Image Adjustments options in Epson Scan Office Mode. Not all adjustment settings
may be available, depending on other settings you have chosen.
Note:
Select the
Image Option
checkbox if you need to set any of the grayed-out image adjustments
beneath the checkbox. Not all adjustment settings may be available, depending on the Image Type
setting.
Unsharp Mask
Makes the edges of certain image areas clearer. Turn off this option to leave softer edges.
112
Summary of Contents for L655
Page 1: ...L655 L656 User s Guide ...
Page 2: ......
Page 12: ......
Page 21: ...1 Print head 2 Output tray 3 Edge guides 4 Paper cassette 21 ...
Page 22: ...1 Document cover 2 Scanner glass 3 Control panel Parent topic Product Parts Locations 22 ...
Page 61: ...Faxing 61 ...
Page 124: ...You see this window 124 ...
Page 171: ...You see this window 4 Select Speed Dial Group Dial List 171 ...
Page 205: ...You see a window like this 5 Click Print 205 ...


