91
Light status
Condition/solution
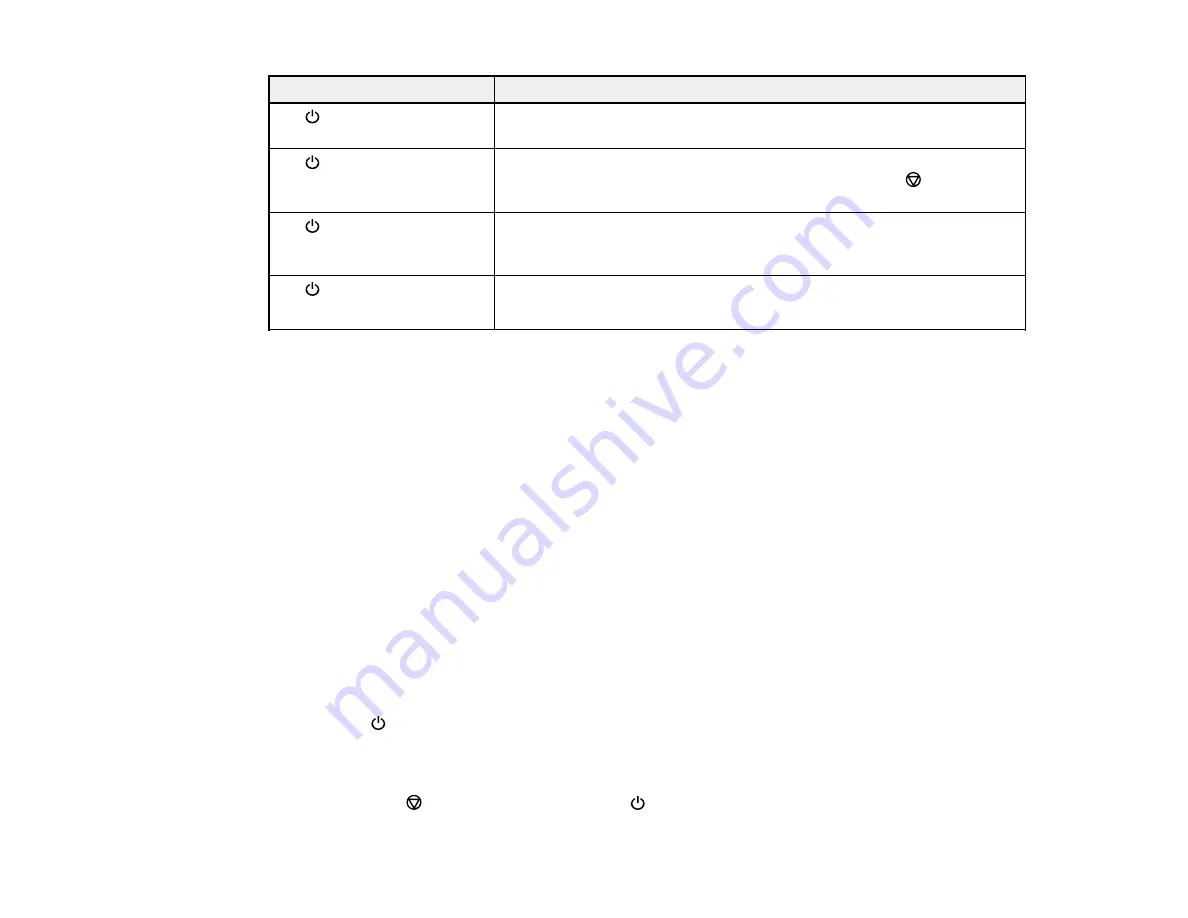
The
power and error lights
are flashing simultaneously
An ink pad is nearing or at the end of its service life. Contact Epson for
support.
The
power light is flashing
The error light is on
No paper is loaded or multiple sheets fed at one time. Remove any
jammed paper, load paper in the product, and press the
cancel
button to clear the error.
The
power light is off
The error light is on
An error has occurred during firmware updating. Connect your product
using a USB cable and try updating the firmware again. If the error
continues, contact Epson for support.
The
power light is on
The error light is on
Initial ink charging may not be complete. Turn off the product and fill the
ink tanks as described on the
Start Here
sheet.
Note:
The ink pads in the printer collect, distribute, and contain the ink that is not used on printed pages.
During the life of your product it may reach a condition where either satisfactory print quality cannot be
maintained or the ink pads have reached the end of their usable life. The Epson Status Monitor, your
LCD screen, or lights on the control panel will advise you when these parts need replacing. If this
happens during the standard warranty of the product, the exchange of the product or replacement of the
pads is covered under the standard warranty. If the product is out of warranty, the pads can be replaced
by any Epson authorized service provider. The waste ink pads are not a user-replaceable part.
Parent topic:
Related references
Paper Jam Problems
Where to Get Help
Related tasks
Running a Product Check
Running a product check helps you determine if your product is operating properly.
1.
Press the
power button to turn the product off.
2.
Disconnect any interface cables connected to your product.
3.
Load plain paper in the product.
4.
Hold down the
cancel button and press the
power button to turn the product on.
Summary of Contents for L121
Page 1: ...L121 User s Guide ...
Page 2: ......
Page 7: ...7 Copyright Attribution 124 ...
Page 8: ......
Page 16: ...16 Parent topic The Power Off and Sleep Timers ...
Page 64: ...64 Related references Ink Safety Precautions ...
Page 69: ...69 You see a window like this 5 Click Print ...
Page 86: ...86 6 Close the paper support 7 Remove the paper support and detach its mount ...


