280
You can also update the software by selecting
EPSON Software Updater
in the
EPSON
or
Epson
Software
program group, accessible by the
Start
button, or on the
Start
or
Apps
screens, depending
on your version of Windows.
•
OS X
: You can manually update the software by opening the
Applications
>
Epson Software
folder
and selecting
EPSON Software Updater
.
•
macOS 10.12.x, 10.13.x, 10.14.x, or 10.15.x
: You can manually update the software by opening the
App Store
, selecting
Updates
, searching for a software update option for Epson Software, and
selecting
Update
.
Parent topic:
Related references
Product Status Messages
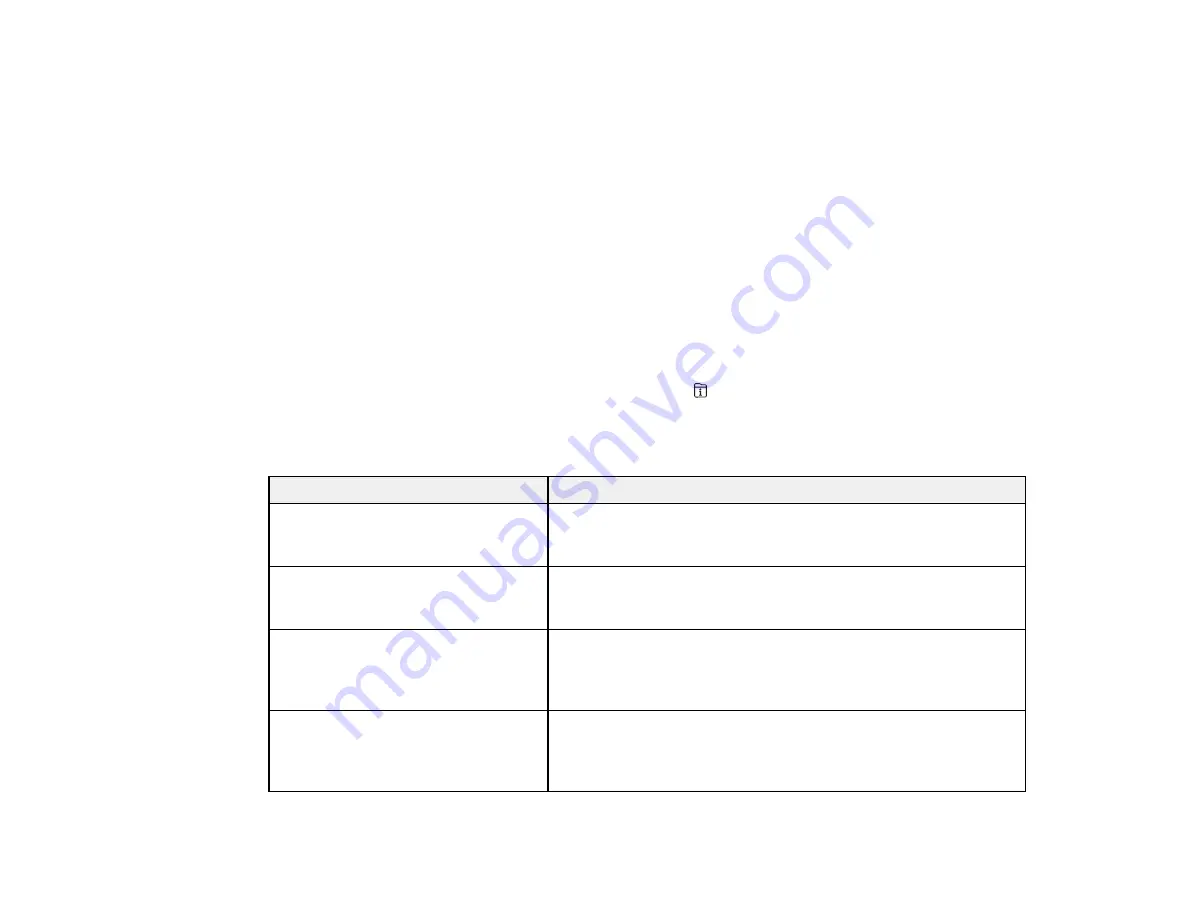
You can often diagnose problems with your product by checking the messages and status icons on its
LCD screen. You can also check for errors by pressing the
Job/Status
button and selecting
Printer
Status
.
Note:
If the LCD screen is dark, press the screen to wake the product from sleep mode.
LCD screen message
Condition/solution
The ReadyPrint service is
unavailable due to a connection
issue.
Make sure the product is connected to a network with Internet
access.
The ReadyPrint service is
unavailable due to an account issue.
Error code: XXXXXX
There may be an issue with your ReadyPrint account. Log in to
your account to review its status.
Printer is offline. Check the network
connection and connect to the
Internet to maintain the ReadyPrint
service.
The product has not been connected to the Internet for an
extended period of time. Make sure the product is connected to
a network with Internet access.
Printer error. Turn the power off and
on again. If the problem persists,
contact Epson Support.
Turn the product off and then back on again. If the error persists,
check for and remove any jammed paper or protective materials
from the product. If the error still persists, contact Epson for
support.
Summary of Contents for ET-5850U
Page 1: ...ET 5850U User s Guide ...
Page 2: ......
Page 159: ...159 You see an Epson Scan 2 window like this ...
Page 161: ...161 You see an Epson Scan 2 window like this ...
Page 177: ...177 You see a screen like this 2 Click the Save Settings tab ...
Page 182: ...182 You see this window ...
Page 278: ...278 Print Quality Adjustment ...

