72
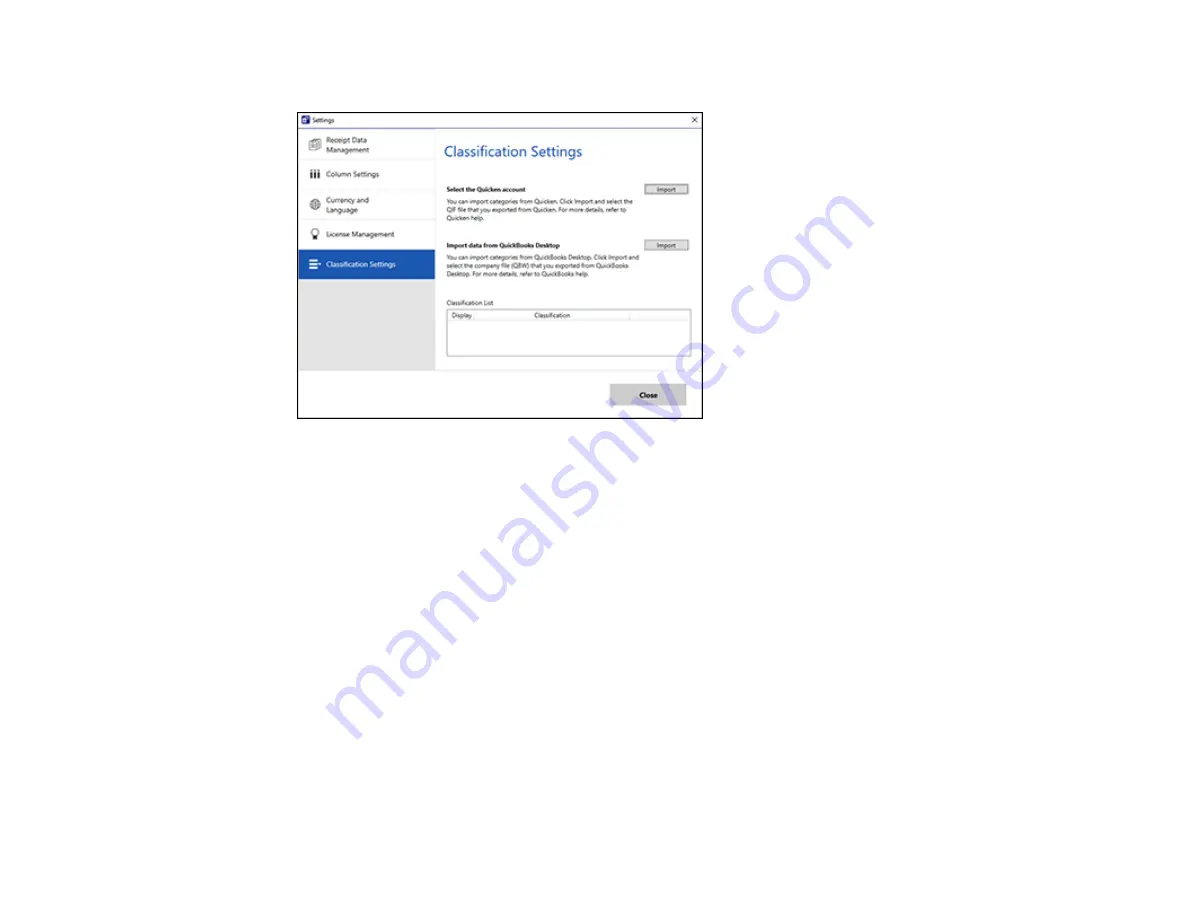
You see a screen like this:
3.
Click
Import
for one of the options and follow the on-screen instructions.
4.
After categories are imported, select the categories you want to display in the Receipt Manager Edit
window from the Classification List and click
Close
.
Parent topic:
Selecting Receipt Manager Settings
Scan Resolution Guidelines
The resolution setting in your scanning software, measured in dpi (dots per inch), controls the amount of
detail captured in your scans. Increasing the resolution raises the amount of detail captured but comes
with the following disadvantages:
• Larger file sizes
• It takes longer to scan your originals, send/receive your scans by email or fax, and to print your scans
• The image may become too large to fit on your display or print on paper
If you plan to enlarge a scanned image so you can print it at a larger size, you may need to increase the
resolution from the default resolution set by the software. Follow these guidelines to determine the
resolution setting you need:
• You will scan the image at its original size but enlarge it later in an image-editing program.
Summary of Contents for ES-50
Page 1: ...ES 50 ES 60W ES 55R ES 65WR User s Guide ...
Page 2: ......
Page 31: ...31 You see a screen like this 3 Select the scan option ...
Page 45: ...45 You see a screen like this 2 Click the Save Settings tab ...
Page 48: ...48 You see a screen like this 2 Click the Customize Actions tab ...
Page 51: ...51 Click the Manage Receipts icon on the Select Action screen ...
Page 56: ...56 You see a screen like this 2 Click the License Management tab ...
Page 60: ...60 You see a screen like this 5 Click Manage Receipts You see a screen like this ...
Page 69: ...69 You see a screen like this 2 Click the Currency and Language tab ...
Page 71: ...71 You see a screen like this 2 Click the Classification Settings tab ...


