35
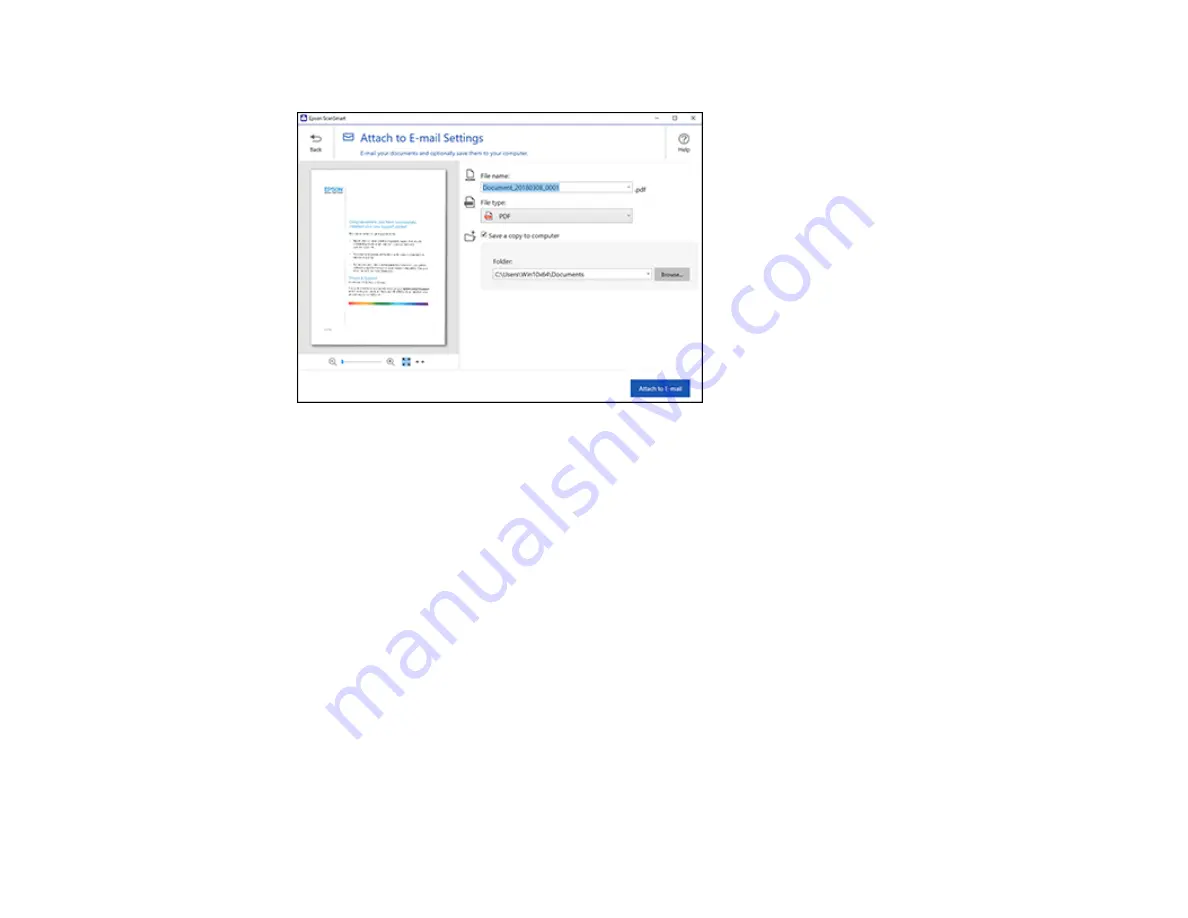
You see a screen like this:
3.
Change the settings as follows:
• The document type and scan date for the file name are automatically detected. You can change
them as necessary.
• You can save the scanned image as a PDF, JPEG, or searchable PDF file. If you select
searchable PDF, you can select the OCR language.
• If you also want to save a copy of the scanned image to your computer, make sure the checkbox
is selected and select the folder on your computer where the document is saved.
4.
Click
Attach to E-mail
.
Your e-mail program opens with the file attached to a new e-mail.
Parent topic:
Scanning a Document in Epson ScanSmart
Sending a Scan to a Cloud Service
You can upload scanned images to a cloud service.
1.
Make sure your originals are scanned and reviewed. See the link below.
2.
In the
Select Action
window, click one of the cloud service send options.
Summary of Contents for ES-50
Page 1: ...ES 50 ES 60W ES 55R ES 65WR User s Guide ...
Page 2: ......
Page 31: ...31 You see a screen like this 3 Select the scan option ...
Page 45: ...45 You see a screen like this 2 Click the Save Settings tab ...
Page 48: ...48 You see a screen like this 2 Click the Customize Actions tab ...
Page 51: ...51 Click the Manage Receipts icon on the Select Action screen ...
Page 56: ...56 You see a screen like this 2 Click the License Management tab ...
Page 60: ...60 You see a screen like this 5 Click Manage Receipts You see a screen like this ...
Page 69: ...69 You see a screen like this 2 Click the Currency and Language tab ...
Page 71: ...71 You see a screen like this 2 Click the Classification Settings tab ...


