Projector Connections
22
See these sections to connect the projector to a variety of projection sources.
Attention
Check the shape and orientation of the connectors on any cable you plan to
connect. Do not force a connector into a port if it does not fit. The device or your
projector could be damaged or could malfunction.
a
See the
Quick Reference
for a list of cables supplied with your projector.
Purchase optional or commercially available cables when necessary.
g
g
Related Links
• "Connecting to Video Sources"
• "Connecting to External USB Devices"
• "Connecting to a Document Camera"
• "Connecting to an HDBaseT Transmitter"
• "Connecting to External Output Devices"
Connecting to a Computer
Follow the instructions in these sections to connect a computer to the
projector.
g
g
Related Links
• "Connecting to a Computer for VGA Video and Audio"
• "Connecting to a Computer for HDMI Video and Audio"
Connecting to a Computer for VGA Video and Audio
You can connect the projector to your computer using a VGA computer
cable.
You can play sound through the projector's speaker system by connecting a
commercially available 3.5 mm stereo mini-jack audio cable.
a
• To connect a computer that does not have a VGA video port, you
need an adapter that allows you to connect to the projector's VGA
video port.
• To project an image source connected to the Computer2/Monitor
Out port, set
Monitor Out Port
to
Computer2
in the projector's
Extended
menu.
s
Extended
>
Operation
>
Monitor Out Port
• You can also set the port used for audio input in the projector's
Extended
menu.
s
Extended
>
A/V Settings
>
Audio Settings
>
Audio Output
• Make sure the audio cable is labeled "No resistance".
a
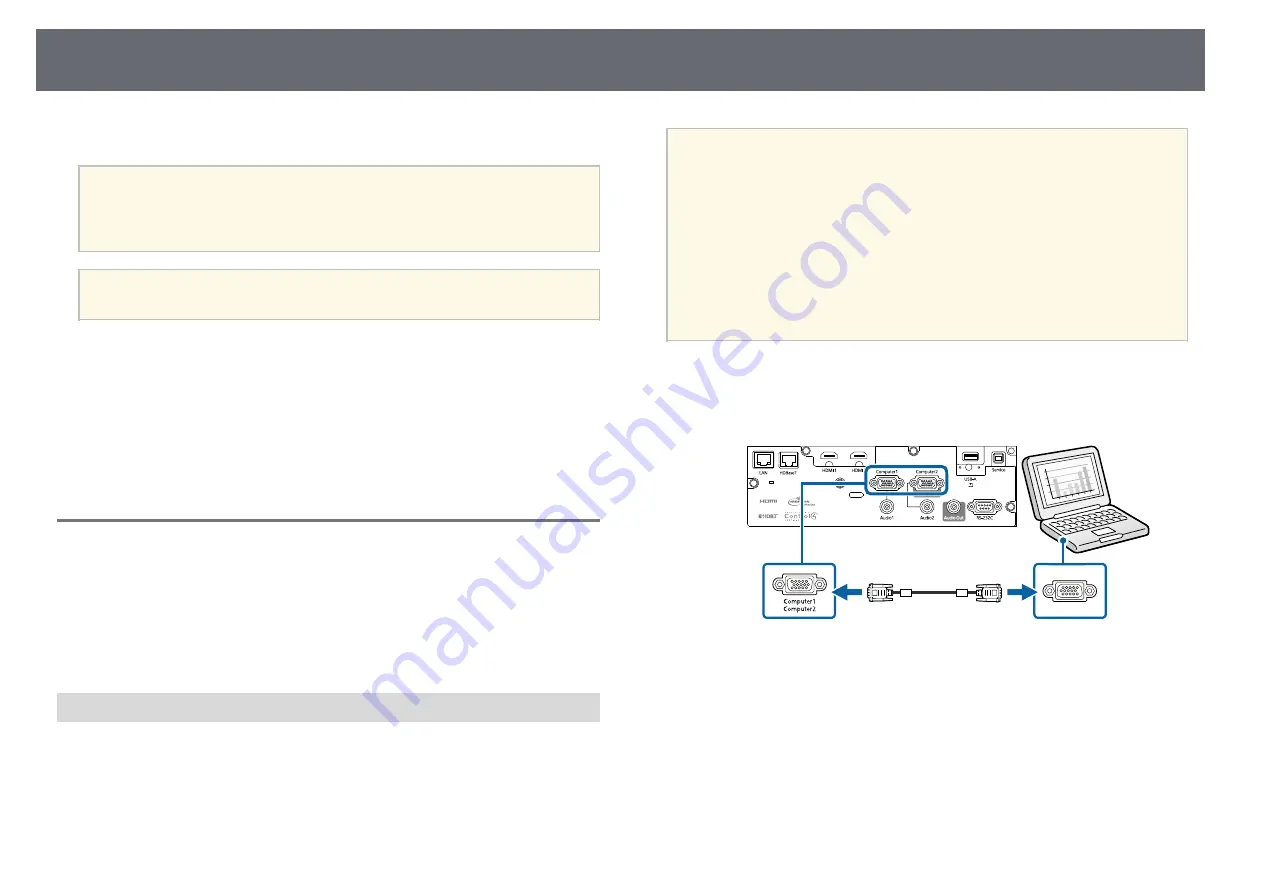
Connect the VGA computer cable to your computer's monitor port.
b
Connect the other end to a Computer port on the projector.
c
Tighten the screws on the VGA connector.
d
Connect the audio cable to your laptop's headphone or audio-out jack,
or your desktop's speaker or audio-out port.
Summary of Contents for EB-L400U
Page 1: ...User s Guide ...


