EPSON Stylus CX4300/CX4400/CX5500/CX5600/DX4400/DX4450
Revision A
DISASSEMBLY/ASSEMBLY
Disassembling Printer Mechanism
88
6.
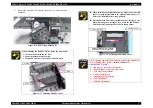
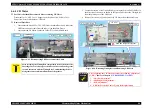
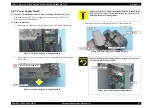
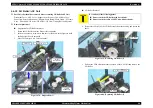
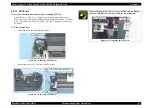
While detaching the shaft of the LD Roller from the LD Holder Shaft Assy,
remove the Main Frame.
Figure 4-70. Removing Main Frame (2)
7.
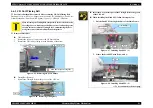
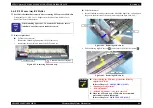
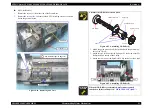
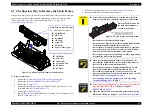
Release the connector cable of the PE Detector from the tabs (x4).
Figure 4-71. Disconnecting Cable
8.
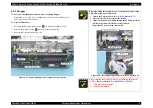
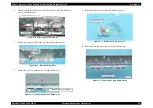
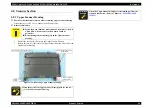
Remove the screw (x1) and remove LD Shaft Holder Assy.
Figure 4-72. Removing LD Shaft Holder Assy
9.
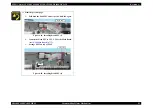
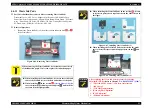
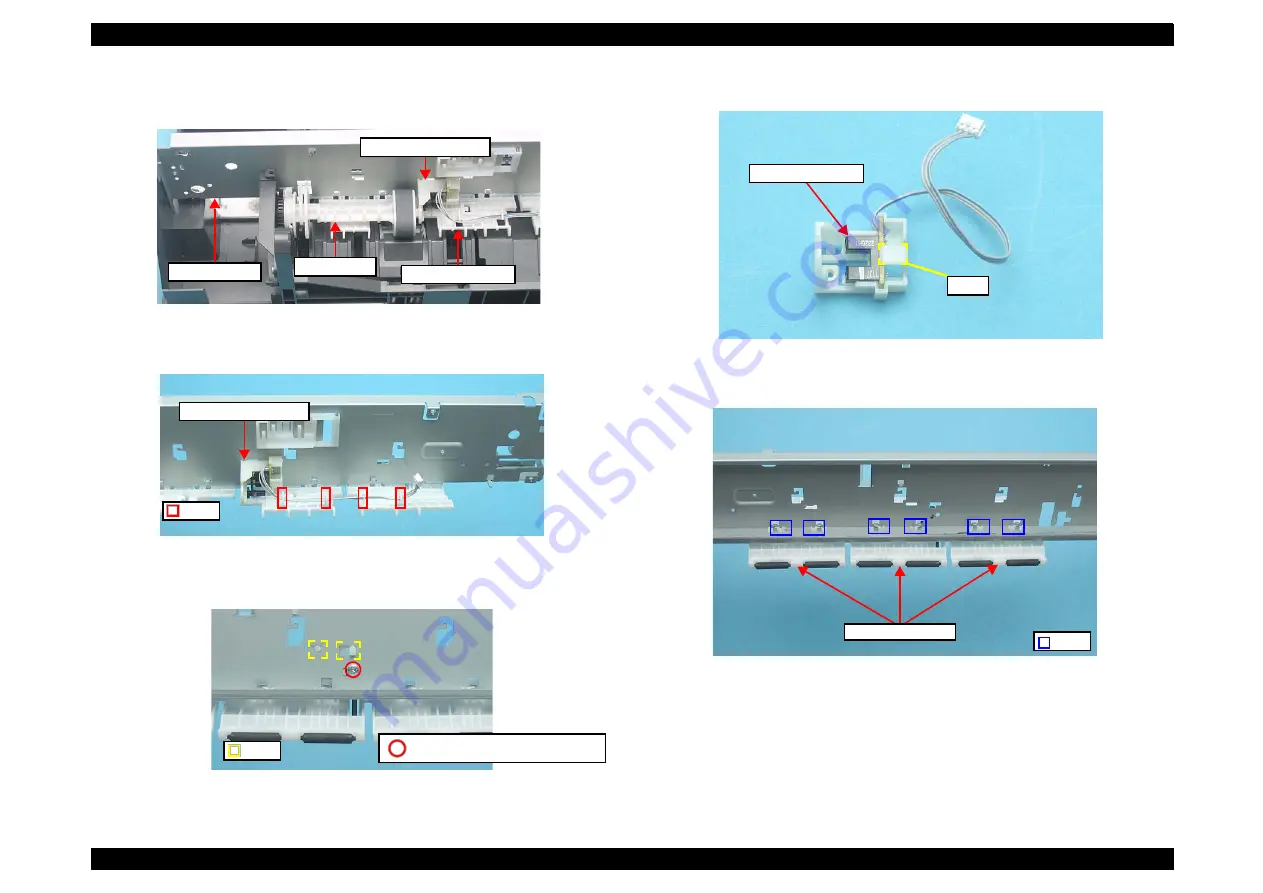
Release the tab (x1), and remove the PE Detector Assy.
Figure 4-73. Removing PE Detector Assy
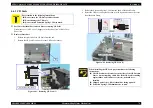
10.
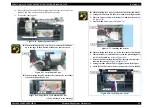
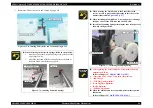
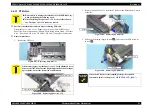
Release the tabs (x6) and remove the Upper Paper Guide.
Figure 4-74. Removing Upper Paper Guide
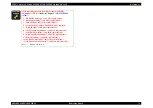
LD Holder Shaft Assy
Upper Paper Guide
Main Frame
LD Roller
Tabs
LD Holder Shaft Assy
Tabs
C.B.S 3X6 (Torque: 6
±
1Kgf.cm)
PE Detector Assy
Tab
Upper Paper Guide
Tabs
Summary of Contents for CX4400 - Stylus Color Inkjet
Page 5: ...Revision Status Revision Issued Date Description A April 23 2007 First Release ...
Page 8: ...C H A P T E R 1 PRODUCTDESCRIPTION ...
Page 23: ...C H A P T E R 2 OPERATINGPRINCIPLES ...
Page 32: ...C H A P T E R 3 TROUBLESHOOTING ...
Page 60: ...C H A P T E R 4 DISASSEMBLY ASSEMBLY ...
Page 100: ...C H A P T E R 5 ADJUSTMENT ...
Page 108: ...C H A P T E R 6 MAINTENANCE ...
Page 115: ...C H A P T E R 7 APPENDIX ...
Page 121: ......
Page 122: ......
Page 123: ......
Page 124: ......
Page 125: ......
Page 126: ......
Page 127: ......
Page 128: ......
Page 129: ......

