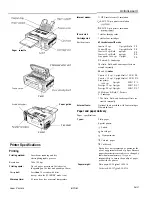
ActionLaser II
SelecType
The SelecType function on the printer control panel allows you to
print test pages, display memory size, select paper sizes, and change
your printer’s configuration without using DIP switches or software
commands. However, use SelecType only when you are unable to
use your application software to control settings required for your
print job.
Note: New SelecType settings are in effect only until you turn off the
printer unless you save them with the Level 1 SYSTEM CONFIG
option or the Level 2 P-CONFlG SAVE option described later in this
chapter.
SelecType is divided into two levels as shown below. A brief
description of each main menu option follows.
Level 1
Level 2
CH SELECT
TEST PRINT
INPUT
MODE ASSIGN
P-SIZE
I/F CONFIG
COPIES
RX-BUFFER SIZE
ORIENT
CH
FONT
CH TIMEOUT
STATUS SHEET
AUTO CONT
FONT SAMPLE
P-CONFIG SAVE
SUB CONFIG
FACTORY RESET
SYSTEM CONFIG
VERSION
PAGE COUNTER
STANDBY
SelecType Level 1 functions
INPUT
Selects
the
standard cassette or the optional
multi-media feeder or both.
P-SIZE
COPIES
ORIENT
Specifies the size of paper.
Selects the number of copies to be printed.
Orientation. Selects portrait (vertical) or
landscape (horizontal) printing orientation.
FONT
STATUS SHEET
Selects one of the available fonts.
Prints a report listing
the
current printer
settings.
FONT SAMPLE
Prints all font samples (bit-map and scalable
fonts) in the printer.
SUB CONFIG
Subconfiguration. Depending on
the
printer
mode, controls such features as symbol set
and number of text lines.
SYSTEM CONFIG
System configuration. Saves Level 1 settings
in macros for
one
or more printer modes,
displays the amount of memory remaining,
changes
top and left offsets, and controls
printing of complex pages.
SelecType Level 2 functions
TEST PRINT
MODE ASSIGN
Prints two test patterns.
Chooses one of the emulation modes:
HP LaserJet IIP, Epson LQ, Epson FX, or
(with the optional identity card installed)
Epson GL.
I/F CONFIG
RX-BUFFER SIZE
CH
CH TIMEOUT
AUTO CONT
P-CONFIG SAVE
FACTORY RESET
VERSION
PAGE COUNTER
STANDBY
Configures the parallel and serial interfaces.
Chooses the size of the receive buffer.
Channel mode. Sets the interface channels to
auto-sense
or individual.
Channel time out. If
no
data is sent during
the specified time period, the printer switches
from one channel to the other.
Automatic continue. Permits the printer to
continue printing instead of stopping under
certain error conditions.
Printer configuration save. Saves all Level 2
settings.
Returns all Level 1 and Level 2 settings to
their factory settings.
Displays the version numbers of the printer’s
controller and font.
Displays
the total
number of sheets printed
by the printer and the number by
the current
photoconductor unit.
Conserves power by reducing power to the
fixing heater when the
printer is not used for
30 minutes.
This section lists all the options available when you use SelecType.
Most options are the same whether you’re working in LJ-2P, LQ, or
FX emulation mode. Some of the options in Level 1, however, have a
different function for each mode.
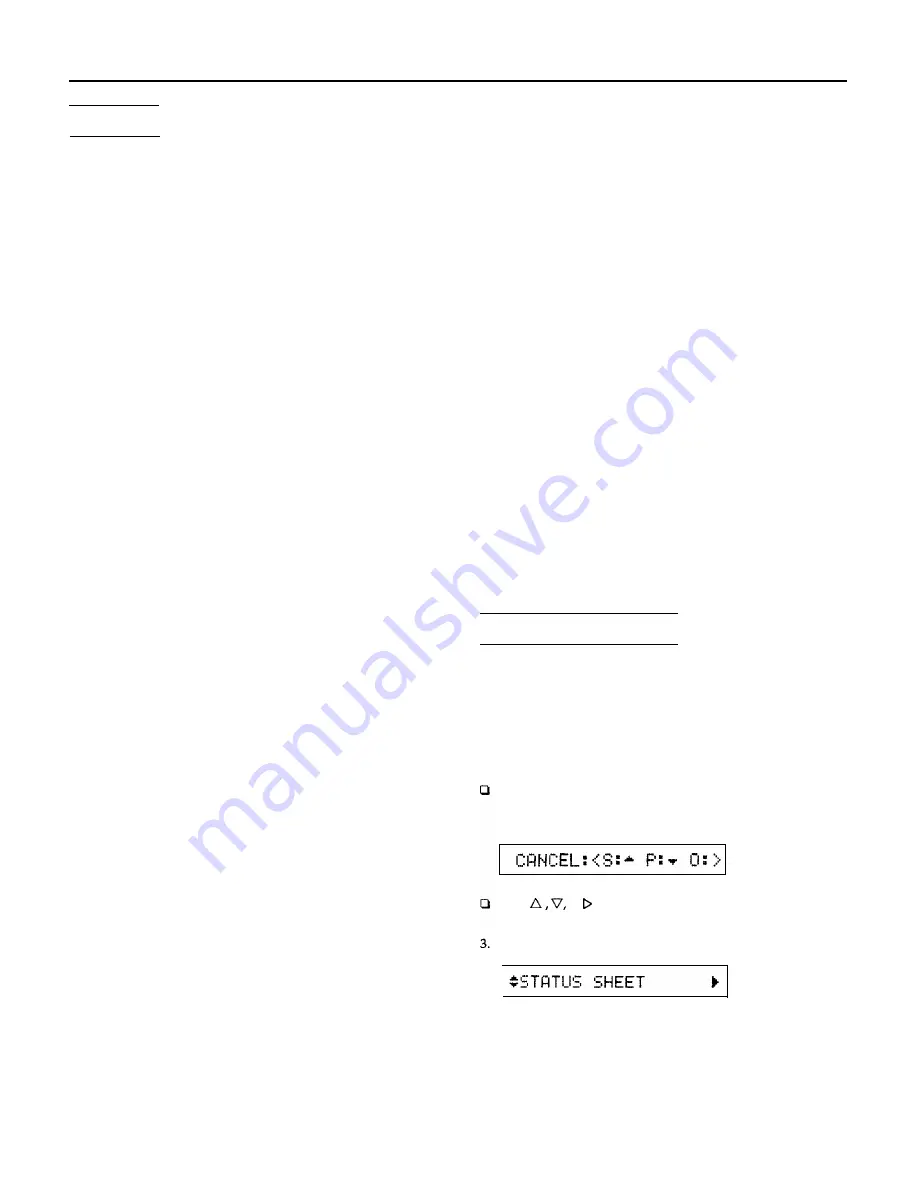
Printing a Status Sheet
Selecting and printing a status sheet
A status sheet lists the current printer settings.
1. Make sure that your printer is turned on.
2. Press the
SelecType
button until SelecType LEVEL1 appears.
Note:
If you have used SelecType before, and if the printer is set up to
use more than one channel, the following option appears on the
display at step 2:
Press
or
to
choose your channel. Then go on to
step 3.
Press V until STATUS SHEET appears on the display.
Laser Printers
9/17/91
ALll-9


