


We recommend the channel-tracking mode. With the
key you will automatically get into the
channel-tracking mode. By pressing the
key repeatedly you can choose the desired stored satellite.
Confirm with
.
If you choose band-tracking, please confirm
Sat X
by pressing
.
3.a) If you choose a satellite name (Channel- Tracking) the display shows
checking
for 1-2 seconds.
Meanwhile the data from the GPS antenna will be checked to calculate the right scew and elevation
angle for the desired satellite. If the GPS antenna didn´t received any data the display shows
Wait GPS
until the data were received.
Just for River/ Basic Line antennas
After
that the adjusted value is getting compared with the calculated value and in case of a difference the
display shows
Turn LNB
interchanging with
LIN X
(X is the skew angle has to be adjusted, see
chapter 3.5 or the addendum “ How to adjust the polarisation angle (Skew)).
To continue press the
q
key
or
a
key
. (To change the
LNB Type
(chapter 6.1) stop the search (at
following point 6).
ScnBand?
is shown on the display 2 seconds. After that press
the
key to
choose between
Band1
and
Band4
to select the band in which the satellite has to be searched.
3.b)
If you confirm
Sat X
( Band-Tracking) the display shows
ScnBand?
for 2 seconds.
After that press the
key to choose between Band1 and Band4 to select the band in which the
satellite has to be searched.
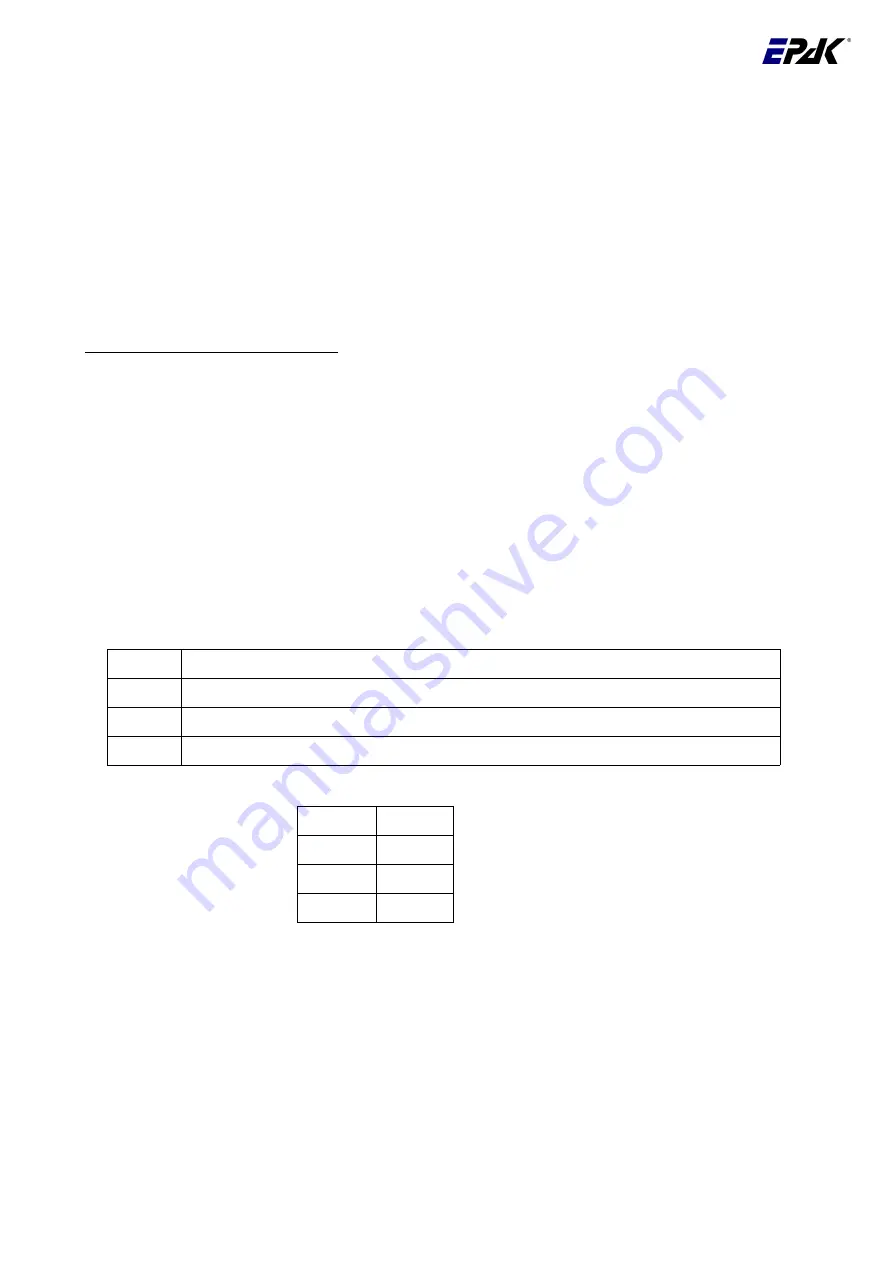
Please refer to the band numbers in the following table:
Band 1
10700 MHz – 11700 MHz Polarization vertical (vertical low / VL)
Band 2
10700 MHz – 11700 MHz Polarization horizontal (horizontal low / HL)
Band 3
11700 MHz – 12750 MHz Polarization vertical (vertical high / VH)
Band 4
11700 MHz – 12750 MHz Polarization horizontal (horizontal high / HH)
Astra 1
Band 3
Hotbird
Band 3
Sirius
Band 3
US
Band 2
4. Confirm with
or cancel with
.
5. The display interchanges between
New Sat
and
Search?
.
6. Confirm with
, or cancel with
.
7. In case you canceled the process, the display will briefly show
cancel
and then return to the Setup
menu showing
New Sat
(see point 2!). If you confirmed, the search mode is activated and the display
shows
scanning
(flashing). The search mode can be interrupted at any time by pressing
, which
brings you back to the main menu. The display shows
Setup
(flashing).
English Page 16 / 34
Example
:
Summary of Contents for Basic Line Series
Page 1: ...Manual River Line TV43 TV58 Basic Line TV44 TV59 Premium Line TV61 TV90 English V2 08 2010...
Page 9: ...Premium Line 228 6 mm x 228 6 mm TV90 English Page 9 34 Bow...
Page 10: ...Premium Line 228 6 mm x 228 6 mm TV61 English Page 10 34...
Page 22: ...7 2 Overview of menu structure English Page 22 34...


