Driver/Application installation
Choose those accessories or application software support to
W indows CE .NET (4 .0); ARM or Strong ARM CPU; HPC or HPC pro platform .
Some shareware and freeware support PPC (Windows CE 3.0) or PPC2002 may also
run on e Pad platform. But basically, ePad
is more close to HPC.
Or visit our website, we will publish our software compatibility list there.
Step 1: Choose driver or applications that match limitation list above.
Step 2: Connect ePad to your PC. Make sure they are connected.
Step 3: Run driver/application setup file on desktop PC to start install process. (If the
driver/application is a .cab file, use ActiveSync to copy/move it into ePad
Then double click on it to extract on e Pad. With this method, you may
ignore step 4-5)
Step 4: Setup program will first to retrieve
device data to check if this program
had been installed before.
Step 5: Setup wizard will ask you if you want
to install with the “default application
install directory”? Say “Yes” to save
data into DRAM or say “No” to save
to other directory.
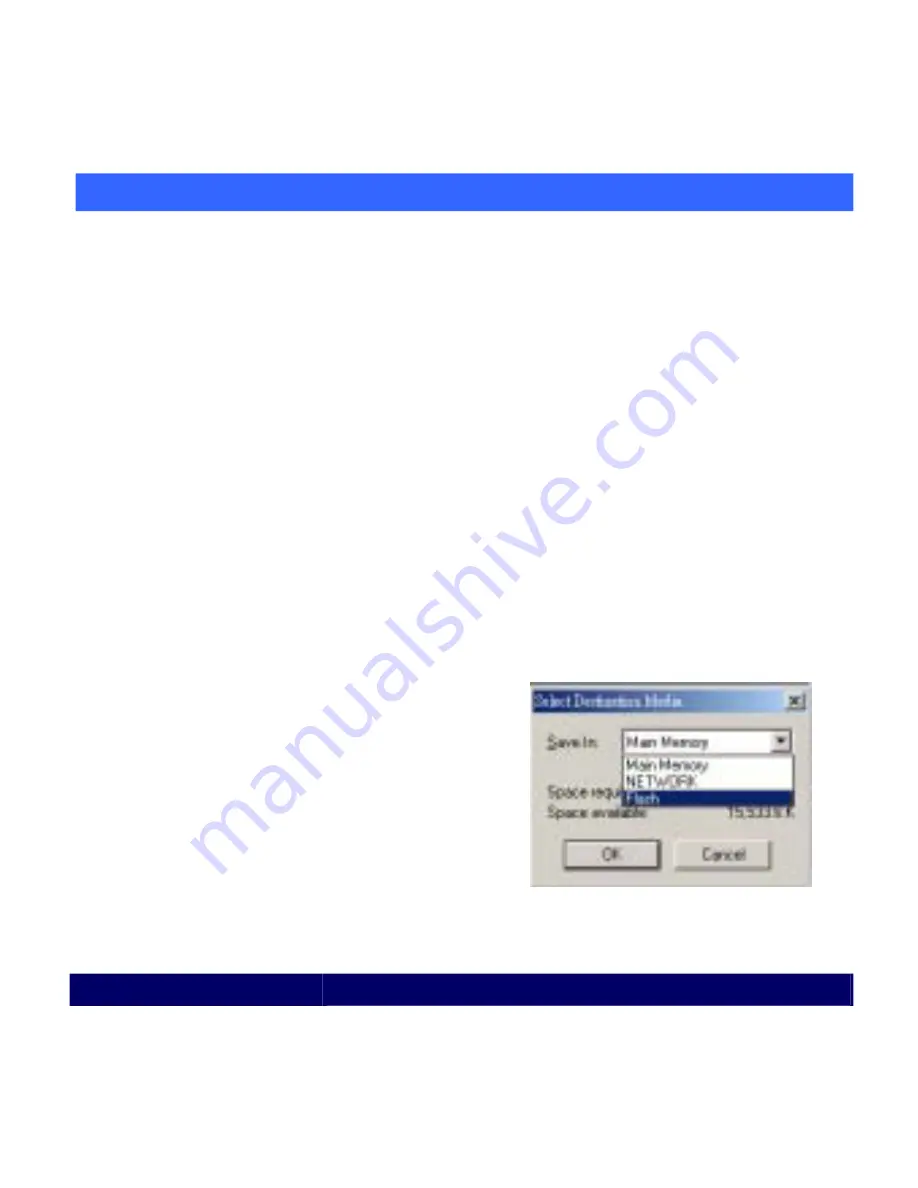
Step 6: If you just say “No” at previous step, then a dialog window prompts you to
choose folder for saving data. We suggest you to select “FLASH” which is an
- 19 -
User’s guide
ePad


