Installation
Please read and understand these instructions before installing pedestal or ash pan and leg option.
Failure to follow these instructions carefully could cause personal injury or property damage. All screws
are pre-installed on the base of the unit.
R
EMOVAL
F
ROM
P
ALLET
:
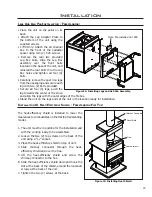
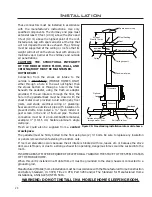
• Place the unit on the pallet on its back.
• Remove the front two (2) provided Pedestal
bolts, slide the pedestal assembly over the
rear bolts located on the base of the unit, and
re-install the front bolts through the Pedestal
holes.
• Tighten all four (4) bolts ensuring the pedestal
is properly aligned to the edges of the unit.
• Stand the unit on the pedestal and set the
unit in the location ready for installation.
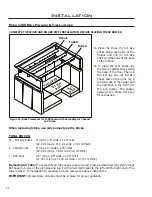
• If fresh air supply is being supplied from the
bottom of the unit please install the cover
plate supplied to the rear of the pedestal
covering the 4” (10 cm) hole.
Note:
In seismically active areas, it is
recommend that your unit is secured to the
fl oor by using the bolt down holes at the rear of
the pedestal.
P
EDESTAL
I
NSTALLATION
- F
REESTANDING
:
• Remove the bricks from the unit before starting.
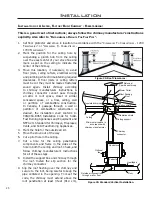
• Remove the two (2) lag bolts (shown in Figure 1) that
secure the unit to the pallet from inside the fi rebox.
Note:
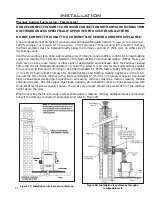
After the pedestal or legs and ash pan
have been installed but before the bricks are
installed, rivets (Figure 12) must be placed
in the two (2) holes (shown in Figure 1) in
the fi rebox that lag bolts came out of. This is
done to make unit burn more effi ciently.
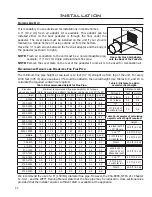
Figure 12:
Rivet.
Figure 12: Bolts to remove.
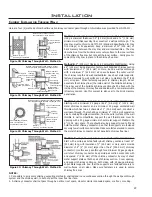
Figure 13: Installing Pedestal.
18


