33
Fan
White
Black
Fan
temperature
sensor
White
Black
Power Supply
Fan
controller
Installation
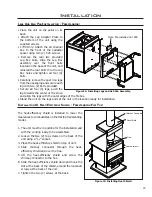
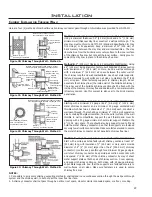
Figure 34: Freestanding Fan Kit Wiring Diagram.
Refer to F
AN
W
IRING
D
IAGRAM
before installing your optional fan
kit.
1. Remove the fan assembly from the box and inspect for
any damage to the assembly. If damage is noticed call
your dealer, distributor or courier company and have
components replaced before installing kit.
2. Remove the knock out at the bottom of the back panel of
the appliance by using a fl at head screwdriver as a lever,
hook the tip of the screwdriver under the panel beside the
tabs and push the panel out.
3. Install two (2) T-20 screws into the top two (2) holes. Place
the blower assembly over these two (2) screws.
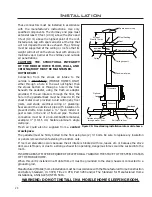
4. Ensure the temperature sensor will touch the unit when
mounted. If it does not touch, adjust the sensor so it does.
Tighten the two (2) top screws and install the two (2)
bottom screws and tighten.
5. Plug the fan assembly in and check for proper operation.
O
PTIONAL
F
AN
I
NSTALLATION
- F
REESTANDING
:
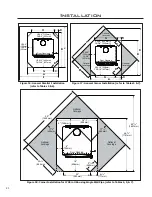
Figure 35: Back View of Freestanding Unit
with Fan Kit.

