D & E
2-013
2-014
F 2-113
G 2-116
H 2-120
J 2-125
K 2-130
L 2-226
M 2-228
N 2-230
P 2-337
Q 2-346
R 2-352
T 2-438
Sapag Safety Valves Series 8400/8500/8490/8590
Installation and Maintenance Instructions
Emerson reserves the right to change the contents without notice
page 14
Assembly of Cap and Lifting Lever Devices
Series 8000 pressure relief valves are furnished with several different caps and lifting lever
devices. The following describes assembly of the available types of cap construction. (Disassembly
is the reverse of assembly). For part identification refer to Figure 13.
• Type B and K
Install the cap gasket and screw the cap onto the top of the bonnet. Tighten the cap with a strap
wrench. Install the cap plug gasket and screw cap plug into the cap. The test rod is installed only
during system hydrostatic testing. Never install the test rod unless performing system hydrostatic
testing.
• Type C
Screw the spindle nut onto the spindle.
Place the cap on the bonnet. Install the forked lever and forked lever pin. Attach the lever to the
cap using the lever pin and secure with the lever pin cotter.
Adjust the spindle nut until the forked lever rests on the lever and there is a 1/16 inch minimum of
play between the forked lever and the spindle nut. The spindle nut may be adjusted by removing
the forked lever pin, forked lever and cap. When the spindle nut is in proper adjustment, install the
spindle nut cotter pin. Replace the cap and forked lever and install the forked lever pin and forked
lever pin cotter.
Position the lever opposite the valve outlet and install the four (4) cap set screws and tighten them
against the groove in the top of the bonnet.
• Type D
Install the cap gasket on the bonnet. Screw the spindle nut onto the spindle. Place the dog in the
cap and install the dog shaft so that the dog is horizontal and the square on the end of the dog
shaft has a corner on top. With the dog shaft in the position above, scribe a horizontal line on the
end of the dog shaft. This line must be horizontal when the lifting gear is finally installed on the
valve. Install the dog shaft O-ring in the dog shaft bearing and place the dog shaft bearing gasket
on the dog shaft bearing.
Screw the dog shaft bearing into the cap. Rotate the dog shaft so that the dog is pointing down
and install the cap assembly onto the bonnet. Rotate the dog shaft so that the dog contacts the
spindle nut. With the scribed line horizontal, remove the assembly and adjust the position of the
spindle nut. Repeat the operation until the scribed line is horizontal when the dog contacts the
spindle. Remove the assembly and install the spindle nut cotter pin.
Install the lifting gear assembly onto the bonnet and secure it with cap studs and nuts.
For Type D lifting levers that have two part caps (cap and cap top) the above procedure is more
easily accomplished. After the cap is screwed to the bonnet, the positioning of the dog shaft is the
same as above except that the positioning of the spindle nut is performed last through the open
end of the cap.
With the dog in the horizontal position, screw the spindle nut onto the spindle until it contacts the
dog. Install the spindle nut cotter, cap top gasket and screw the cap top into the cap.
• Type E
Assembly of Type E lifting lever is identical to Type D with the addition of the cap plug gasket and
cap plug. The test rod is installed only during system hydrostatic testing. Never install the test rod
unless performing system hydrostatic test.
• Type H and M
Assembly of Type H and M is identical to Type G and L with the addition of the cap plug gasket
and cap plug. The test rod is installed only during system hydrostatic testing. Never install the test
rod unless performing system hydrostatic test.
Soft Seat Construction
Coat O-ring with Parker Super O-Lube and place a small amount of Loctite 242 (or equivalent
removable thread lock) onto retainer screw before assembly. Securely tighten retainer screw(s).
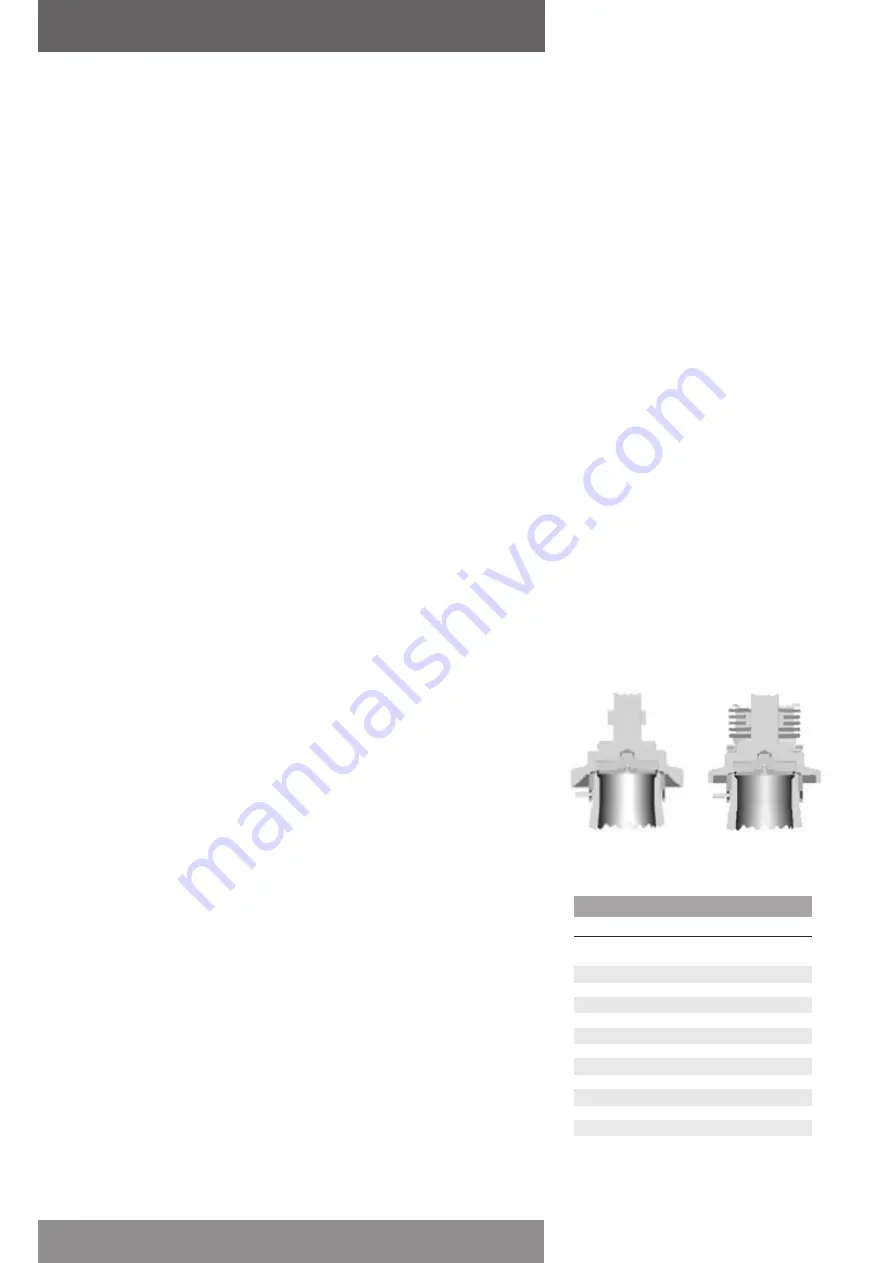
• O-Ring Soft Seats
Sapag Series 8000 metal-to-metal seated pressure relief valves may be converted to an O-ring
soft seat by replacing the standard disc insert and nozzle with those parts designed to house the
O-ring soft seat or vice versa.
Figure 14
8500 O-ring
8400/8490
Soft seat
O-ring
Soft seat
Table 10 - soft seat o-ring sizes
Orifice
O-ring size
All Elastomers
Teflon Only


