4. The valve contains a single spring or a multiple
nested spring arrangement. Inspect the springs and
other internal parts for signs of deterioration and/or
corrosion. Replace any worn or damaged parts.
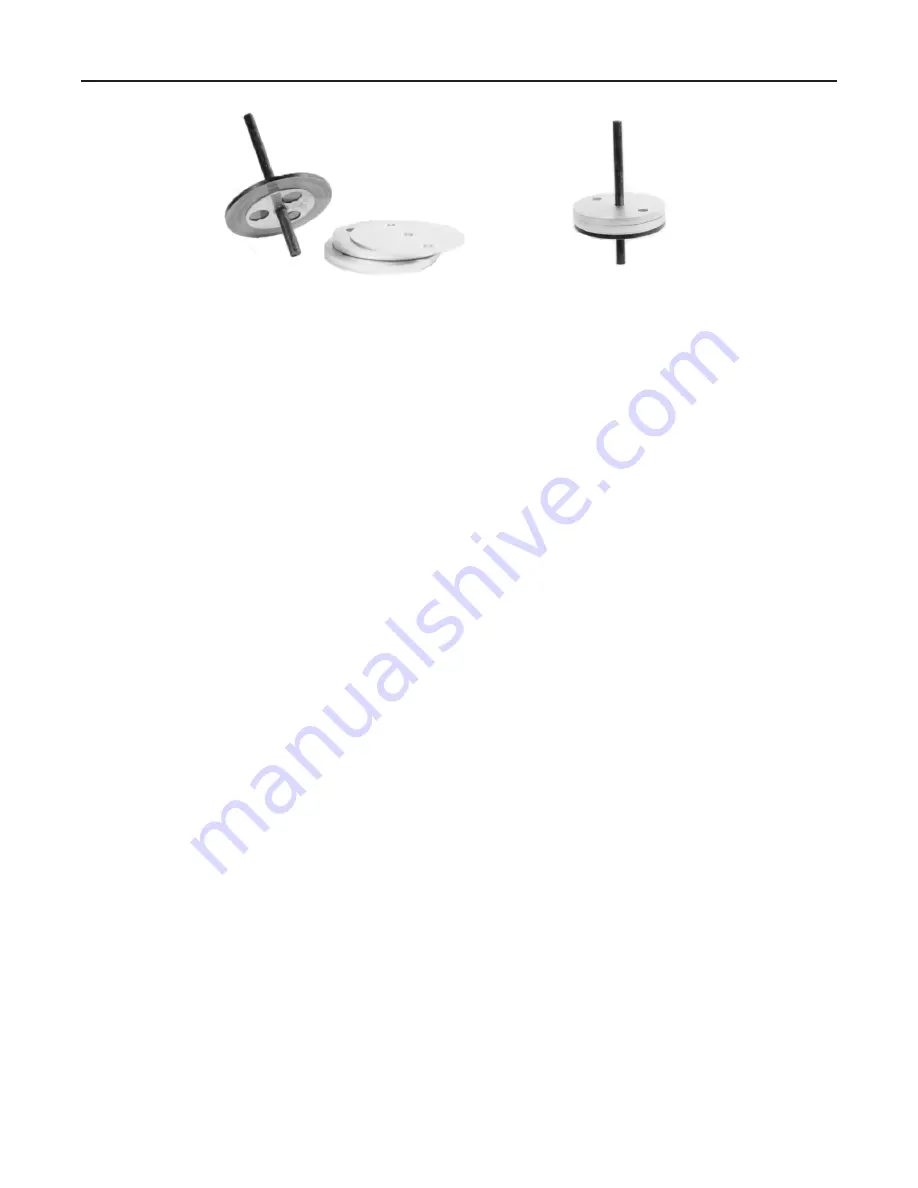
5. Remove any valve pallets and weights from the
unit if so equipped. Keep in mind that these will be
reinstalled, so keep track of the chamber from which
they were removed.
6. Inspect the pallets for any damage and/or buildup
that may affect its sealing characteristics or its ability
to move properly inside the valve. If necessary, gently
clean the pallet and seal with a suitable solvent and
nonabrasive cloth.
7. Clean the removed parts with a suitable solvent.
8. Inspect the valve seats installed in the unit. The
sealing surfaces should be smooth and free of nicks
or buildup. Check the guides for anything that may
keep the valve pallet from moving properly inside
the valve. If necessary, gently clean the seats with a
suitable solvent and nonabrasive cloth.
9. If lid is available on the valve, clean any buildup that
may exist in or around the guide hole located in the
center of the part.
10.
If the valve is fitted with a screen of some type,
clear away any blockage that may impede
proper flow.
11. Reassemble the valve in reverse order
from disassembly.
12. Make sure the lower stem on the pallet is centered
into the valve seat. If the pallet appears to be off
center to the valve chamber, or if there is difficulty
positioning the lid or guide, the pallet may be
inserted improperly.
13. Adjust the spring preload by returning the spring
plunger to its factory set location as noted earlier
or install on a pressure test stand and adjust to the
desired setting.
Enardo 960 Series Vent to Atmosphere
See Figures 8 and 9 for reference.
1. For 4 and 6 in. valves, remove the cylindrical cap(s)
from the lid(s) by removing the small screws.
2. Remove the hood by removing the wing nuts or
screws holding it in place. Hood can be removed
without releasing spring preload, but do not
remove the hex nuts until the spring preload has
been removed.
3. Follow steps 2 to 13 from the Enardo 860 Series
Pipe-Away Maintenance section on page 7.
Figure 9.
Weights on Pallet
10
Enardo 860 and 960 Series
Outside North
America Only


