84
EN
CCTV
Step 3: After acquiring the IP address, Subnet Mask and so on, please enter into the DVR’s Main Menu
Æ
Setup
Æ
Network
interface to manually input IP address, Subnet Mask and Gateway according to the configuration of PC. The network segment
should be the same as the PC. If using DHCP, please enable DHCP in the DVR and router.
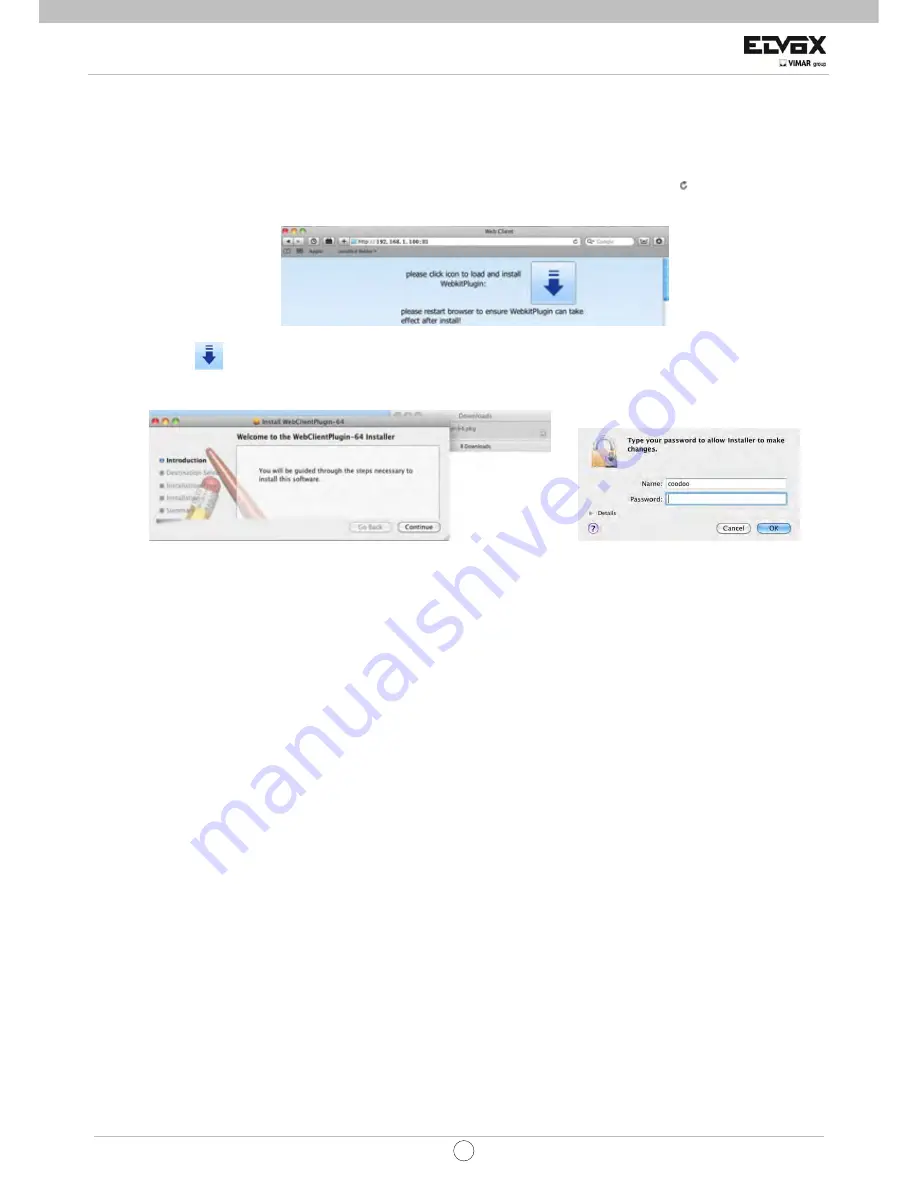
Step 4: After finishing the above information, users can enter LAN IP and http port in the Safari browser. For example: input
http://192.168.1.100:81(here 192.168.1.100 is LAN IP of DVR, 81 is the http port of DVR). Click “
”button, the browser will
download Active X control as shown below:
Step 5: Click
icon and then select the Active X control, the welcome interface will be shown. Click “Continue”
Æ
”Install”
button
,
the following window will pop up
:
Input the name and password of Apple PC and then click “OK” to install this Active X control.
Step 6: After finishing installing the Active X control, please quit from the Safari browser. Right click Safari icon on the desktop
and then select “Quit” button to quit the browser. Then restart Safari browser. Input the IP address and http port to enter into the
login interface of DVR.
7.2.2
On WAN
There are also two ways for DVR to connect to Internet.
1. Connect the DVR to internet through router or virtual server
Step 1: The network setups are the same as step one to step four of point 1 on WAN of IE remote surveillance.
Step 2: Enter WAN IP and http port in the Safari browser to install the Active control. Then a window pops up and asks for user
name and password. Input name and password correctly, and enter to view.
2. Connect the DVR to internet directly.
Step 1: The network setups are the same as step one of point 2 on WAN of IE remote surveillance.
Step 2: Enter WAN IP and http port or domain name in the Safari browser to install the Active control. Then a window pops up
and asks for user name and password. Input name and password correctly, and enter to view.


