Quick start guide Eltako GFVS-Touch II
20
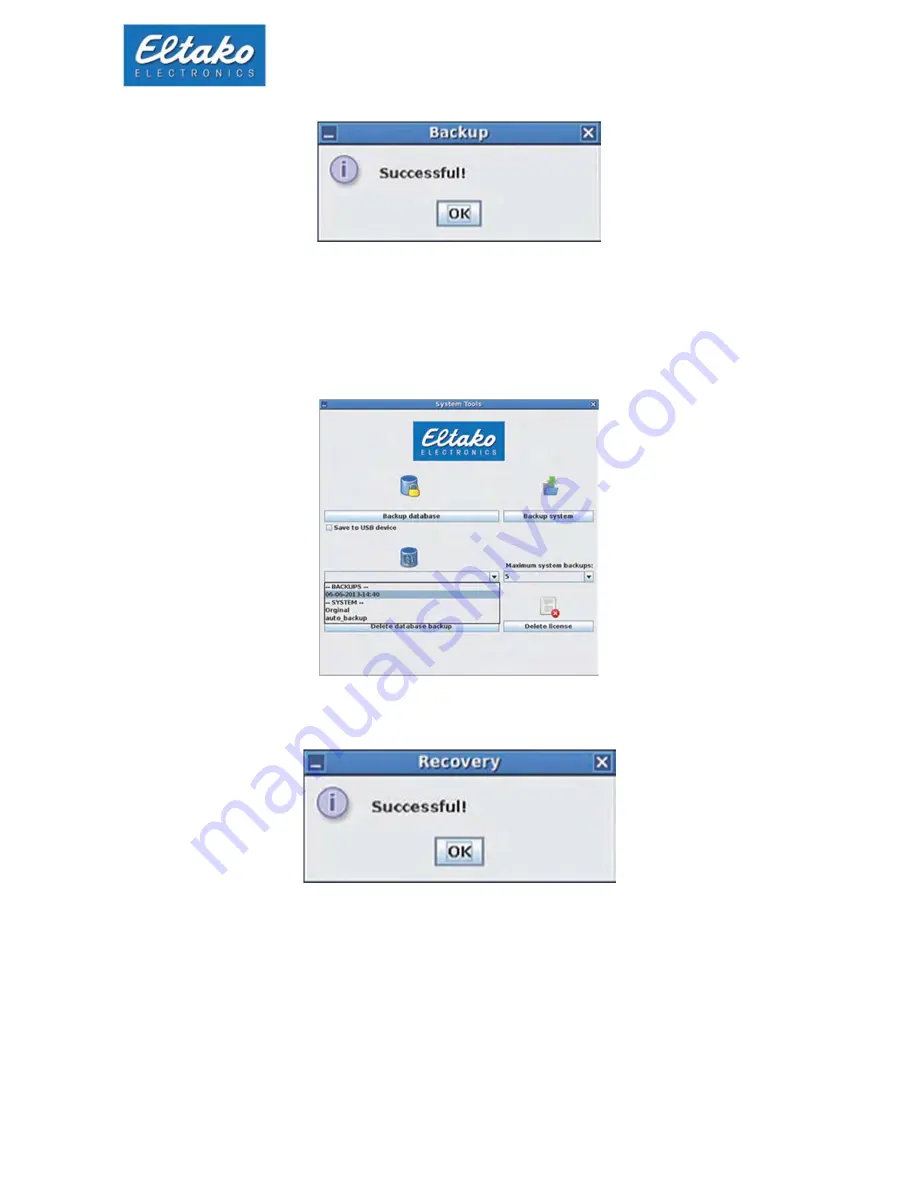
As soon as the backup is finished, a new dialog appears. Confirm with “ok“.
Figure 30: successful database backup
After each restart of the Eltako GFVS II, an automatic backup of the database takes place.
If you want to restore an older database select it from the drop-down box. Alternatively a database
with the delivery status of Eltako GFVS-Touch II can be selected.
Figure 31: restore database
Once you have selected a database, press the button “restore database“.
Figure 32: recovery successful
The successful recovery of the database is confirmed with a dialog. Click “ok“.
To delete a created database backup, select the appropriate database from the drop-down menu, then
press “delete backup database“ with a click on the button.


