


20
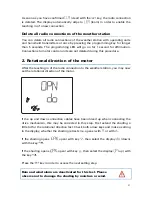
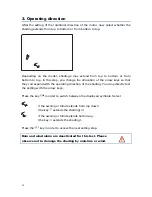
1. Radio connection to the weather station
The first step is the teaching in (or later the deletion) of the radio connection.
Select the desired step with the
key:
(continue) in order to skip this step,
(learn) in order to teach in a radio connection to the weather station,
(clear) in order to delete an existing radio connection.
Confirm your selection with the
key.
As soon as you have confirmed
(learn) with the
key, the radio symbol
stops flashing and the radio waves are animated (they “run”). Now there are two
possibilities:
1. Interrupt voltage supply
1
:
Briefly interrupt the voltage supply of the weather station by switching off and on
the fuse. The radio connection is learned immediately after switching on again.
2. Programming key of the weather station:
This option of the teaching in may only be accomplished
by a qualified person for electronics.
Press the programming key inside the weather station in order to teach in the
radio connection (you can find a diagram of the circuit board in the chapter
"Preparation of the weather station”).
The learning has been successful if the LED next to the programming key shortly
flashes twice and the display skips to step 2 of the basic settings (rotational
direction of the motor).
1 from version 4.0 of weather station. Query of software version see ”Query service data”, p. 42.