24
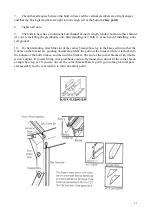
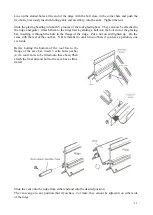
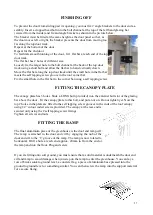
When the vent is in position and it opens and closes correctly, you can now insert a black flexible
tube into the same channel of the ridge that the vent slides. Move the tube along the ridge until it
meets the vent. Now insert a self tapping screw into the long side of the tube to expand the tube to
remain in position. This will prevent the vent from moving. See previous diagram. 1 tube should be
fitted on each side of each vent
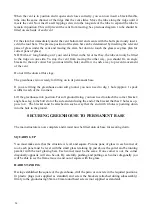
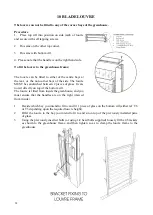
Fit the slam bar immediately under the vent bottom rail and secure with the bolts previously insert-
ed in the roof bars. The precise position of the slam bar can be determined by inserting the relevant
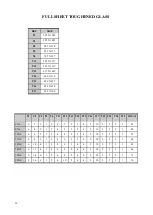
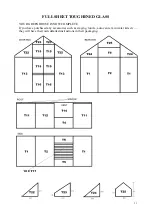
pane of glass under the vent and moving the slam bar down to touch the glass.(see glass plan for
correct pane of glass)
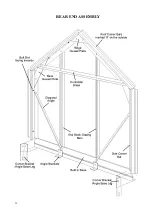
NB. With a 4’ long building or if your vent is fitted in the 1st or last bay, the tube can only be fitted
to the ridge on one side. To stop the vent from moving the other way, you should fix an angle
bracket to the roof corner bar (you must drill a hole) and fix it in such a way to prevent movement
of the vent.
Do not fit the doors at this stage.
The greenhouse is now ready for lifting on to its permanent base.
If you are fitting the greenhouse onto soft ground, you now need to dig 1 hole (approx 1 spade
width) in each of the 4 corners.
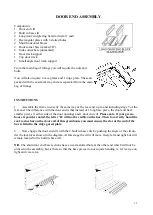
Lift the greenhouse into position. For soft ground fixing, you now need to attach the corner bracket/
angle base leg to the bolt slot of the side and end using the end of the bracket that has 2 holes as op-
pose to 4. The bracket must be attached in such a way that the end with 4 holes is pointing down
into the hole in the ground.
SECURING GREENHOUSE TO PERMANENT BASE
The main structure is now complete and it must now be fitted onto its base for securing down.
SQUARING UP
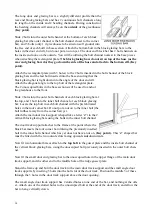
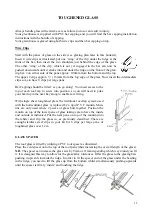
You must make sure that the structure is level and square. Put one pane of glass in each corner of
roof, each pane must be level with the small glass retaining lip just above the gutter and be running
parallel with the roof glazing bars. Each corner must be the same. If one corner is out, the corner
diagonally opposite will also be out. By carefully pushing and pulling each corner diagonally you
will be able to see the frame move in and out of square with the glass.
HARD STANDING
Having established the square of the greenhouse, drill the patio or concrete in the required positions,
fit plastic plugs (not supplied as standard) and screw the brackets (attached during subassembly)
firmly to the ground using 35mm x 8mm round head screws (not supplied as standard).
Summary of Contents for 6'5" WIDE TITAN
Page 1: ......
Page 2: ...2 ...
Page 3: ...3 ...
Page 9: ...9 SIDE FRAME ASSEMBLY ...
Page 12: ...12 REAR END ASSEMBLY ...
Page 16: ...16 DOOR END ASSEMBLY ...
Page 19: ...19 ...
Page 21: ...21 ASSEMBLY OF GREENHOUSE UNIT ...
Page 32: ...32 ELITE 1803 ...


