ElectrIQ eiQ-43CVSUWD120FSH User Manual Download Page 4


• 

Disconnect the power immediately and seek professional help if the plug or cable 
is damaged, liquid has spilt onto the unit, if accidentally exposed to water or 
moisture, if anything accidentally penetrates the ven

�l

a

on slots or if the unit 

does not work normally. 

• 

Do not remove the safety covers. There are no user serviceable parts inside. 
Trying to service the unit yourself is dangerous and may invalidate the product's 
warranty. Only quali

ed personnel should service this  apparatus. 

• 

Do not block ven

�l

a

on slots on the back cover. The monitor can be placed in a 

cabinet but ensure at least 5cm (2") clearance all around. Do not tap or shake the 

screen, this may damage internal components. 

• 

Due to our con

nuous product development, the opera

on and or features of 

the product received may vary slightly from the informa

on provided within the 

manual. 

• 

WARNING: To reduce the risk of 

re or electric shock, do not expose this 

apparatus to rain or moisture. The apparatus shall not be exposed to dripping or 

splashing and objects 

fill

ed with liquids, such as vases, shall not be placed on the 

apparatus. 

• 

WARNING: The wall plug socket is used as a disconnec

on device and should 

remain readily accessible. 

• 

WARNING: The ba

eries shall not be exposed to excessive heat such as direct 

sunlight or 

re. 

• 

Although every e

ort is made to maintain the accuracy of the manual, due to 

con

�n

uous product development, some varia

�o

n from the manual is possible. 

• 

The availability of features and se

�ngs m

ay vary depending on the input source and 

method of connec

�o

n.


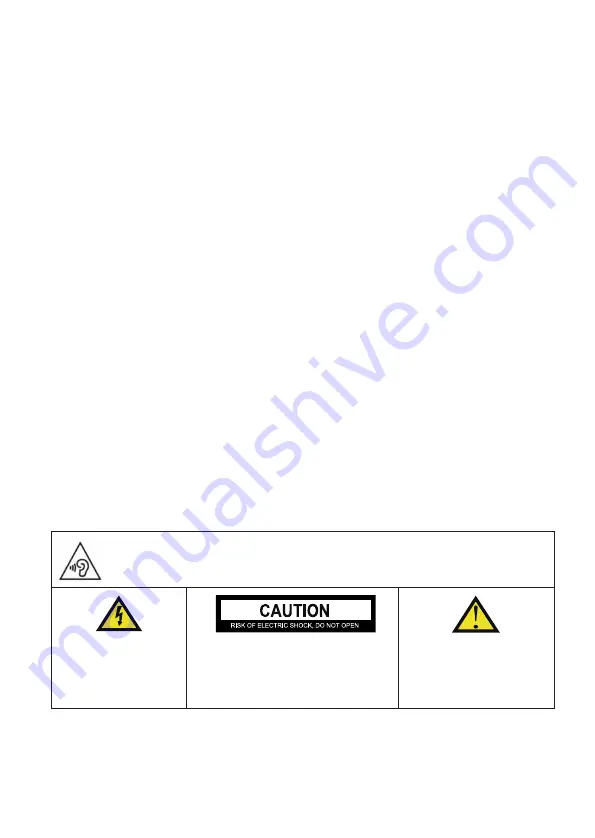
AT FULL VOLUME, PROLONGED LISTENING MAY DAMAGE THE 

USER’S HEARING. 


This warning sign is to 

warn of dangerous 

voltage inside the 

product.


CAUTION: To reduce the risk of electric 

shock, DO NOT remove the cover (or 

back). No user serviceable parts inside. 

Refer servicing to 

quali

ed service 

personnel.


This warning sign is to alert 

you of important 

instruc

ons accompanying 

the product.


Summary of Contents for eiQ-43CVSUWD120FSH

Page 1: ...eiQ 43CVSUWD120FSH eiQ 43CVSUWD120FSHQ Thank you for choosing electriQ Please read the user manual before using this monitor and keep it safe for future reference Visit www electriQ co uk to view our...

Page 2: ...TROL PANEL 9 INPUT OUTPUT TERMINALS 9 INITIAL SET UP 10 11 SHORTCUT BUTTONS 12 OSD MENU INPUT SOURCE 12 BRIGHTNESS CONTRAST 12 COLOUR SETTINGS 13 PICTURE QUALITY SETTINGS 14 DISPLAY 15 AUDIO 15 MULTI...

Page 3: ...ere it exits from the appliance Only use a achments accessories speci ed by the manufacturer Use only with a cart stand tripod bracket or table speci ed by the manufacturer or sold with the apparatus...

Page 4: ...NG To reduce the risk of re or electric shock do not expose this apparatus to rain or moisture The apparatus shall not be exposed to dripping or splashing and objects lled with liquids such as vases s...

Page 5: ...agonal Bolts x 4 L35mm x 2 L17mm x2 PARTS LIST USER MANUAL 43 4 INCH CURVED LED MONITOR eiQ 43CVSUWD120FSH eiQ 43CVSUWD120FSHQ Thank you for choosing electriQ Please read the user manual before using...

Page 6: ...with the protec ve foam s ll a ached and gently lay it at on a desk table 2 Remove the upper foam 3 Use the 3 X PM5 15 bolts to fasten stem and base 4 Place the assembled stand onto the back of the mo...

Page 7: ...on on the rear of the monitor 7 WALL MOUNT INSTALLATION 2 Remove the original bolts x 4 from the opening in the back of the monitor Follow the direc ons received with your mount stand or accessory and...

Page 8: ...e loca on the monitor is to be wall mounted as some walls are not suitable for installa on If the monitor is to be mounted on drywall the mount must be anchored into a wooden stud concrete block or br...

Page 9: ...er cable to supply power to the monitor 6 Audio Output Insert one and of the Audio cable into the computer s Audio output to receive the Audio signals from your monitor 7 DP Connector Insert one end o...

Page 10: ...lowing sub menus Picture Settings Image Settings Colour Temperature OSD Reset and Miscellaneous options details of each menu can be found in the following sections Within the Menu UP 3 and DOWN 2 Pres...

Page 11: ...s any one of the buttons to activate the navigation window Figure 1 MENU OPTIONS The menu for the monitor can be accessed by pressing the menu bu on on the control panel This menu is separated into th...

Page 12: ...d 100 Contrast Adjust the contrast of the display between 0 and 100 DCR Turn the Dynamic Contrast Ra o Feature On or O Resolution 3840x1200 60Hz HDMI1 DCR 50 90 off InputSource DP Resolution 3840x1200...

Page 13: ...e display to Normal Warm Cool or User When the User Mode is selected the Red Green and Blue values can be adjusted independently between 0 and 100 Low Blue Light Change the blue light emi ed by the di...

Page 14: ...low Noise Reduc on Adjust the level of Noise Reduc on between Low Medium High or O Super Resolu on Change the Super Resolu on value from 0 to 5 Dynamic Luminance Control Turn the Dynamic Luminance Con...

Page 15: ...o output Volume Adjust the output volume between 0 and 100 Audio Source Chose which source the audio is output from Resolution 3440x1200 60Hz HDMI1 InputSource DP Resolution 3840x1200 60Hz InputSource...

Page 16: ...n HDMI 1 and HDMI 2 PIP Size Adjust the size of the secondary source in PIP and PBP modes between Small Medium and Large PIP Posi on Set the posi on of the secondary source in PIP and PBP modes betwee...

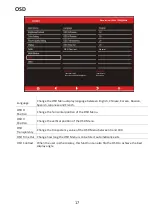
Page 17: ...al posi on of the OSD Menu OSD Transparency Change the transparency value of the OSD Menu between 0 and 100 OSD Time Out OSD Contrast When the user ips the display this func on can also ip the OSD to...

Page 18: ...On or O HDR Turn HDR On requires HDMI 2 0 input DP Version Change the DP version Reset Restore factory default se ng HDR Turn the HDR on or o Resolution 3840x1200 60Hz HDMI1 InputSource DP Resolution...

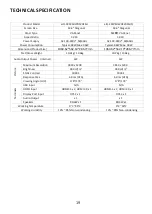
Page 19: ...62 10 286 77mm Net Gross Weight 10 2kg 13 6kg 10 2kg 13 6kg Audio Output Power Internal 3W 3W Maximum Resolu on 3840 x 1200 3840 x 1200 Brightness Picture Terminals 380 cd m 2 380 cd m 2 Sta c Contras...

Page 20: ...ing facili es are now available for all customers at which you can deposit your old electrical products Customers will be able to take any old electrical equipment to par cipa ng civic amenity sites r...

Page 21: ...ElectriQ F3CQC H F3CQC HQ 902 F3CQC 20002 eiQ 43CVSUWD120FSH eiQ 43CVSUWD120FSHQ 140 197mm 120G 80G 2020 08 01...

Reviews: