background image


• 

Do not place heavy items on the cable as this may cause damage.


• 

When removing from a socket hold by the plug and not the wires.


• 

Disconnect the power immediately and seek professional help if the plug or 
cable is damaged, liquid has spilt onto the unit, if accidentally exposed to water 
or moisture, if anything accidentally penetrates the ventilation slots or if the 
unit does not work normally.


• 

Do not remove the safety covers. There are no user serviceable parts inside. 
Trying to service the unit yourself is dangerous and may invalidate the product's 
warranty. Only qualified personnel should service this  apparatus.


• 

Do not block ventilation slots on the back cover. The monitor can be placed in a 
cabinet but ensure at least 5cm (2") clearance all around. Do not tap or shake 
the screen, this may damage internal components.


• 

Due to our continuous product development, the operation and or features of 
the product received may vary slightly from the information provided within the 
manual.


• 

WARNING: To reduce the risk of fire or electric shock, do not expose this 
apparatus to rain or moisture. The apparatus shall not be exposed to dripping or 
splashing and objects filled with liquids, such as vases, shall not be placed on the 
apparatus.


• 

WARNING: The wall plug socket is used as a disconnection device and should 
remain readily accessible.


• 

Although every effort is made to maintain the accuracy of the manual, due to 
continuous product development, some variation from the manual is possible. 

• 

The availability of features and settings may vary depending on the input source, 
method of connection as well as the quality and specification of the cables used.


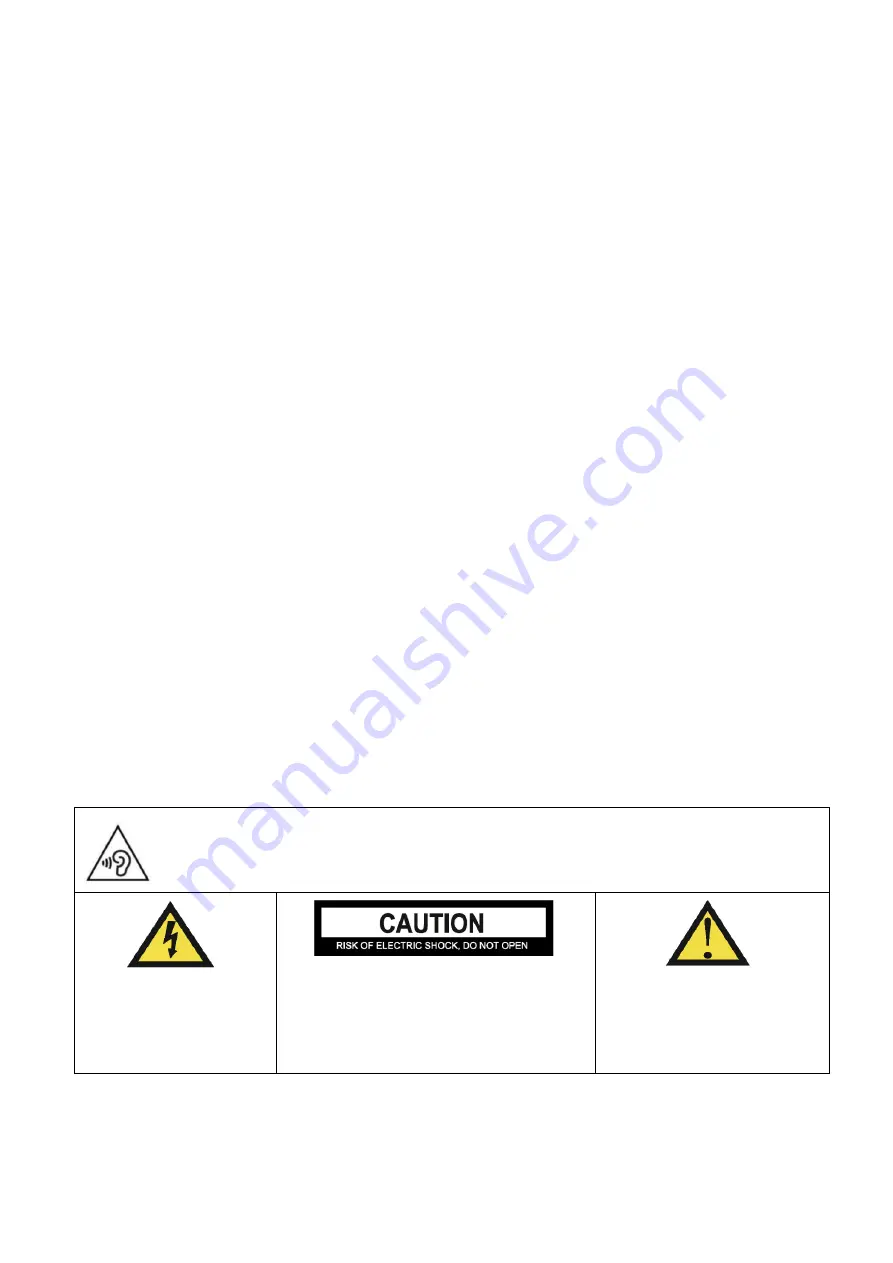
AT FULL VOLUME, PROLONGED LISTENING MAY DAMAGE THE 

USER’S HEARING.


This warning sign is to 

warn of dangerous 

voltage inside the 

product.


CAUTION: To reduce the risk of electric 

shock, DO NOT remove the cover (or 

back). No user serviceable parts inside. 

Refer servicing to qualified service 

personnel. 


This warning sign is to alert 

you of important 

instructions accompanying 

the product. 


Summary of Contents for eiQ-32M4K144FS

Page 1: ...MONITOR eiQ 32M4K144FS Thank you for choosing electriQ Please read the user manual before using this monitor and keep it safe for future reference Visit www electriQ co uk to view our entire range of...

Page 2: ...2...

Page 3: ...ILABLE 8 GETTING STARTED 8 MONITOR CONTROLS 8 INITIAL SET UP 9 SHORTCUT BUTTONS 9 MENU OPTIONS 10 INPUT SOURCE 10 PICTURE 10 COLOUR SETTINGS 11 ADVANCE SETTINGS 12 ULTRA HDR 12 AUDIO 13 QUICK LINK 13...

Page 4: ...walked on or trapped particularly at the plug and at the point where it exits from the appliance Only use attachments accessories specified by the manufacturer Use only with a cart stand tripod brack...

Page 5: ...eived may vary slightly from the information provided within the manual WARNING To reduce the risk of fire or electric shock do not expose this apparatus to rain or moisture The apparatus shall not be...

Page 6: ...npacked and assembled by 2 people electriQ and its distributors and dealers are not liable or responsible for damage or injury caused by improper installation improper use or failure to observe these...

Page 7: ...lower foam 3 Take out stem and base Lock them with 1 screws KM4 12mm 4 Insert the stem to the slot of back cover Push the button on the stand board to remove 5 Carefully hold the stand while lifting...

Page 8: ...ect submenu Go Up within the Main Menu or increase the value of the selected item Go Down within the Main Menu or decrease the value of the selected item Select signal source or Exit the menu Turn the...

Page 9: ...e source menu Use the and buttons to choose the input source between Auto Select DP1 DP2 and HDMI1 HDMI2 MENU OPTIONS The menu for the monitor can be accessed by pressing the menu button on the contro...

Page 10: ...between DP1 DP2 HDMI1 HDMI2 PICTURE Brightness Adjust the brightness of the display between 0 and 100 Contrast Adjust the contrast of the display between 0 and 100 Sharpness Adjust the sharpness value...

Page 11: ...ffect to Standard Game Movie Photo Vivid User PCM Change PCM to native Adobe RGB sRGB User Hue Change the Hue value between 0 and 100 Saturation Change the Saturation of the display between 0 and 100...

Page 12: ...lue Light Change the Low Blue Light value from 0 100 WHAT IT MEANS Overdrive Increases the speed of the monitors response to reduce ghosting of fast moving objects Display Stream Compression Visually...

Page 13: ...splayed from 0 60 Mute Turn On and off to mute and unmute the audio output Volume Adjust the output volume between 0 and 100 WHAT IT MEANS DDCCI Allows communication between the monitor and computer p...

Page 14: ...splay on the screen OSD V Position Change the vertical position of the OSD Menu OSD H Position Adjust the horizontal position of the OSD Menu Language Change the OSD Menu display language OSD Transpar...

Page 15: ...ical Brightness 400 cd m Response Time 7ms GTG 1ms MRTP Viewing Angle 178 178 CR 10 Display Colours 1 07B Video Compatibility Multi Standard for NTSC PAL Aspect Ratio 16 9 Speaker Multimedia Speakers...

Page 16: ...ilities are now available for all customers at which you can deposit your old electrical products Customers will be able to take any old electrical equipment to participating civic amenity sites run b...

Reviews: