16
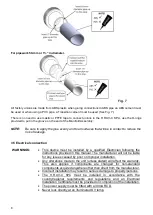
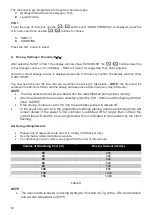
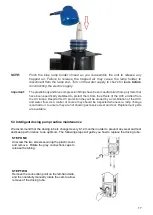
Gently slide the lamp out ensuring that no
pressure is applied to the glass quartz
sleeve.
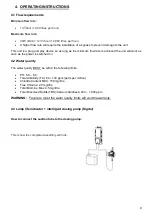
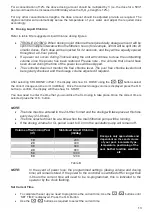
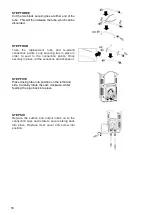
Unscrew the blue quartz sleeve locking nut
anticlockwise. Both ends must be
unscrewed before the quartz sleeve can
be removed.
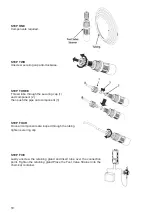
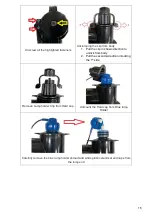
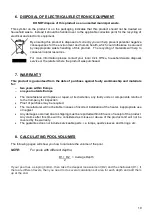
Slide the O-ring off the quartz sleeve
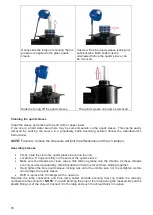
The quartz sleeve can now be removed.
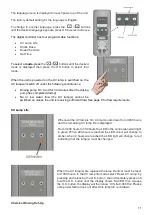
Cleaning the quartz sleeve
Clean the sleeve and polish with a soft cloth or paper towel.
If you live in a hard water area there may be some limescale on the quartz sleeve. This can be easily
removed by soaking the sleeve in a proprietary kettle descaling solution (follow the manufacturer’s
instructions).
NOTE: Failure to remove the limescale will limit the effectiveness of the UV lamp(s).
Assembly process
•
Firstly, slide the clean dry quartz glass sleeve into the unit.
•
Locate the ’O’ rings carefully on the ends of the quartz sleeve.
•
Make sure the threads are clean, wipe a little silicone grease onto the threads. As these threads
are only serviced periodically, this lubrication will help to prevent them binding together.
•
Hand tighten the blue quartz sleeve locking nuts onto the unit. Be sure not to overtighten as this
can damage the quartz sleeve.
•
Refit or replace the UV lamp(s) with a new one.
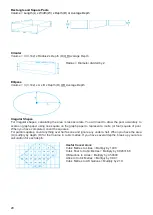
Relocate the lamp connectors and blue lamp holder shrouds ensuring that you match the correctly
numbered lamp connector.
NOTE:
To avoid bending the pins of the lamp during the reassembly pull the
plastic fitting out of the shroud. Connect it to the lamp and push the shroud back in to place.
Summary of Contents for H.R.UV-C SPA-PRO
Page 1: ...H R UV C SPA PRO Installation and Operating Manual HRP 30 SPA ENGLISH...
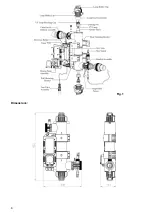
Page 4: ...4 Fig 1 Dimensions...
Page 21: ...21 Notes...
Page 23: ...23...


