13
en
3.
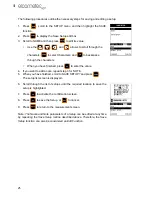
Apply a drop of couplant on the transducer and place the transducer in steady contact with the
sample or the material being tested. Be sure that the reading is stable and the repeatability
indicator, in the top left corner of the display, is fully lit and stable.
4.
Press
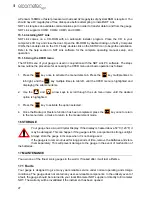
, scroll to the CAL menu and then highlight the TWO POINT function.
5.
Press
to display the Digits Edit Box.
6.
Use the
and
arrows to scroll the highlighted value.
7.
Use the
and
arrows to scroll the digit locations.
8.
Repeat steps 6 and 7 until the known thickness value is correctly displayed.
9.
Press
to calculate the velocity and return to the menu screen, or
to cancel.
10. Press
to return to the measurement screen.
Note: CHECK YOUR CALIBRATION. Place the transducer back on both calibration points. If the
coating thickness readings match the known thickness values of each sample calibration has been
successful and you are now ready to take measurements. If the thickness is not correct, repeat the
steps above.
0(18
(17(5
2.
(6&
0($6


