1
Chapter 3 Settings and Adjustments
3-4. Capturing screenshots
Captures a screenshot of the displayed image and saves it onto a USB memory device.
ATTENTION
Before capturing a screenshot, set the [Date/Time] in the [Others] of the settings menu (see page 17).
The data will be saved as a BMP file.
Aside from using captured screenshots for personal enjoyment, they cannot, according to copyright law, be used
without permission from the copyright holder.
Screenshots cannot be captured of images that use copyright protection signals (such as copy protection).
•
•
•
•
How to capture a screenshot
1
Connect a USB memory device to the USB port on the monitor.
ATTENTION
Please use a USB memory device that is formatted with a FAT filesystem.
Please connect the USB memory device directly to the monitor. Connecting through a USB hub is not supported.
•
•
2
Display the image you want to capture a screenshot of.
3
Press
.
The screenshot will be captured and saved onto the USB memory device.
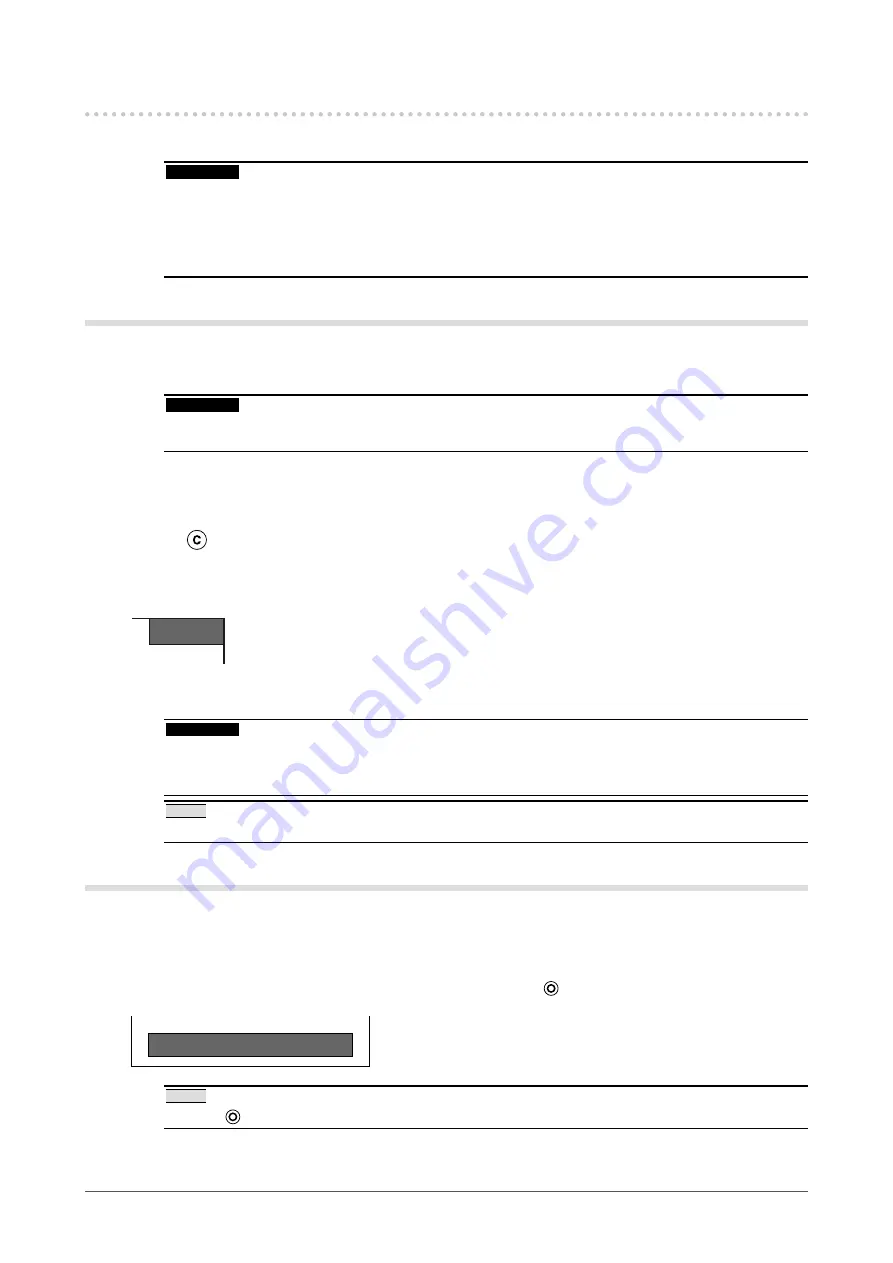
The name of the file being saved will be displayed on the upper right corner of the screen.
●xxxxxxxxxx
When the file saving is complete, the original image will be shown again.
ATTENTION
No screenshot can be captured when the settings menu is displayed.
Even if “ON” is selected in the Reverse display function settings (see page 17) , the captured screenshot will be
saved in unreversed form.
•
•
NOTE
The files are saved in the “EIZO” folder on the connected USB memory device.
•
File handling
This can be used to display or delete files on the USB memory device.
1
Displaying the handling menu
Choose [File] in the [Others] settings of the Setting menu, and press
.
E Z x x x x x x 2 0 x x / x x / x x x x : x x
P r e v N e x t M e n u E x i t
NOTE
Keeping
pressed for 2 seconds will also display the handling menu.
•
Summary of Contents for DuraVision FDV1002
Page 3: ......
Page 34: ......
Page 35: ...Pb Hg Cd Cr VI PBB PBDE SJ T 11363 2006 SJ T 11363 2006...
Page 36: ......


