


33
Appendix
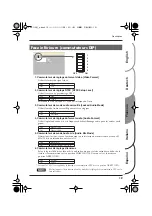
If video cables are connected to both the S-video input jack and the composite input jack, the
S-video input will take priority. If you are not using the S-video input jack, disconnect the S-
video cable.
Do not use DV connector 1 (back panel) and DV connector 2 (front panel) simultaneously.
Your DV device may not operate correctly if you attempt to do so.
If you want to change the DIP switch settings, you must first turn off the power.
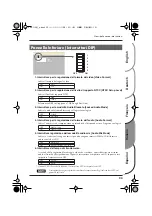
• Check the connections once again.
• Try turning the power off, then on again.
• Try disconnecting and then reconnecting the DV cable.
• Do not use DV connector 1 (rear panel) and DV connector 2 (front panel) at the same time.
• The DV output provided by some DVD recorders may not be compatible with the VMC-1,
and cannot be input successfully.
Turning off the 3D Y/C separator may help.
For some images, turning on the automatic brightness compensation (AGC) button may
produce virtually no improvement. In such cases, you can adjust the brightness knob and
contrast knob. Correction is not possible if the input image already contains over-exposed
whites and under-exposed blacks.
If you input video from a game device or similar unit, you may hear noise in the DV output
audio. If this occurs, changing Locked Audio mode to “Unlocked” may help.
Image from the Composite Input Jack Not Being Input
DV Device Does Not Operate Correctly
Moving the DIP Switches on the VMC-1’s Bottom Panel Does
Not Change the Setting
Input/output unsuccessful when a DV device or computer is
connected to the DV connector
Rapidly moving images are blurred
Over-exposed whites and under-exposed blacks are not
corrected
Noise is heard in the DV audio output
VMC-1(A5)_e.book 33 ページ 2005年11月14日 月曜日 午後2時51分