20
ECOWATER
S Y S T E
M S
Service Information
continued from page 19
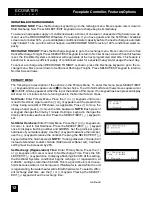
Use the recharge keypad to manually advance the
valve into each cycle and check correct switch op-
eration, and observe the valve position indicator.
NOTE:
The position switch is closed when the
plunger is depressed, open when extended.
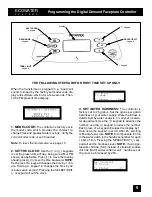
While in this diagnostic screen, the following infor-
mation is available and may be beneficial. This infor-
mation is retained by the computer from the first time
electrical power is applied to the faceplate.
...
Remote:
either Installed or Not Installed.
...
Days:
displays the number of days this faceplate
has had electrical power applied.
...
Rchg:
to show the number of regenerations initi-
ated by this faceplate since power was first applied.
NOTE: This number resets to 0 if the model code is
changed.
...
Last Rchg:
displays the number of days since last
recharge.
...
Cap:
displays numerically the capacity the soften-
er is operating at with 1 lowest and 5 highest.
Press the SELECT/EXIT (
↵
) to exit to the Ad-
vanced/Service menu, move cursor up to EXIT and
press SELECT/EXIT (
↵
) to go to Normal Screen
Views.
TROUBLESHOOTING,
MANUAL ADVANCE REGENERATION CHECK
This check verifies proper operation of the gearmo-
tor, brine tank fill, brine draw, regeneration flow
rates, and other controller functions.
Always make
the initial checks, and the manual initiated diagnos-
tics first.
1.
Press the RECHARGE keypad. Move cursor
down to Start Rchg Now and press SELECT/EXIT
(
↵
) to start a recharge. As the EcoWater Systems
conditioner enters the fill cycle of regeneration, re-
move the brinewell cover and, using a flashlight, ob-
serve fill water entering the tank.
a.
If water does not enter the tank, look for an ob-
structed nozzle and venturi, fill flow plug or brine tub-
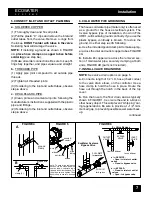
ing FIGURE 7, page 17.
2.
After verifying fill, press Recharge keypad to
move the valve into brining*. A slow flow of water to
the drain will begin. Verify brine draw from the brine
tank by shining the flashlight into the brinewell and
observing a noticeable drop in the liquid level.
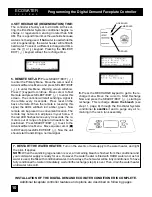
*If the 2ND BACKWASH option is set, the valve will
enter backwash and fast rinse before brining...see
page NO TAG.
NOTE: Be sure water is in contact with the salt, and
not separated by a salt bridge...see page 17.
a.
If the unit does not draw brine, check for...
...
dirty or defective nozzle and venturi, page 17
...
nozzle and venturi not seated on the gasket, or
gasket defective
...
restriction in valve drain, causing a back-pressure
(bends, kinks, elevated too high, etc.), installation
step 7, page 7
...
obstruction in brine valve or brine tubing, page
NO TAG and FIGURE 5, page 7
...
inner valve failure (obstructed outlet disc, wave
washer defective, etc.)
3.
Again press Recharge keypad to move the valve
into backwash. Look for a fast flow of water from the
drain hose.
a.
If flow is slow, check for a plugged top distributor,
backwash flow plug or drain hose.
4.
Press Recharge keypad to move the valve to fast
rinse position. Again look for a fast drain flow. Allow
the unit to rinse for several minutes to flush out any
brine that may remain from the brining cycle test.
5.
To return the valve to service position, press Re-
CHARGE ONCE AGAIN.
continued


