Before using your air conditioner, please readthis manual carefully and keep it for future reference.
R410A SPLIT SERIESDC INVERTER QUICK COUPLING
Models
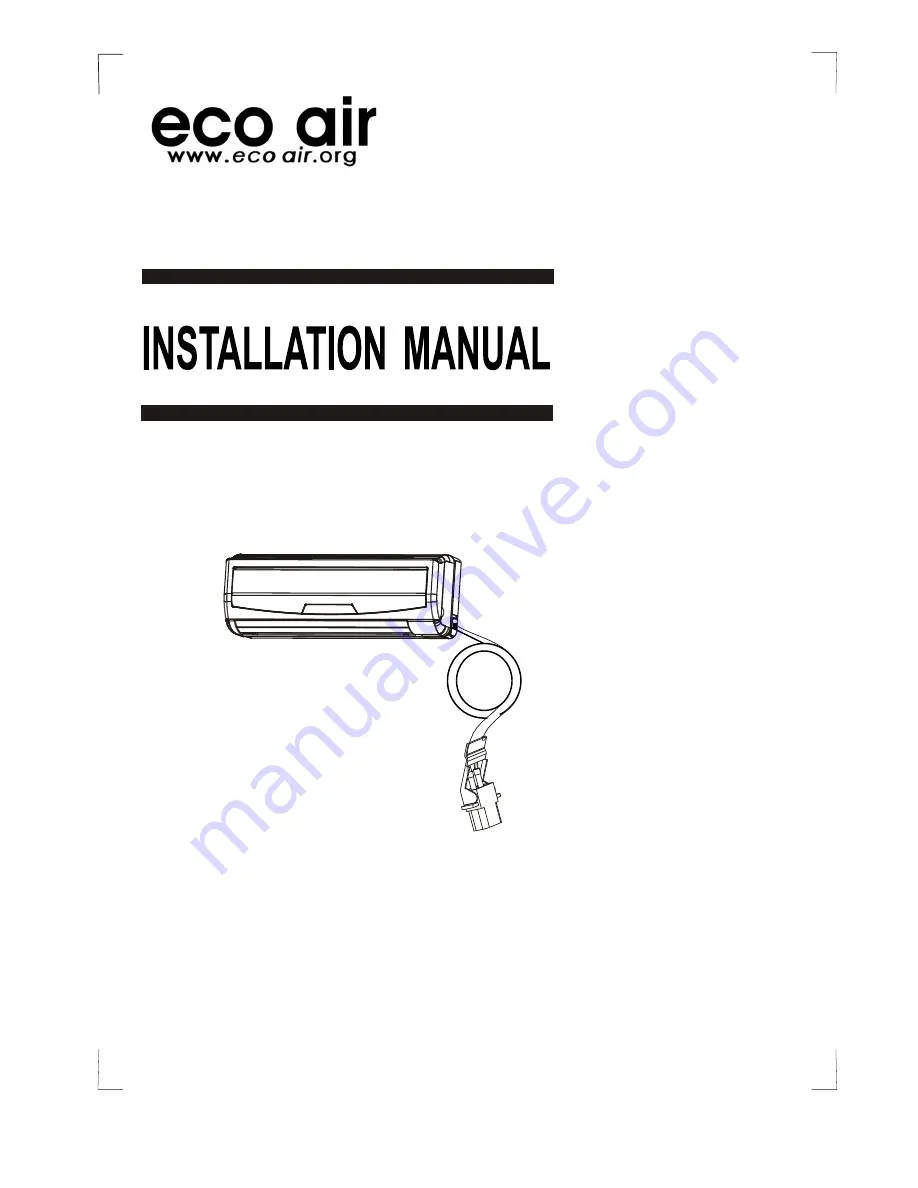
ECO906SQECO1206SQECO1806SQ
Page 1: ...Before using your air conditioner please read this manual carefully and keep it for future reference R410A SPLIT SERIES DC INVERTER QUICK COUPLING Models ECO906SQ ECO1206SQ ECO1806SQ...
Page 2: ...ust be connected to the terminal which is marked with the letter N or coloured BLACK The BROWN wire is the LIVE and must be connected to the terminal which is marked with the letter L or coloured RED...
Page 3: ...ke back the old appliance for disposal when you replace with a new product C Old products contain valuable resources which should be recycled as scrap metal Wild disposal of waste in forests and lands...
Page 4: ...nsure that they do not play with the air conditioner If the power cord is to be replaced replacement work shall be performed by authorised personnel only Installation work must be performed in accorda...
Page 5: ...se electrical shock or fire 6 Use the specified cables for electrical connections between indoor and outdoor units Firmly clamp the cables so that no external stress is placed on the terminal Incorrec...
Page 6: ...e free from the possibility of flammable gas leakage in a nearby place Avoid places near a bedroom and the like so that the noise will not be an annoyance Ensure any local authority permission is soug...
Page 7: ...loor Two of the A B and C directions should be free from obstructions CAUTION Self tapping screw B ST2 9x10 C H Remote controller holder 7 8 12cm above Air Filter 12cm above 15cm above 1 2 3 Remote Co...
Page 8: ...nd corresponding mounting points on the installation plate Dimensions are in mm unless otherwise stated 1 Determine hole positions according to the diagram detailed in Fig 5 Drill one 1 hole 90mm slan...
Page 9: ...on 3 Drainage Installation 1 Run the drain hose sloping downward to ensure condensation water is being drained externally any rise in the drain hose will prevent condensation water to flow externally...
Page 10: ...erly by putting the unit lengthwise along the wall or using a dust or shield plates In coastal or windy area install the unit to prevent the exposure to strong winds If mounting on wall brackets the i...
Page 11: ...that the handle on the male coup ling is in a reclined positio n away from the mating male coupling Step 2 Retract the Release Sleeve on female coupling insert the male coupling located on the indoor...
Page 12: ...ion Step 4 Retract the Release Sleeve on the female coupling to release the male coupling half from the female half Step 5 To seal and protect from dust reinstall the protective cap and plug Electrica...
Page 13: ...or details 4 The test operation may last about 30 minutes Model Power supply Input Rated Amp Switch Fuse 16000Btu h NOTE The supply voltage can not be less than the rate voltage of the air conditioner...
Page 14: ...MEMO Date of installation Purchased from Dealer Name Date of purchase Model number Serial number...
Page 15: ...ing from a faulty installation is specifically excluded This unit must be operated under conditions as recommended at voltages indicated on the unit Any attempts made to service or modify the unit by...