March 2013 IPV38 / IPV38WE
41
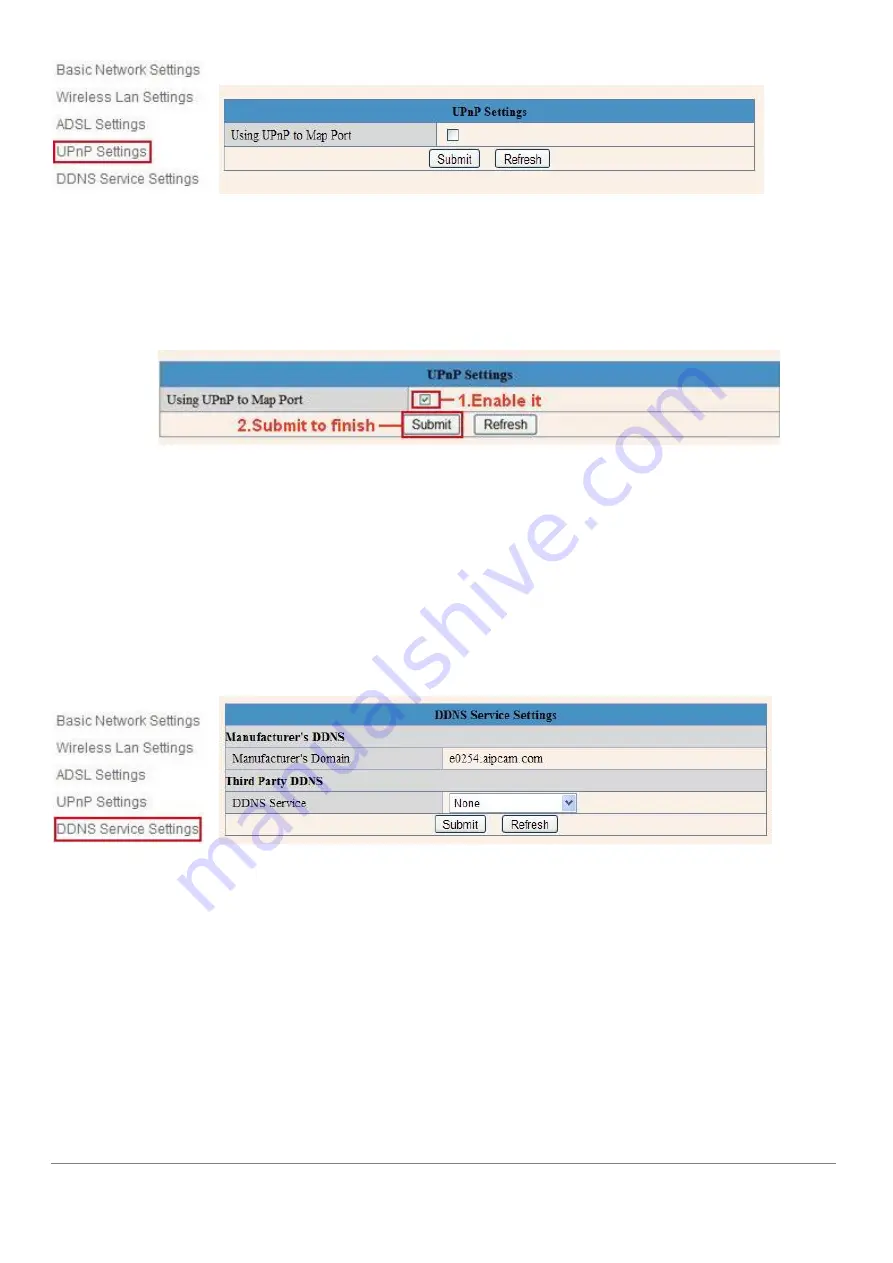
Figure 6.8
Select UPnP and click
Submit
, then the camera will support UPnP port forwarding automatically.
It’s helpful for using DDNS (viewing live video from outside our network). As soon as you have enabled
UPnP in you router, please proceed with the next steps.
Figure 6.9
NOTE
: UPnP is only for port forwarding. It relates to the security settings of your router, make sure the
UPnP function of your router is enabled, before you continue. If your router does not support UPnP, it may
show error information, therefore we recommend you to do port forwarding manually in your router, as
explained in step 3.7.3. If your router has UPnP and it is not possible to access your camera from outside
your network please use manual portforwarding in step 3.7.3. Always leave UPnP on!
2.7 DDNS Service Settings
Figure 7.0
Select Network > DDNS Service Settings in the Tree View on the left (see picture above)
There are 2 options:
Manufacturer’s DDNS
: This domain is provided with the Camera (see the sticker on the bottom of the
camera). We suggest you to use our provided DDNS server, set DDNS Service to “None” and choose
‘submit’. In most cases you will need to login to the camera again. You can use the IPCamera tool for this
or enter the Camera`s IP address in your web browser. After you have done this, please skip the next
step and continue with step 3.7.1
Third Party DDNS
: You might have a DDNS server already, whereafter it is useful to take the next steps.


