WCB11070 (PDF FORMAT)
6
©
Copyright Eaton Corp. 2007, All Rights reserved.
2.2.2
Ensure that the shaft is free of nicks or burrs and the
key fits properly in the shaft and gear.
2.2.3
Apply a light coat of anti-seizing compound to the
shaft and key. Tap the key into the shaft keyway.
2.2.4
Heat the gear uniformly to 250
o
F (121
o
C) to expand
the bore and ease assembly. Press the gear onto the
shaft, making sure that the dimension between the
gear and the tensioner mounting surface ("A") is main-
tained. See
Figure 1
and Table 3. Allow the gear to
cool.
2.2.5
Apply a thin coat of MOLUB-ALLOY
®
OG Heavy - or
equivalent - grease to the splines of the gear.
Excessive lubricant may contaminate friction
material, resulting in erratic response or loss
of torque.
The use of anti-seize or bearing greases on
the gear splines may result in premature gear
and disc spline wear.
2.2.6
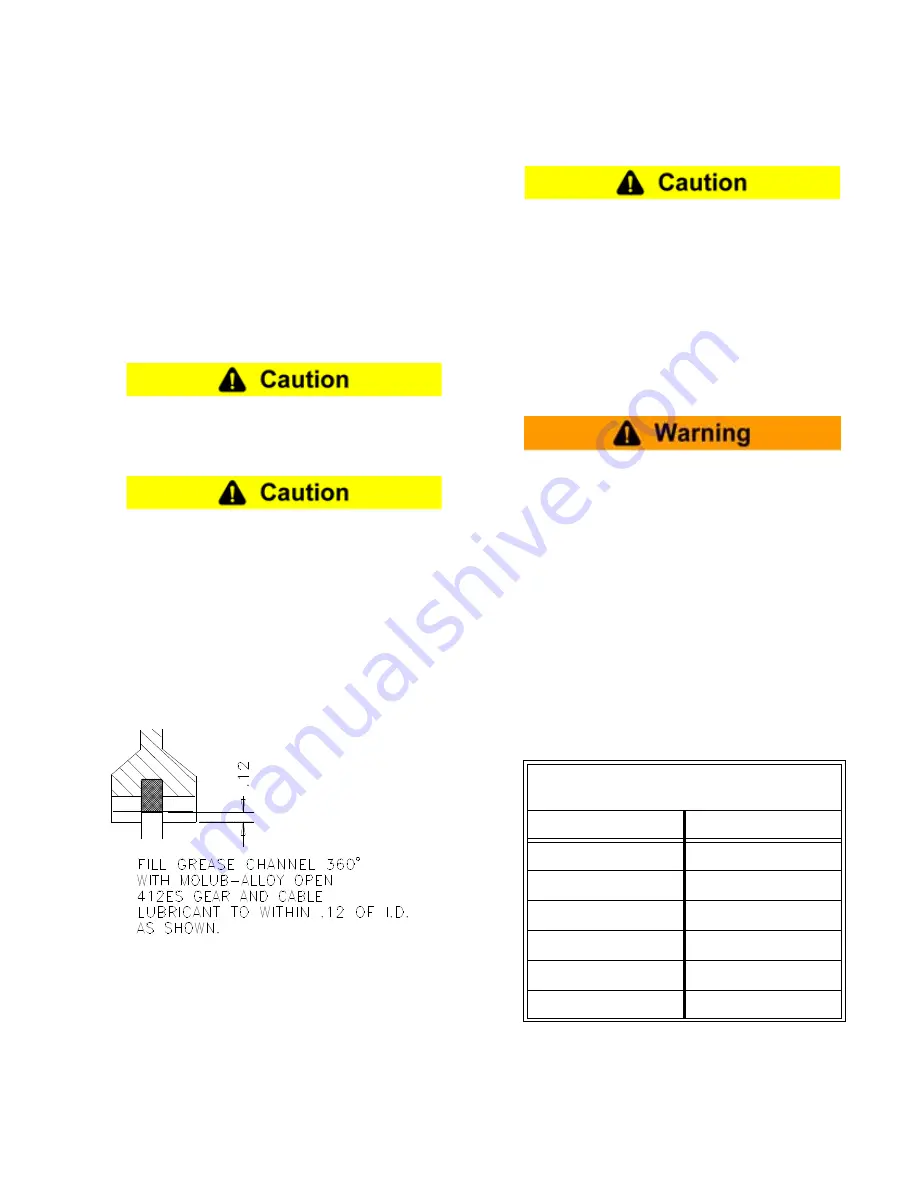
Pre-fill the grease channel in the friction disc splines (if
applicable) with MOLUB-ALLOY
®
OG Heavy - or
equivalent - grease, as shown on
Figure 4
.
2.2.7
Rig the WCB2 into position and slide it over the gear.
Avoid placing lifting straps or cables directly on the
release springs (34).
Figure 4
2.2.8
Attach the mounting flange (1) to the mounting surface
using the appropriate fasteners. If applied pressure
was used to help position the discs during mounting,
exhaust the air pressure prior to tightening the fasten-
ers. Tighten the fasteners to the specified torque
value. See Table 4.
Maximum allowable air pressure in the cylin-
der (19) is 150psi (10.2 bar).
2.2.9
WCB2 tensioners should be covered to protect the
unit from dirt, rain, overspray, and other sources of
external contamination. In extreme environments the
use of a sealed enclosure with internal strip heater is
recommended to prevent moisture from collecting on
the unit.
2.3
Air System
Maximum allowable air pressure is 150PSIG
(10.2bar). Application of pressure exceeding
maximum allowable may result in damage to
the tensioner.
2.3.1
Maximum allowable pressure is 150 psi (10.2 bar).
2.3.2
Use only clean, filtered air (a 50 micron filter or better
is recommended) which is free of excess moisture.
2.3.3
Air inlet sizes are shown in Table 5. Air inlets are
located on the face of the cylinder (19). For cylinders
with three ports, the lowest port should be located at
or near the 6 o'clock position to facilitate purging of
moisture that may accumulate in the air system or cyl-
inder.
TABLE 5
Air Inlet Size
Model
Thread Size
8WCB2
3/8”-18 NPT
14WCB2
1/2”-14 NPT
18WCB2
1/2”-14 NPT
24WCB2
1/2”-14 NPT
36WCB2
3/4”-14 NPT
48WCB2
1”-11.5 NPT


