8
®
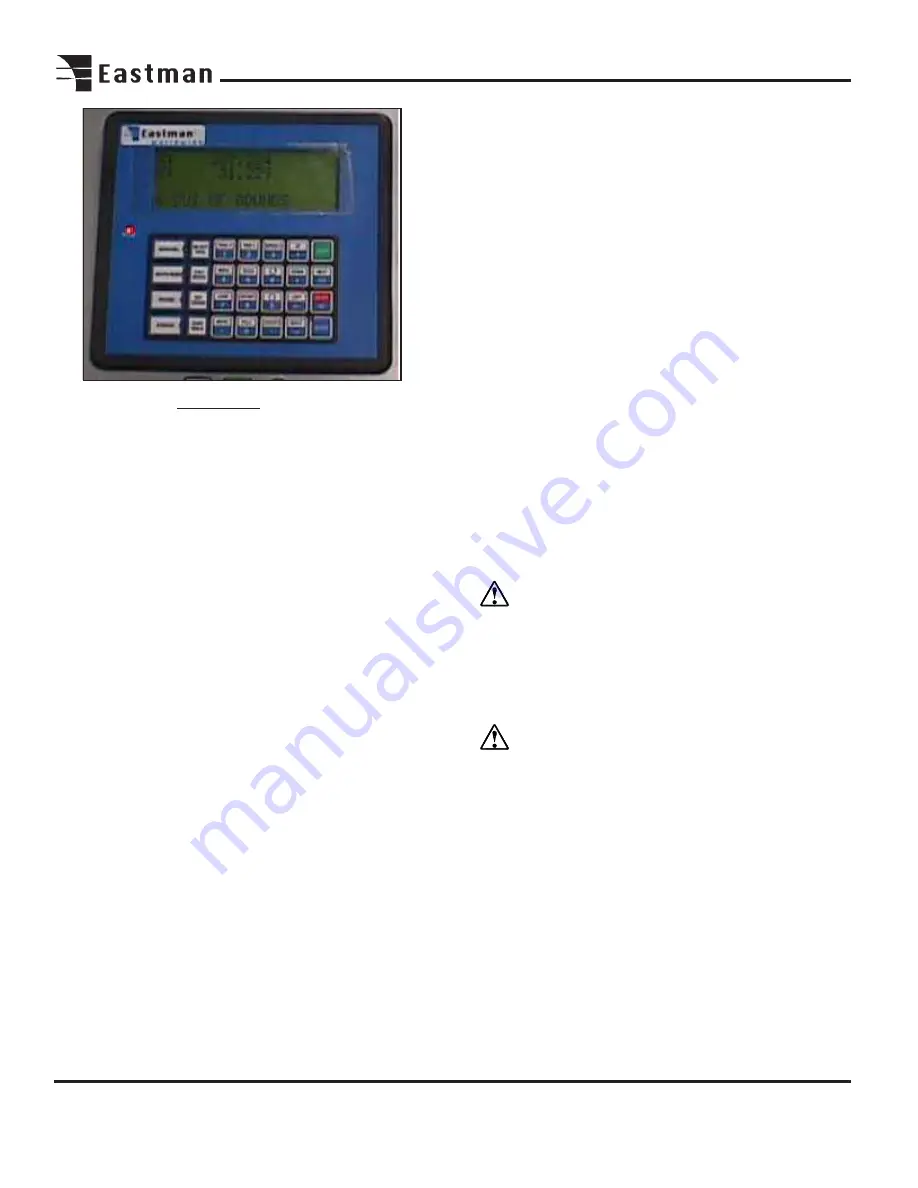
User Interface Terminal Familiarization
The UIT (User Interface Terminal) features a 33 key mem-
brane keypad and a four line display. Commands are issued
via the keypad and information is communicated back to
the user through the display. Through the UIT the operator
may position the plotter carriage, enable automated move-
ment, and manually cut and mark.
Commands are sent to the computer by pressing specific
keys or key sequences on the UIT. Each key on the UIT can
have a function and characters related to that key (note that
not all keys have both a function and characters). Com-
mands that require data entry following the pressing of a
FUNCTION key the UIT will automatically set itself in antici-
pation of the expected type of input.
Some commands require only one key to be pressed while
other commands require multiple keystrokes and may some-
times prompt the operator for input.
A description of commands follows:
SET ORIGIN: Press to set the first label position on the
table. The laser pointer marks the origin position. To
adjust offset, see software section.
ZERO TABLE: Press to activate the zeroing function on
the carriage. The carriage will move to the home limit
switch cam. This point is set as home position.
SPEED: Press to set fast/slow machine movement.
/6: Press to move labeler head away from operator.
/9: Press to move Labeler head toward the operator.
MOVE: Press to access menu.
Press 1 to send SLS 2 to home position.
Press 2 to send SLS 2 to label origin position.
UP: Pressing UP causes the elevator to move up.
DOWN: Pressing DOWN causes the elevator to move down.
LEFT: Pressing LEFT causes the SLS 2 Labeler to move to
the left.
Right:: Pressing RIGHT causes the SLS 2 Labeler to move
to the right.
START: Press START to begin automatic labeling mode.
NEXT: Press to resume automatic labeling when machine
pause is pressed.
ABORT: Press to abort command.
ENTER: Press ENTER to accept command.
Operation
After setup is complete and the power and airline is con-
nected, the SLS 2 is now ready for Initialization.
Important
To stop the SLS 2 at any point during
operation, either:
-Press the Emergency Stop button (Red).
-Hit Machine Sop Wands.
-Press Machine Pause button (yellow) on main control
panel.
WARNING: Safety cams should always be checked
for proper operation with the SLS 2 before any automatic
labeling takes place.
Activate battery back-up to ON (I) position. Activate the
computer by pressing the ON (I) button. The computer
display will run through the computer start-up program.
Pull the Emergency Stop button to activate power to the
drive circuit. Start the EASICUT software by double clicking
the EASICUT software icon on the computer display. This
will load the default test.cmd file. Enter label text for the
required fields using the keyboard. Select OK.
The log in screen will appear. Enter the user name and pass-
word. Select OK when complete. The UIT Display will show
DESIGN LOADED. Press ENTER on UIT Terminal to con-
tinue.
UIT Terminal
Summary of Contents for ETS-SLS-2
Page 1: ......
Page 24: ...24 Notes ...
Page 25: ...25 Notes ...
Page 26: ...26 Notes ...
Page 28: ......


