via a 5-pin XLR connector. The
bottom of the electronics box has
two XLR-3 connectors that will
connect the microphone outputs to
the preamp inputs of your mixer.
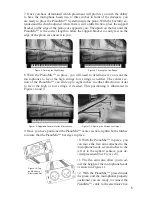
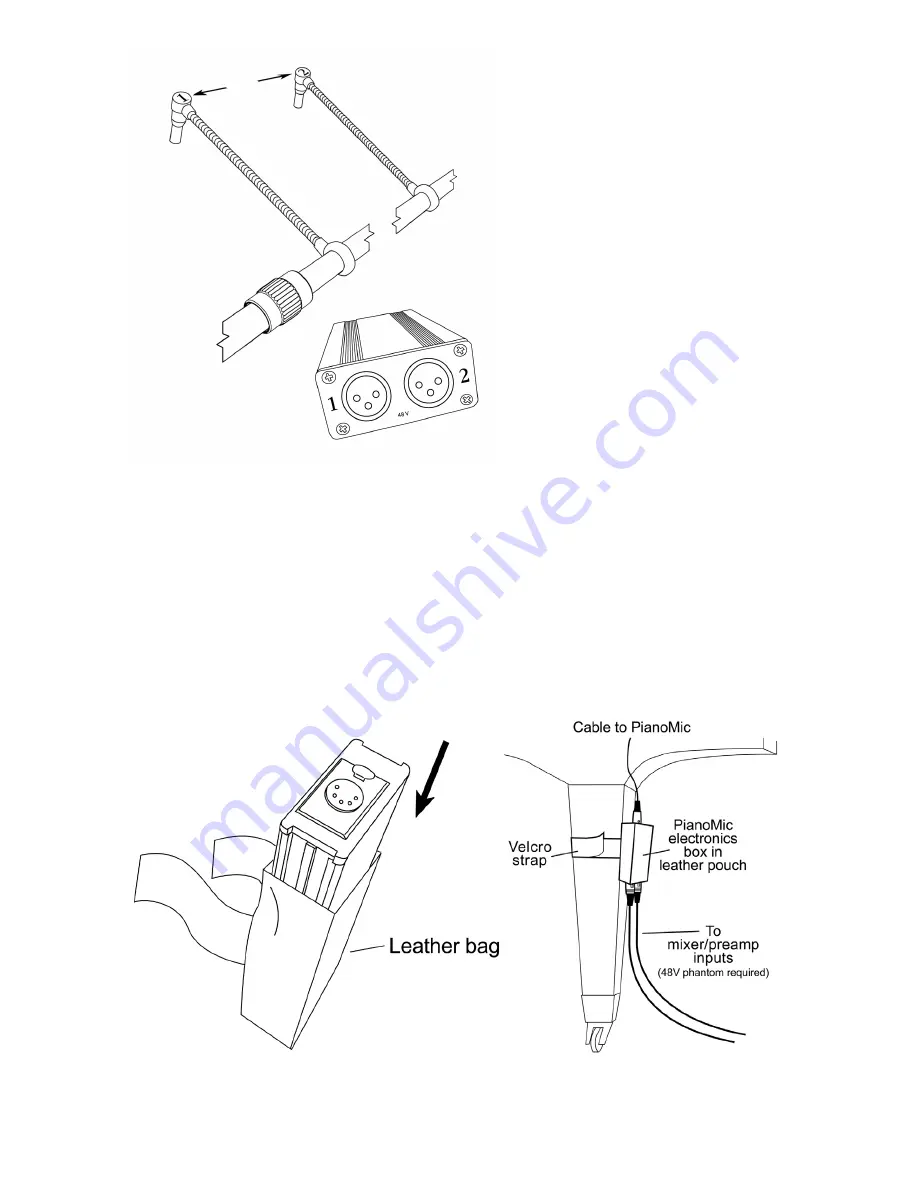
13. Notice that the top of each
microphone head has a number.
These numbers correspond to
the numbers on the bottom of the
electronics box. Depending upon
how the PianoMic™ is placed in
the piano the high strings will be
indicated by either the number 1
or number 2. Once the PianoM-
ic™ has been placed, identify the
microphone numbers on the mic
heads for both the high and low
strings and remember that they correspond to the numbers on the bottom of the
electronics box. This will allow you to correctly identify the microphone signals
for high and low strings that are connected to the preamps of your mixer. Re-
member that the PianoMic™ requires 48-volt phantom power.
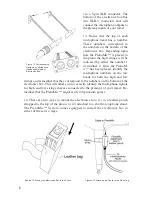
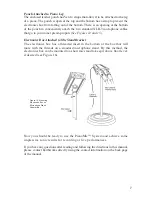
14. There are two ways to mount the electronics box: (1) in a leather pouch
strapped to the leg of the piano, or (2) attached to a short microphone stand.
The PianoMic™ System comes equipped to install the electronics box in
either of these two ways.
Figure 13. Corresponding
Numbers on Microphone
Heads and Outputs of
Electronics Box.
Figures 14. Placing the Electronics Box in the Pouch.
14.
15.
Figures 15. Attaching the Pouch to the Piano Leg.
6


