27
WAYPOINT NAVIGATION
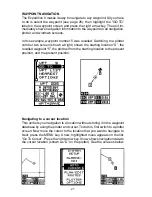
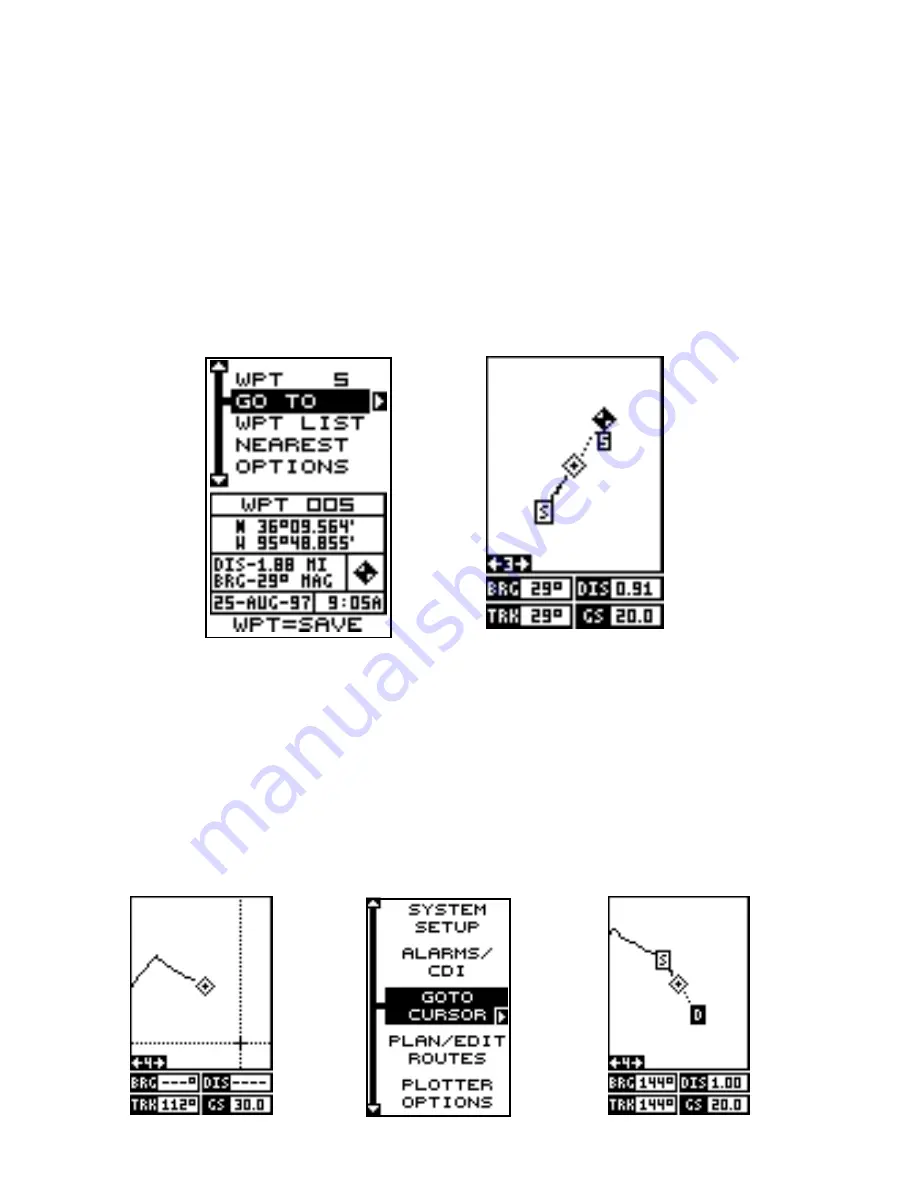
The Expedition II makes it easy to navigate to any waypoint. All you have
to do is select the waypoint (see page 26), then highlight the “GO TO”
label on the waypoint screen and press the right arrow key. The unit im-
mediately shows navigation information to the waypoint on all navigation,
plotter, and windows screens.
In this example, waypoint number 5 was recalled. Switching to a plotter
number two screen (shown at right) shows the starting location “S”, the
recalled waypoint “5”, the plot trail from the starting location to the present
position, and the present position.
Navigating to a cursor location
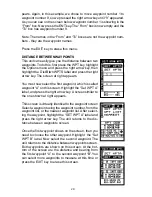
This unit lets you navigation to a location without storing it in the waypoint
database by using the plotter and cursor. To do this, first switch to a plotter
screen. Now move the cursor to the location that you want to navigate to.
Next, press the MENU key. A new, highlighted menu appears on the list:
“Go To Cursor”. Press the right arrow key. It now shows navigation data to
the cursor location (shown as “D” on the plotter). See the screens below.
Summary of Contents for EAGLE EXPEDITION 2
Page 1: ...INSTALLATION AND OPERATION INSTRUCTIONS Expedition II TM ...
Page 60: ...56 ...


