4810 Clover Road • Greensboro, NC 27450 • 1-800-336-2776 • www.eagleequip.com • © Eagle Equipment 2018.01 • page 12
1. ADJUSTING OPERATION CONT.
1.2.2. DEMOUNTING TIRE
Remove all the weights on the wheel rim and exhaust the air in the tire completely before this
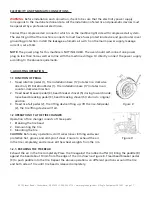
operation. Apply lubricating grease (or similar lubricant) around the tire bead. The tire may wear
excessively without proper lubrication (Figure 9).
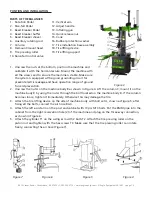
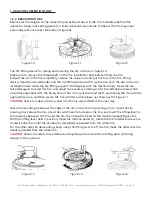
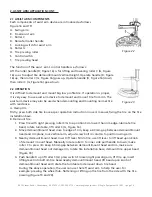
The tire lifting device for raising and lowering the tire is shown in Figure 10.
Make sure to remove the thread shaft on the tire installation base before lifting the tire.
Exhaust the air in the tire completely, remove the valve core and put the tire on the tire lifting
device, tread the rise-fall pedal, and the tire lifting device will lift up the tire. Push the tire to the tire
installation base when the tire lifting support is 90 degrees with the machine body. Tread the rise-
fall pedal again to lower the tire, and adjust the auxiliary rotating rod of tire installation base which
should be alignment with the fixing hole of tire rim. Input the tread shaft, positioning the tire with the
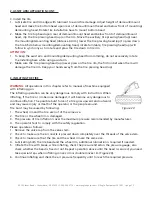
appropriate cone, and then secure the tire with the quick release nut shown as the Figure 11.
CAUTION:
Check to make sure the wheel rim is firmly secured before the next step.
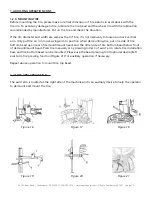
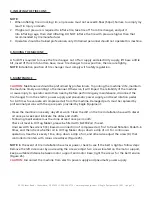
Move the mounting head near the edge of the rim, rotate the tire pressing arm to move the tire
pressing block above the tire, press the switch handle to depress the tire, and insert the lifting lever in
the clearance between the tire and the rim, then hang the bead on the mounting head (Figure 12).
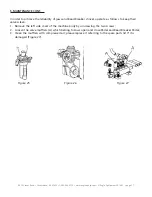
With the lifting lever held in position, tread the rotation pedal (1), rotate the tire installation base in a
clockwise direction until the tire bead is completely separated from the wheel rim.
For the other side tire demounting, keep using the lifting lever to lift the tire, make the other side tire
beads separated from the wheel rim.
CAUTION:
Chains, bracelets, loose clothes and anything else close to the rotating parts will bring
danger to the operator.
Figure 10
Figure 11
Figure 12
Figure 13
Figure 14
Figure 15


