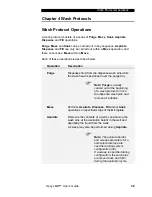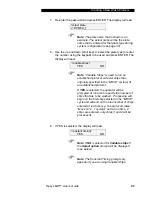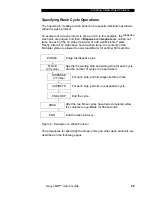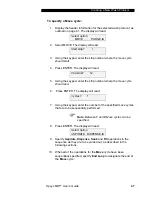
Creating a New Wash Protocol
To specify a Move cycle:
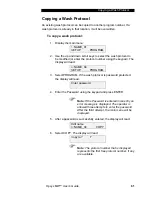
1. Display the header information for the selected wash protocol, as
outlined on page 41. The display will read:
Select option
MOVE PURGE
2. Select MOVE. The display will read:
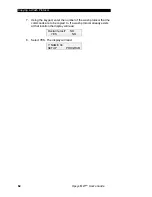
Start strip? 1
3. Using the keypad, enter the strip number where the move cycle
should start.
4. Press ENTER. The display will read:
End strip? 12
5. Using the keypad, enter the strip number where the move cycle
should end.
6. Press ENTER. The display will read:
Cycles? 1
7. Using the keypad, enter the number of the specified move cycles
that are to be sequentially performed.
Note
: Between
1
and
9
Move cycles can be
specified.
8. Press ENTER. The display will read:
Select option
ASPIRATE DISPENSE
9. Specify
Aspirate
,
Dispense
,
Soak
and
Fill
operations in the
sequence as they are to be carried out, as described in the
following sections.
10. When all of the operations for the
Move
cycle have been
sequentially specified, specify
End Loop
to designate the end of
the
Move
cycle.
Opsys
MW™
User’s Guide
47
Summary of Contents for Opsys MW
Page 4: ......
Page 8: ...About this Manual This page is intentionally left blank iv Opsys MW User s Guide ...
Page 14: ...Description This page is intentionally left blank 6 Opsys MW User s Guide ...
Page 16: ...Features This page is intentionally left blank 8 Opsys MW User s Guide ...
Page 20: ...Warning Labels This page is intentionally left blank 12 Opsys MW User s Guide ...
Page 46: ...Configuring the System This page is intentionally left blank 38 Opsys MW User s Guide ...
Page 74: ...Washing a Plate This page is intentionally left blank 66 Opsys MW User s Guide ...
Page 84: ...Pump Calibration This page is intentionally left blank 76 Opsys MW User s Guide ...


