


Adjusting time settings
33
DX-24LD230A12
5
Press
or
to highlight
Style
, then press
or
to
select
Custom
.
6
Press
or
to highlight a style, then press
or
to
adjust the style. You can select:
•
Size
—Selects the font size.
•
Font
—Selects the font style.
•
Text Color
—Selects the color for the text.
•
Text Opacity
—Selects the opacity level for the
text.
•
Background Color
—Selects the color for the
background.
•
Background Opacity
—Selects the opacity level
for the background.
•
Edge Settings
—Selects
Edge Effect
and
Edge
Color
.
7
Press
EXIT
to close the menu.
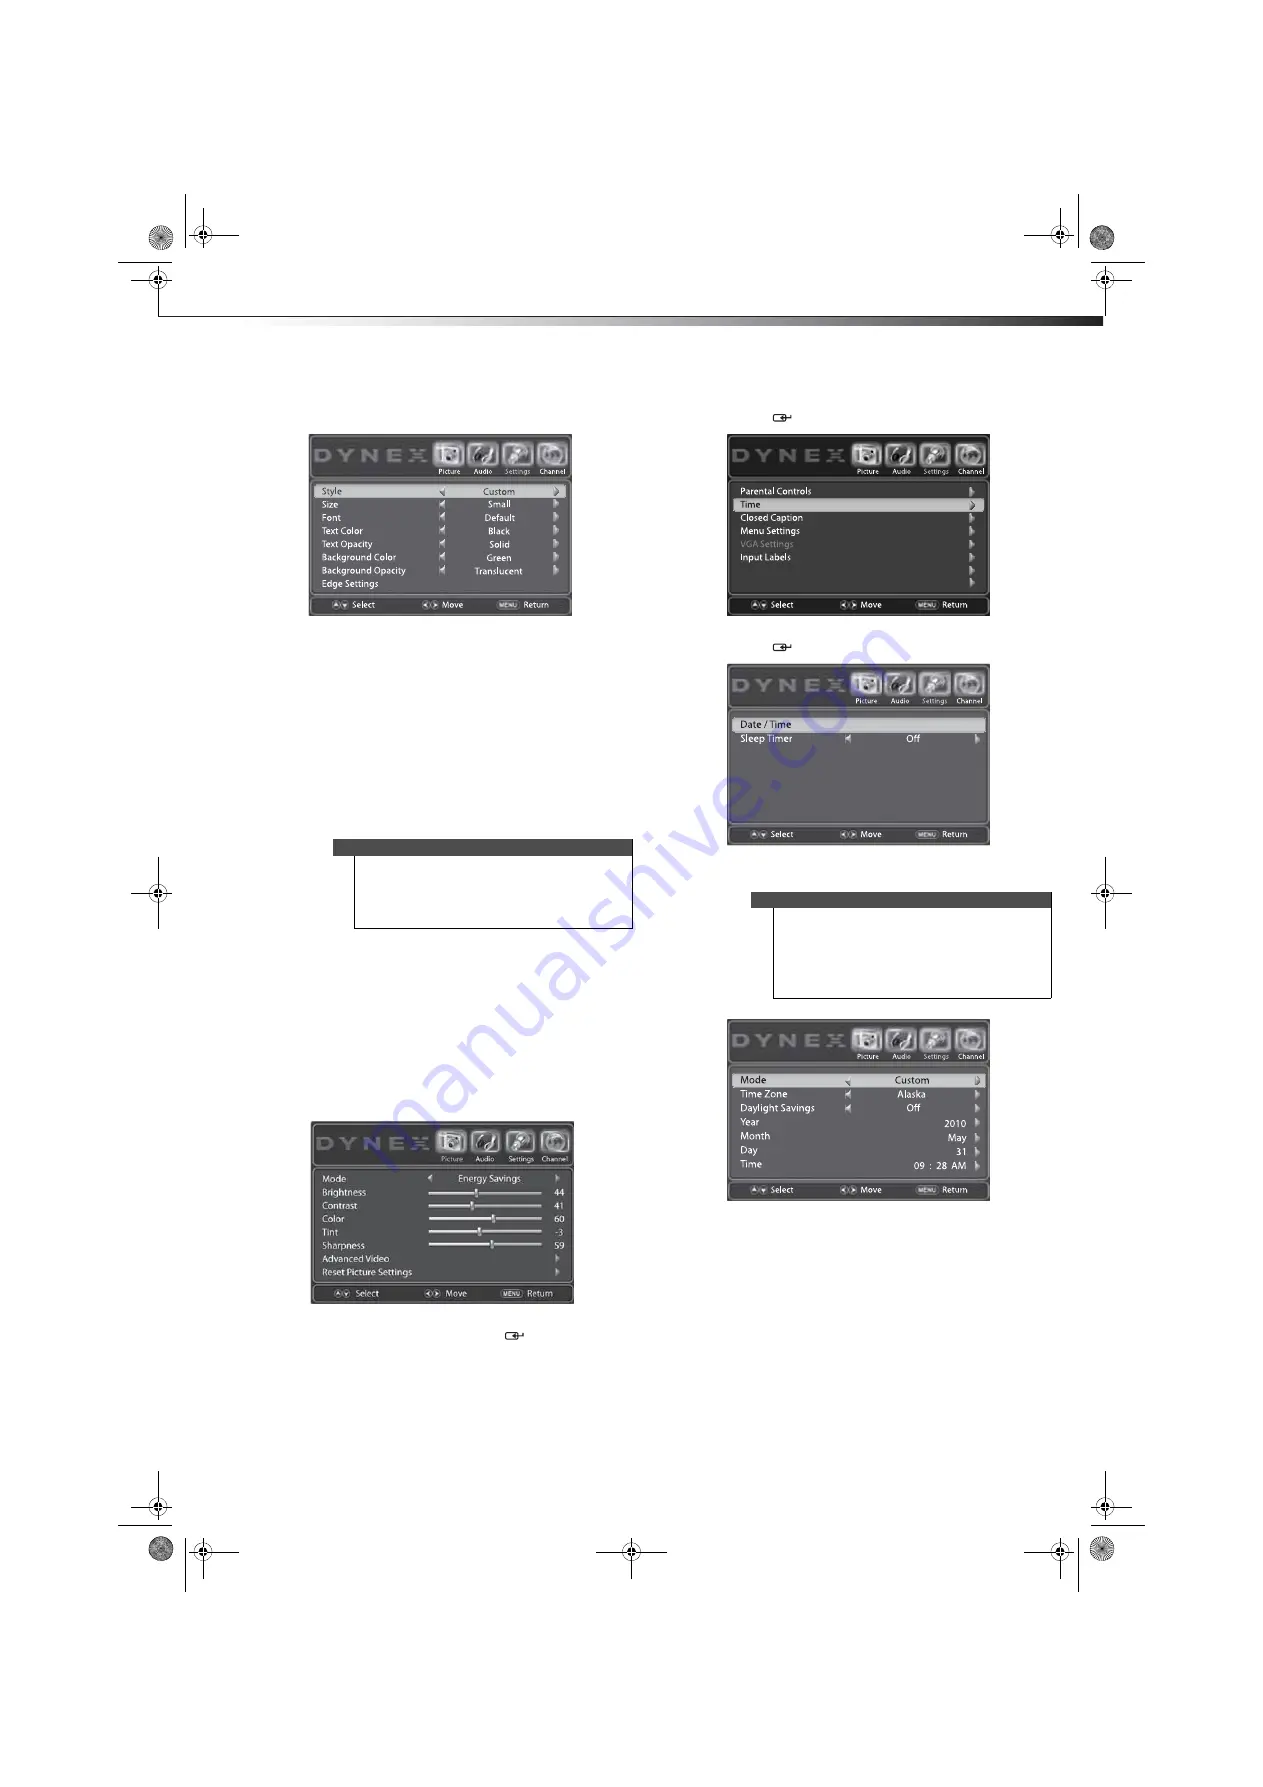
Adjusting time settings
Manually setting the date and time
To manually set the date and time:
1
Press
MENU
. The on-screen menu opens with the
Picture
menu displayed.
2
Press
or
to highlight
Settings
. The
Settings
menu opens. Press
or
ENTER
/
to access the
menu.
3
Press
or
to highlight
Time
, then press
ENTER
/
.
4
Press
or
to highlight
Date/Time
, then press
ENTER
/
.
5
Press
or
to highlight
Mode
, then press
or
to
select
Custom
.
6
Press
or
to highlight
Year
,
Month
, or
Day
, then
press
or
to change the setting.
7
Press
or
to highlight
Time
, then press
or
to
select the hour, minute, or AM/PM. Press
or
to
change the setting.
8
Press
EXIT
to close the menu.
Notes
•
If you set the
Style
option to
Automatic
, you
cannot change any of the styles.
•
Do not use the same setting for
Text Color
and
Background Color,
because the text caption
will be invisible.
Notes
If you set
Mode
to
Auto
:
•
The time is set automatically based on a digital
TV signal.
•
You can only change the
Time Zone
and
Daylight Savings
options. You cannot change
any of the other options.
Open Source Notice
Reset to Default
DX-24LD230A12.book Page 33 Friday, April 8, 2011 2:05 PM


