


Creating a New Label
7
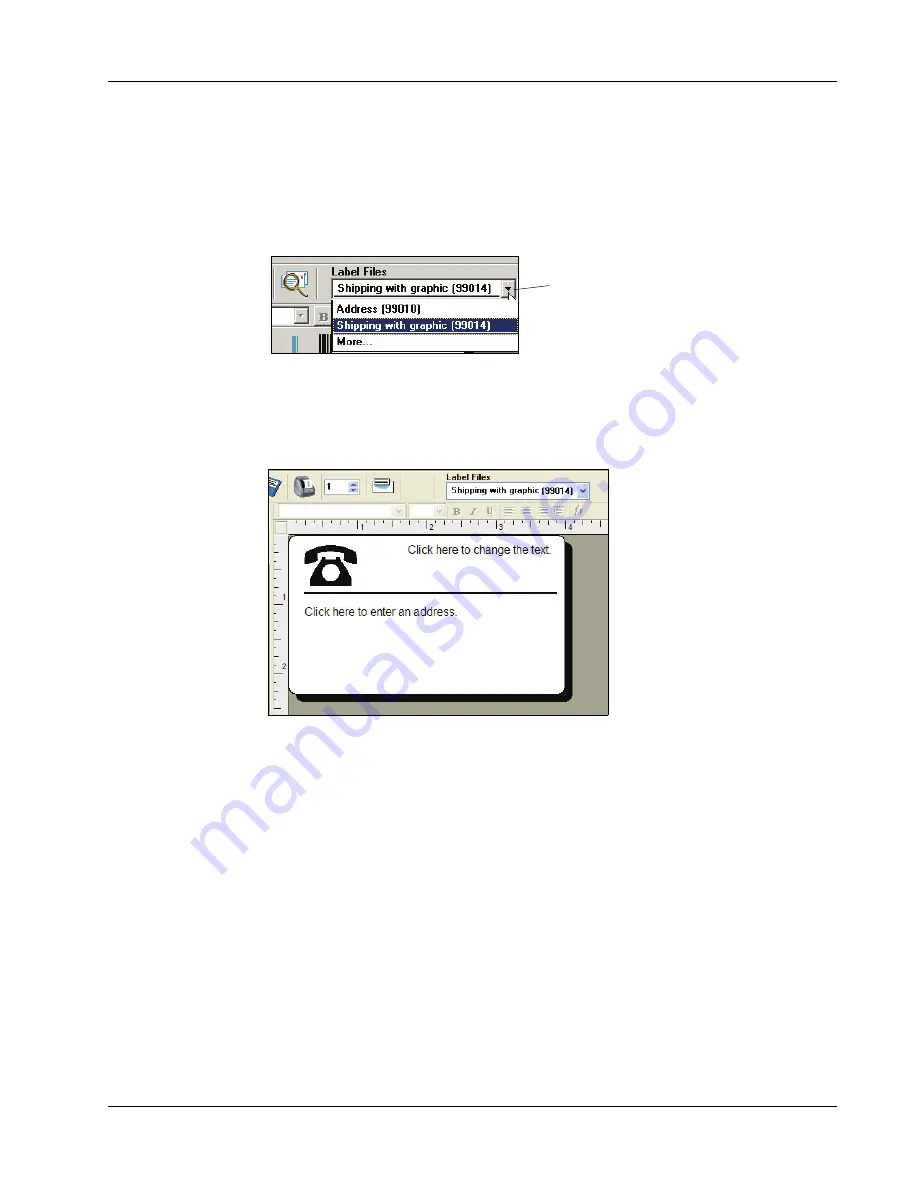
Choosing a Label File
The first step is to choose a label file as the basis for your new label.
To choose a label file
1
Select the arrow next to the
Label Files
drop-down list.
A list of the most recently used label files appears.
If necessary, click
More
to access all the pre-designed labels. Notice that all label files are
listed with the label type first, then any important objects on the label, and finally the part
number of the label.
2
Select the
Shipping with graphic (99014)
label.
The
Shipping with graphic
label appears in the main window.
Changing the Graphic
The next step is to customize the graphic. As you will see in this step, each piece of information on
a label is an object (for example, the return address, the recipient address, the line, and so on).
When you double-click an object, a Settings dialog box appears where you can change the object’s
attributes.
Click here to display the list
of recently used labels.
Summary of Contents for LabelWriter 450 Duo Label Printer
Page 1: ...DYMO Label Software User Guide Version 7 6 ...
Page 8: ...Introduction 4 ...
Page 16: ...Using the Label Editor 12 ...
Page 32: ...Using the LabelWriter Printer with Other Applications 28 ...
Page 46: ...Using the Tape Editor 42 ...
Page 50: ...Caring for Your LabelWriter Printer 46 ...
Page 54: ...Technical Specifications 50 ...
Page 63: ...59 W WMF 34 Word Add in 25 WordPerfect 26 ...
Page 64: ...60 ...


