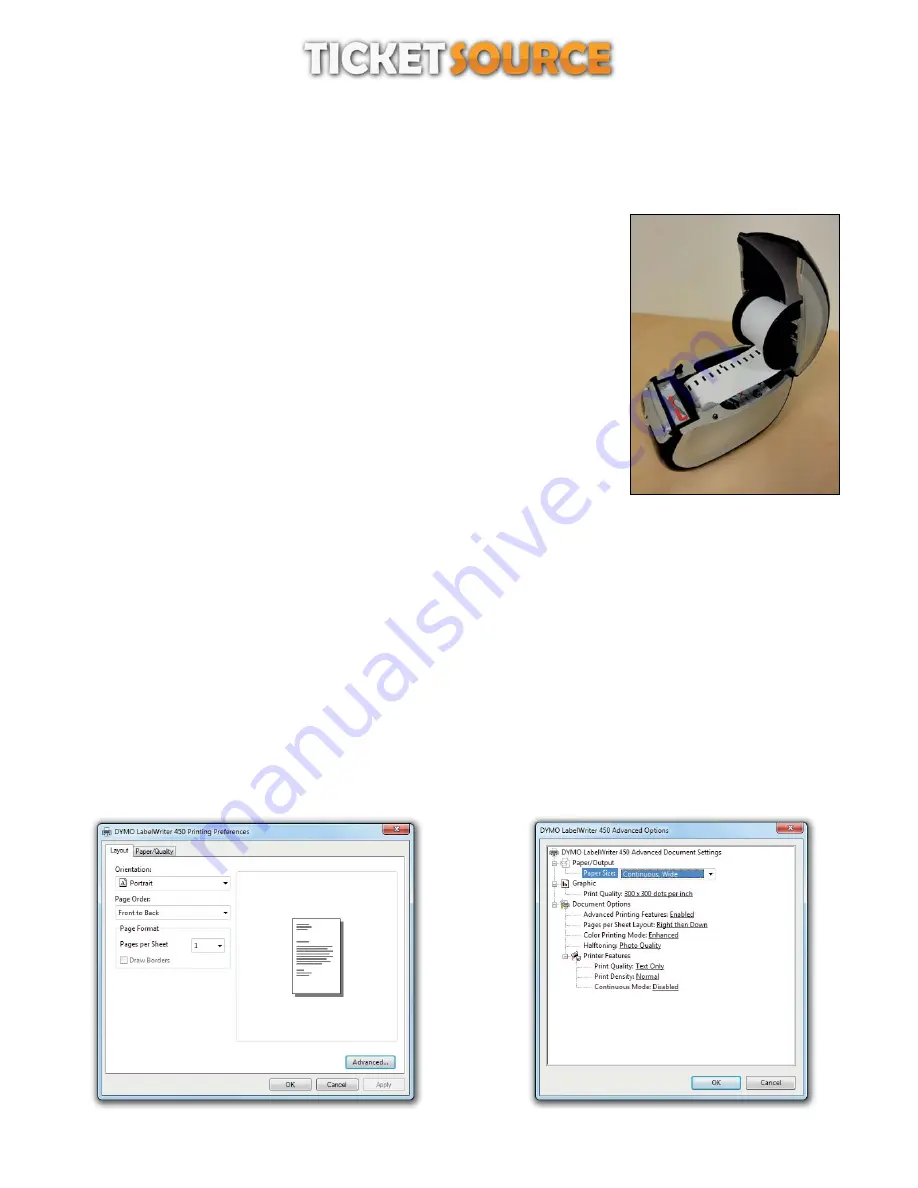
Please ensure you have installed the DYMO LabelWriter printer driver from the CD supplied with the printer and then connected
the printer to your computer before following the configuration steps below...
Open Devices and Printers from the Start Menu,
Right click the DYMO LabelWriter printer icon,
On the pop-up menu, click Printing Preferences
THERMAL TICKET PRINT SERVER
Dymo LabelWriter series printer set up
The DYMO LabelWriter series set up instructions cover the LabelWriter 300 and 400 series label printers.
Inserting the thermal card roll
1
With the printer plugged in, press the form-feed button to eject the labels that
protected the printer during shipment.
2
Open the top cover and remove any packing material inside the label compartment.
3
Remove the spool from inside the cover and separate the spool guide from the
spindle.
4
Hold the spool spindle in your left hand and place the card roll on the spindle so that
the cards feed from underneath and the left edge of the card roll is firmly against the
side of the spool.
5
Slide the spool guide onto the right side of the spool and press the guide tightly
against the side of the card roll,
between the roll and the spool.
leaving no gap
Note
To ensure proper feeding of cards during printing, the card roll must fit snugly
against both sides of the card spool, with no gaps.
6
Insert the card spool into the slot in the printer cover with the cards extending from
underneath the roll.
7
Align the left edge of the card with the left edge of the card feed slot and insert the
card into the slot. The printer automatically feeds the cards, stopping at the beginning of the first card. If the printer does
not feed the cards, make sure the first card is fully inserted and then press the form-feed button.
8
Slide the card guide to the left until the card guide aligns with the right edge of the card.
9
Carefully lower the top cover.
Step 1 - click the “Advanced...” button
Step 2 - set the paper size option to “Continuous , Wide” and
click ‘OK’
Configuring the printer
2


