Latitude Configuration
1.
Launch the Latitude AdminCenter,
2.
In the System View Pane (
Logical
view), browse for the camera. If it has yet to be
configured, its name should be based on the IP address assigned to it, followed by the
suffix “– Enc”.
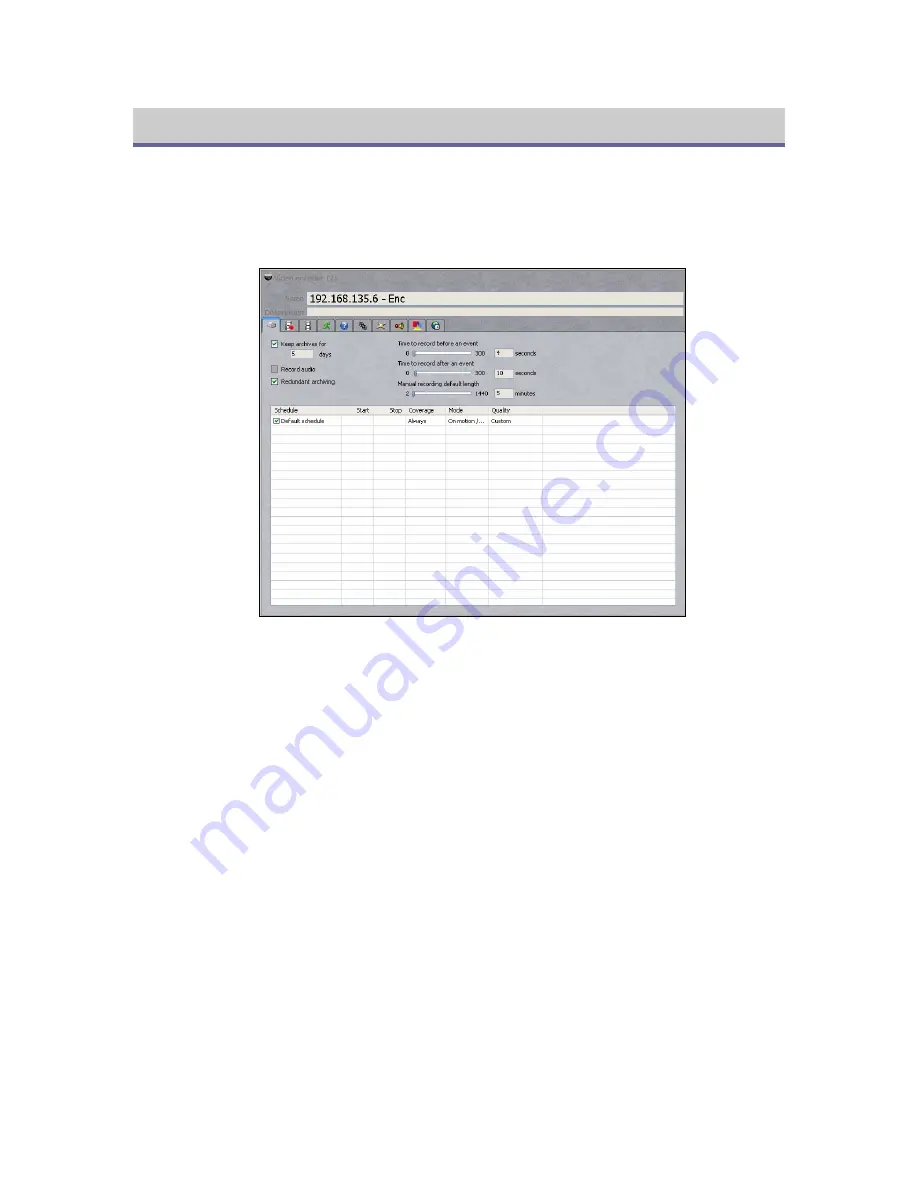
Figure 8 - The Camera Configuration Pane
3.
In the Name field, erase the IP address and give the camera a meaningful name (e.g.
N.
Exit
). Enter a further description if you wish. When asked whether you would like to
rename all linked applications, click
No
.
4.
In the
Keep archives for
field, enter the number of days that you would like video from
the camera kept (uncheck the field if archiving is not required). Checkmark the
Record
audio
box if applicable. Change the rest of the non-schedule parameters if you wish
(many users finds it more convenient to do this only after additional entities have been
configured). Click
Apply changes
.
5.
Click the second tab (
Recording quality
). Choose whether default recording quality
should be based on the active recording schedule or live display settings.
6.
If you would like the recording quality to change based on motion, click the
Recording
quality on motion detection
box and choose one of the options from the
Quality
pull-down menu. To specify quality parameters individually, choose
Custom
and enter
the appropriate values. Note that many users prefer to hold off on this step until after
motion detection has been configured.
7.
Repeat step 4 for quality change on manual recording, if required. Click the third tab
(
Display quality
) and choose
Yes
when prompted whether to apply changes.
8.
Based on your requirements and network capabilities, configure
viewing
stream quality:
Choose the
Video data format
and
Quality
from their drop-down menus.
If
Custom
is chosen for quality, enter the various quality parameters manually.
10


