67
Chapter 13
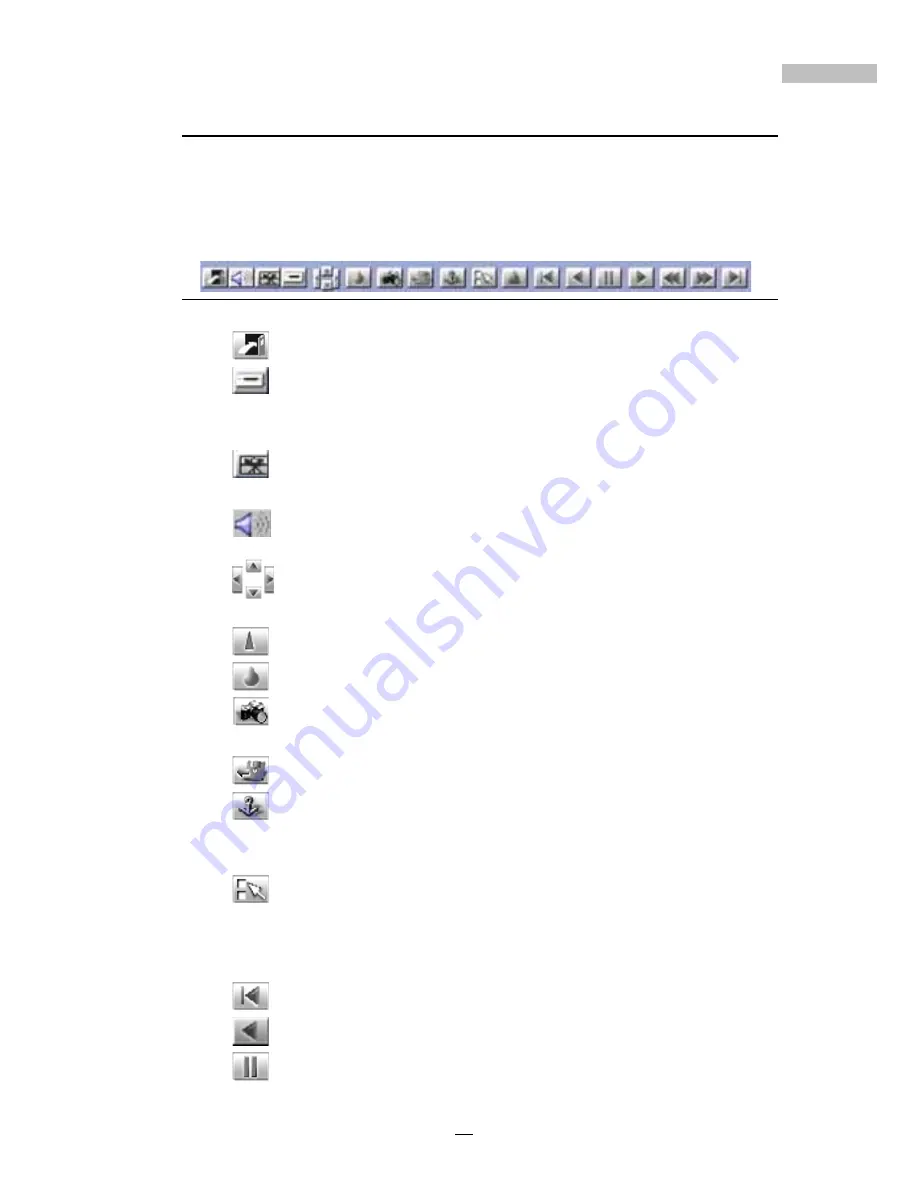
Understanding the Bottom Toolbar
The Bottom Toolbar appears only when you click the playback icon. Before
a recorded file is selected, the bottom toolbar will be hidden (disabled).
Once a recorded file is selected, the toolbar icons will appear (be enabled).
Let¡¦s view what each icon means.
Figure 13-3: Bottom Toolbar
Click this icon to exit playback.
If there is a function of NAS in your DVR (It is optional), click
this icon to enter the video file page to select and playback
files in NAS by date, time and camera.
If there is a function of Multiple Playback in your DVR (It is
optional), click this icon to enter the Multiple Playback page.
If there is a function of Audio out (It is optional), click this icon
to turn the mute on or off.
Click the directional icons to move the playback images up,
down, left, or right.
Click this icon to remove blur, to sharpen or define the image.
Click this icon to blur the image.
Click this image to take a snapshot (one selected frame form
the current video file), and export or print the snapshot image.
Click this image to save an image to disk.
Click this icon to tag an important section of the recorded file.
Once the file is tagged, you can go directly back to the relevant
place when you open this tag to review this file.
Click this quick reference icon to enter the recorded database
window, you can list the recorded files by date, time, or
camera or, you can list all recorded files, and then select the
file to play.
Click this icon to review the previous file.
Click this icon to rewind play.
Click this icon to pause play, repeat click this icon will play the
image frame by frame.
Summary of Contents for 12-CH
Page 1: ......
Page 35: ...30 NOTES...
Page 47: ...42 Figure 7 14 Reboot...
Page 125: ...120 NOTES...
Page 130: ......


