-5-
5.0 OPERATING THE UNIT
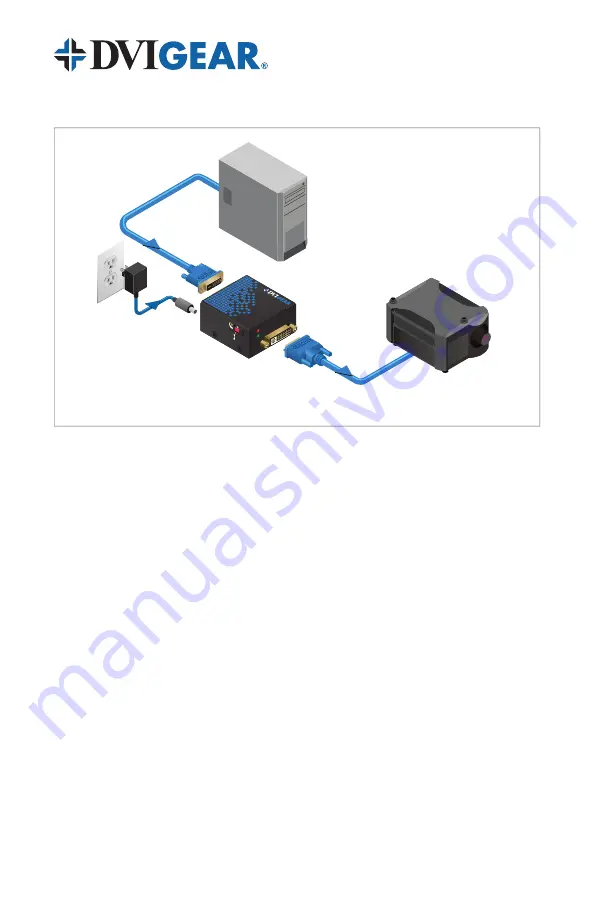
1. Turn OFF the DVI source and the DVI display device.
2. Connect a high quality DVI (long) cable between the output of the DVI
source and the “INPUT” port of the ACE™ unit.
3. Connect a high quality DVI (short) cable between the DVI input on the
display device and the “OUTPUT” port of the ACE™ unit.
4. Connect the External AC Power Adapter to the ACE™ unit. Take care to
insert the locking plug into the DC power connector on the ACE™ unit and
rotate a quarter turn clockwise so that it locks securely into position.
5. Plug the AC Power Adapter into an active AC power socket. The red
POWER LED should be illuminated.
6. Turn ON the DVI source and DVI display device. The green ACTIVE LED
should be illuminated, and there should be a stable image on the DVI
display. There should be no artifacts (streaks, sparkles, etc.) visible in the
displayed image.
7. On the side of the ACE™ unit there is a cable equalization switch that
can be set for AUTO (automatic) or MANUAL adjustment. The AUTO
position is preferred and works well with most cables. For DVI cables
longer than 30 meters (100 ft.), the MANUAL EQ position can give better
results. When the switch is set to the MANUAL EQ position, a 25x turn
potentiometer is activated, allowing very precise control of the amount of
cable equalization. For best results, take care to rotate this potentiometer
adjustment slowly. Note that at the end of its range you will feel a slight
clicking in the adjustment even though it continues to rotate.
Source Device
(e.g. PC or Mac)
DVIGear ACE™ unit
(e.g. DVI-7171c)
Up to 60m DVIGear
SHR™ cable
0.5m DVIGear
SHR™ cable
Display Device
(e.g. Projector)
+5V Power Supply
for ACE™ unit
LEVEL
EQ
AUT
O
+40
dB
0 dB
MANUAL
OUTP
UT
PO
WER
ACTIV
E
DVI-7370
HDM
I Activ
e Cab
le Exte
nder
+40 dB
LEVEL
0 dB
EQ
MANUAL
AUT
O
DVI-7370
HDM
I Activ
e Cab
le Exte
nder
OUTPU
T
POWER
ACTI
VE
DVI-7171
Active Cable Extender
DVI Single-Link


