background image

-6-


6.0 TROUBLESHOOTING

If the DVI ACE™ unit does not appear to be working properly, please check 
the following: 

1.  Verify that the External AC Power Adapter is plugged in and delivering 

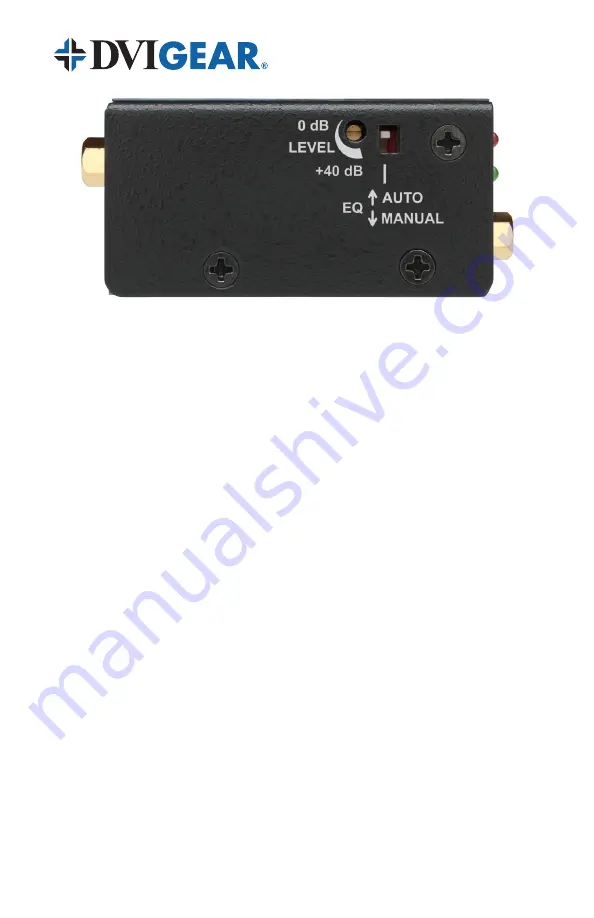
power to the DVI ACE™ unit.  In this case the red POWER LED should be 
brightly lit.  If the red POWER LED is dim, flickering or off altogether, then 
check the AC power source and/or replace the power adapter.

2.  Verify that the cables connected to the Input and Output ports of the DVI 

ACE™ unit are premium grade cables (such as DVIGear’s Super High 
Resolution™ cables) and do not exceed the recommended cable lengths 
specified in Section 2 of this User Guide.

3.  Inspect the DVI connectors on both the cables and on the DVI ACE™ unit 

for damage, bent pins, loose connections, etc.

4.  Turn ON the DVI source and verify that the green ACTIVE LED is illuminated.  

If it is not, double-check the source to ensure that it is outputting an active 
DVI signal.

5.  As a final check, bypass the DVI ACE™ unit and connect the DVI source 

directly to the DVI display device using a high quality DVI cable with a 
length of 3 meters (10 ft.) or less.  If the image is visible on the display, then 
follow the procedure below in step 6.

6.  Turn OFF all system components, as well as the DVI ACE™ unit.  Restart 

the DVI display, then the DVI ACE™ unit, and finally the DVI source device. 
Recheck steps 1-4 above.

If the problem persists after trying the above suggestions, please contact your 
dealer for additional assistance.  If the dealer’s technical personnel are unable 
to assist you, please contact DVIGear via telephone at 1.888.463.9927 (toll-free 
for United States and Canada) or 1.770.421.6699.  You may contact DVIGear by 
e-mail at [email protected].

Summary of Contents for DVI-7171b

Page 1: ...User Guide Single Link DVI Active Cable Extender DVI 7171c...

Page 2: ...DUCT SAFETY 1 PRODUCT LIABILITY STATEMENT 1 1 0 INTRODUCTION 2 2 0 SPECIFICATIONS 3 3 0 PACKAGE CONTENTS 4 4 0 CONNECTING THE HARDWARE 4 5 0 OPERATING THE UNIT 5 6 0 TROUBLESHOOTING 6 7 0 LIMITED WARR...

Page 3: ...m to malfunction Take care to ensure that all connected cables are not forced to bend more than their minimum bend radius Product Liability Statement Every effort has been made to ensure that this pro...

Page 4: ...e of high performance products including scalable AV over 10GbE Systems Switchers Splitters Scalers Up Down Cross Converters Format Converters as well as a wide range of long reach Digital Cables Exte...

Page 5: ...nsions H W D 1 1 x 2 1 x 2 6 29 2 mm x 53 7 mm x 67 1 mm Weight 4 7 oz 132 g Environmental Operating Temperature 32 to 122 F 0 to 50 C Storage Temperature 4 to 158 F 20 to 70 C Humidity storage operat...

Page 6: ...Guide Note Please retain the original packing material in case you need to return the unit If you find any items are missing contact your reseller or DVIGear immediately Please have the Model Number S...

Page 7: ...of the ACE unit there is a cable equalization switch that can be set for AUTO automatic or MANUAL adjustment The AUTO position is preferred and works well with most cables For DVI cables longer than...

Page 8: ...ns etc 4 Turn ON the DVI source and verify that the green ACTIVE LED is illuminated If it is not double check the source to ensure that it is outputting an active DVI signal 5 As a final check bypass...

Page 9: ...freight prepaid to a location designated by DVIGear After repairs are complete the product will be returned freight prepaid The foregoing warranty is the sole and exclusive warranty given by DVIGear...

Page 10: ...ww dvigear com Your Digital Connectivity Experts Toll Free 888 463 9927 Phone 770 421 6699 Fax 770 234 4207 DVIGear Inc 1059 Triad Court Suite 8 Marietta Georgia 30062 2258 DVI 7171c UG 05 January 201...

Reviews: