16
13- OPENING THE PROJECTOR HOUSING
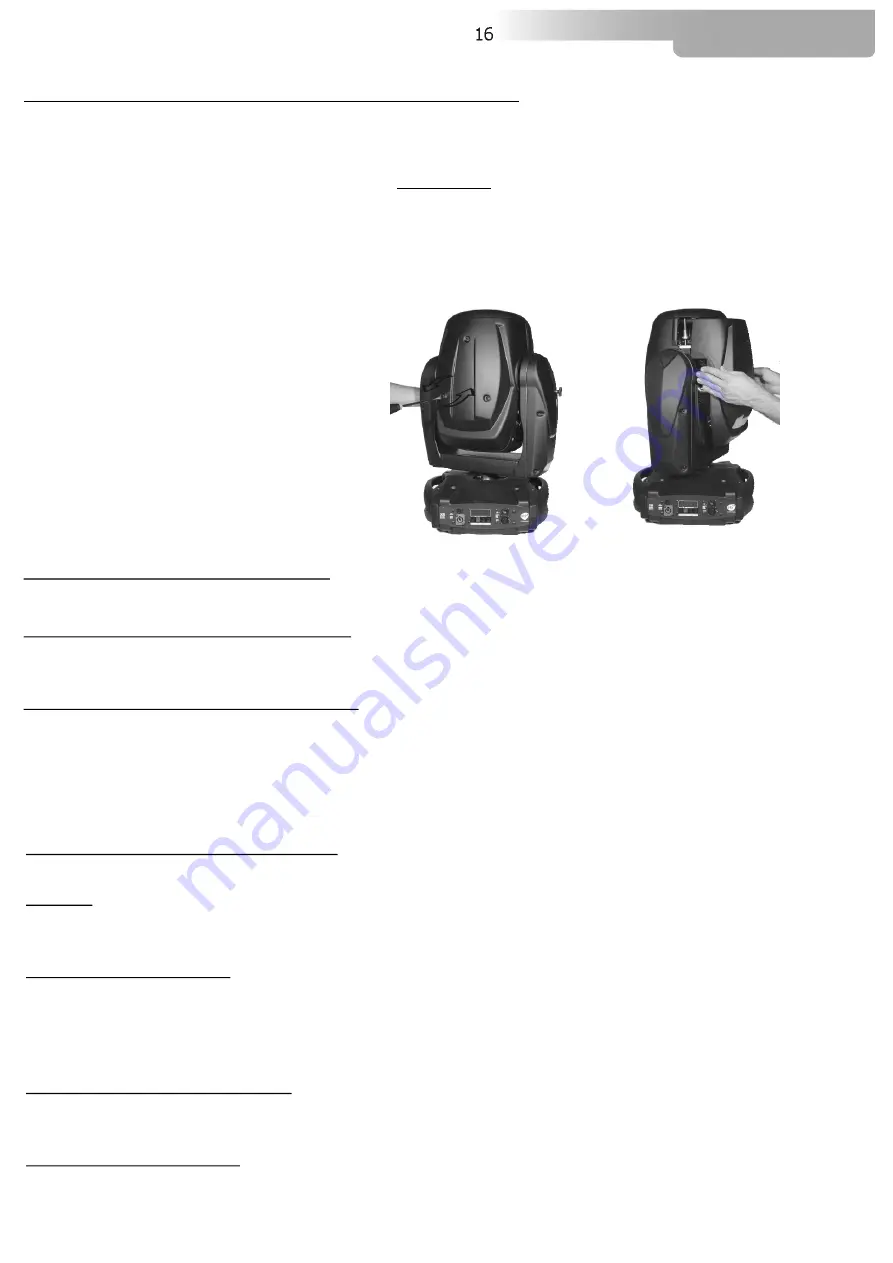
It is possible to inspect the inside of the projector by removing the cover as indicated below.
ATTENTION
REMOVE MAINS POWER PRIOR TO ACCESSING THE PROJECTOR’S INTERNAL COMPONENTS.
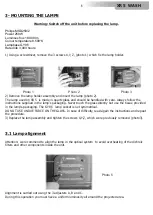
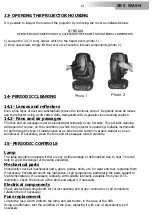
1) Loosen the 3 (1/4 turn) screws which fix the head covers (photo 1) .
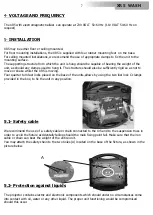
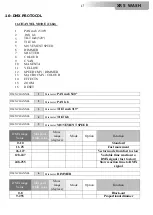
2) Once unscrewed, simply lift the covers to access the internal components (photo 2).
Photo 1
Photo 2
14- PERIODIC CLEANING
14.1- Lenses and reflectors
Even a fine layer of dust can substantially reduce the luminous output . Regularly clean all lenses
and the reflector using a soft cotton cloth, dampened with a specialist lens cleaning solution.
14.2- Fans and air passages
The fans and air passages must be cleaned approximately every 6 weeks. This periodic cleaning
will depend of course, on the conditions in which the projector is operating. Suitable instruments
for performing this type of maintenance are a brush and a common vacuum cleaner or an air
compressor. If necessary, clean the fans and air passages more frequently.
15- PERIODIC CONTROLS
Lamp
The lamp should be replaced if there is any visible damage or deformation due to heat. This will
help to avoid the danger of the lamp exploding.
Mechanical parts
Periodically check all mechanical parts, gears, guides, belts, etc. for wear and tear, replacing them
if necessary. Periodically check the lubrication of all components, particularly the parts subject to
high temperatures. If necessary, lubricate with suitable lubricant, available from your D.T.S.
distributor. Check the tension of the belts and adjust it if necessary.
Electrical components
Check all electrical components for correct earthing and proper connection of all connectors;
refasten them if necessary.
Fuse replacement
Locate the fuse, which protects the lamp and electronics, in the base of the XR8.
Using a multimeter, test the condition of the fuse, replacing it with one of equivalent type if
necessary.
ARC 1200
XR 5 WASH

